Ever wondered how that sturdy baking pan in your cupboard was made? The one you reach for week after week, trusting it to deliver perfectly baked bread, golden cookies, and crisp roasted vegetables?
It doesn’t start as a baking pan. It starts as a flat sheet of metal. Steel, to be exact. What follows is a fascinating journey of precision engineering, industrial craftsmanship, and thoughtful design—all aimed at creating a baking pan that performs flawlessly in your kitchen.
Here’s a behind-the-scenes look at how carbon steel baking pans are made—the process that transforms raw material into the essential baking pan you use every week.
Step 1: Choosing the Right Steel
Every great baking pan begins with the right material. It all starts with material selection—a decision that determines how your baking pan will perform for years to come.
Carbon steel contains iron and a small amount of carbon. This combination gives it remarkable strength while maintaining excellent heat conductivity—two qualities any serious baker wants in a baking pan.
Factories start with large coils of steel sheet. The thickness matters enormously. A baking pan that’s too thin will warp under high heat, ruining your bake. A baking pan that’s too thick heats slowly and unevenly, leading to inconsistent results. Most quality baking pans use steel between 0.8mm and 1.2mm thick—a carefully calculated range that balances durability with responsiveness.
The steel arrives at the factory in giant rolls, each one destined to become dozens of baking pans. It gets unrolled, flattened, and inspected before moving to the next stage. Even at this early step, quality control ensures that only the finest steel becomes a baking pan bearing the manufacturer’s name.
Step 2: Cutting the Blank
Next comes cutting. The flat steel sheet gets cut into shapes called “blanks”—the rough outlines of what will soon become a baking pan.
These blanks are slightly larger than the finished baking pan will be. They need extra material for the forming process, allowing the metal to stretch and flow into its final shape without tearing.
Factories use different cutting methods depending on the baking pan design:
- Shearing for straight cuts on simpler baking pan shapes
- Laser cutting for precision and complex baking pan contours
- Pressing with custom dies for high-volume baking pan production
For baking pans with integral handles—where the handle is part of the same piece of metal—the handle shapes are often cut directly from the blank at this stage. This minimizes waste and creates a stronger, more durable baking pan with no weak points where a handle might later break off.
Step 3: Forming the Shape
This is where the flat blank becomes a recognizable baking pan. It’s one of the most critical steps in the entire process.
Drawing is the most common method for forming a baking pan. The blank gets placed over a die. A punch presses down with tremendous force, forcing the metal into the die cavity. The metal stretches and flows to take the new shape—transforming from a flat sheet into a three-dimensional baking pan.
For deeper baking pans like loaf pans or Pullman pans, multiple drawing steps may be needed. The metal can only stretch so far at once; trying to form a deep baking pan in a single step would cause tearing. Skilled manufacturers know exactly how many passes their baking pan design requires.
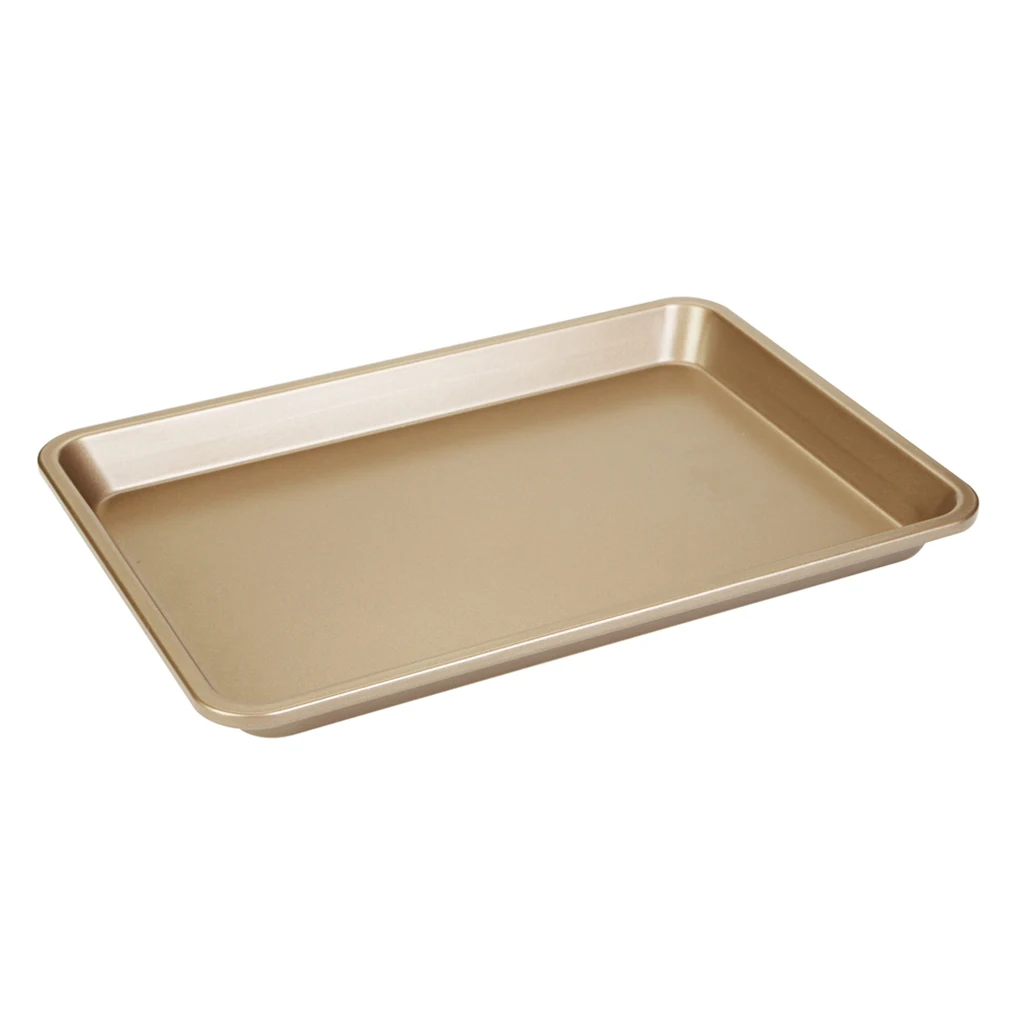
Press forming works for simpler baking pan shapes. Matched dies press together with the blank between them, squeezing the metal into the desired form. It’s faster than drawing and works well for shallow baking pans like sheet pans.
Some premium manufacturers use hydroforming, where high-pressure water shapes the metal against a die. This method creates a baking pan with more uniform thickness and reduces internal stress in the metal—meaning your baking pan is less likely to warp over time.
Step 4: Trimming and Edge Work
After forming, the baking pan has rough edges. Extra material remains from the drawing process—the “scrap” that was necessary to shape the pan but isn’t part of the final product.
Automated machines trim this excess away. High-speed drills and cutting tools shave off the rough metal, leaving clean, crisp edges on your baking pan. You’ve probably noticed how smooth the rim of a quality baking pan feels; that’s the result of this careful trimming step.
The leftover scrap doesn’t go to waste. Most factories collect and recycle this material—it’s a sustainable practice that ensures the steel destined for your baking pan is used efficiently.
For baking pans with rolled edges—those smooth, rounded rims you see on premium bakeware—this step also shapes the edge. Rolling reinforces the baking pan, adding structural strength and removing any sharp edges that could cut hands when you’re handling the pan.
Step 5: Surface Preparation
Before any coating touches the baking pan, the surface needs preparation. This step determines how well finishes will adhere and how long your baking pan will last.
Deburring removes tiny rough spots left over from the cutting and forming processes. Baking pans often go through vibratory tumblers filled with ceramic media. The tumbling action smooths every surface—inside, outside, and along the edges—creating a consistent foundation.
Sandblasting may follow. Fine grit blasts the surface of the baking pan, creating a slight texture. This texture might feel subtle to your fingers, but it’s crucial for coating adhesion. A smooth baking pan surface won’t hold non-stick coatings as effectively as one with this carefully applied texture.
Some carbon steel baking pans get polished for a smooth, gleaming finish. Others keep a matte texture. The choice depends on the intended use and the manufacturer’s quality standards.
Step 6: Coating Application
Now the baking pan gets its final surface—the layer that will interact with your food and determine how easily your bakes release.
Non-stick coatings like PTFE or ceramic are applied through spraying or dipping. The goal is uniform coverage—every surface of the baking pan coated evenly, without thin spots or drips. This is where the skill of the applicator truly matters; an uneven coating compromises the performance of the entire baking pan.
Color coatings add visual appeal to your baking pan. These must withstand high heat without peeling, fading, or releasing harmful substances. Quality manufacturers test their colored baking pans rigorously to ensure they maintain their appearance through years of use.
For uncoated carbon steel baking pans, a different approach is used. Seasoning may be applied at the factory—a thin layer of oil gets sprayed onto the baking pan, then heated until it polymerizes. This creates a natural non-stick surface and prevents rust, giving you a baking pan that improves with every use.
Step 7: Curing and Heat Treatment
Coatings need to be set—and this is where heat becomes the final craftsman. Baking pans travel through large industrial ovens on conveyor belts, each one carefully monitored for temperature and timing.
Temperatures reach 350°F or higher, depending on the coating type. The heat cures the coating, making it hard, durable, and ready for years of use. For seasoned baking pans, this step bonds the oil to the metal, creating that coveted non-stick surface that only improves over time.
Heat treatment also relieves stress in the metal from the forming process. Every baking pan carries some internal stress from being stamped and drawn into shape. Curing ovens allow that stress to relax, reducing the chance that your baking pan will warp during future use. This is why a properly manufactured baking pan stays flat and true, bake after bake.
Step 8: Quality Control
Every baking pan gets checked before it leaves the factory. No exceptions.
Dimensional testing ensures the baking pan matches exact specifications. Digital scanners measure critical points—length, width, depth, handle angles—to confirm that every baking pan is identical to the design.
Surface inspection looks for coating defects. Thin spots, bubbles, scratches—anything that could affect performance or longevity. Quality inspectors know that a baking pan with compromised coating will disappoint the baker who trusts it.
Sample pans undergo thermal testing to confirm even heat distribution. Some get durability tests simulating years of use—dropped, scrubbed, heated, and cooled repeatedly. A baking pan that passes these tests is ready for the demands of a real kitchen.
Step 9: Packaging
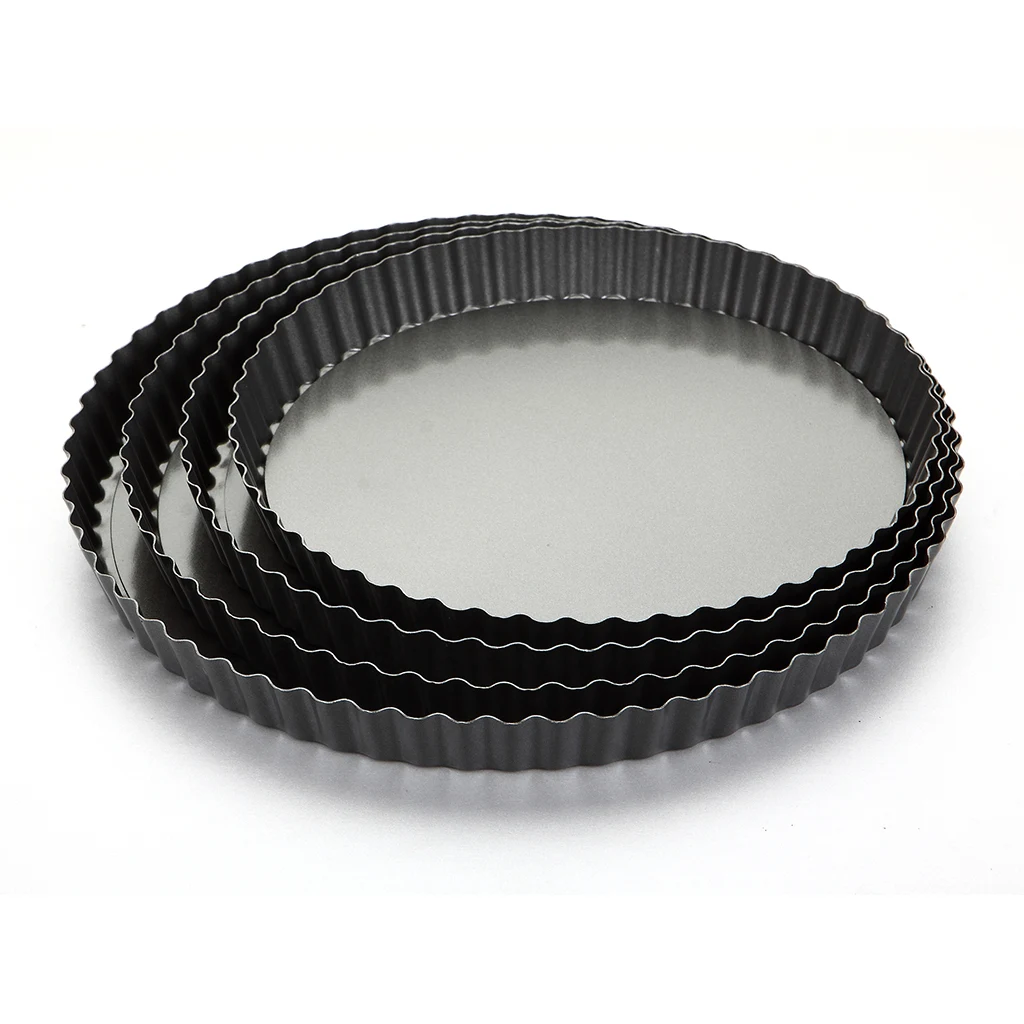
Finished baking pans get stacked carefully for their journey to you. For nesting designs, they fit inside each other to save space—a thoughtful detail that makes storage easier in your kitchen too.
Protective materials prevent scratches during shipping. A baking pan that arrives with damaged coating is a baking pan that can’t perform. Quality manufacturers take packaging seriously.
Then boxes get labeled and sent to warehouses, distributors, and finally to you—ready to take its place in your kitchen.
Different Pans, Different Processes
Not all baking pans are made the same way. Specialized designs require specialized manufacturing.
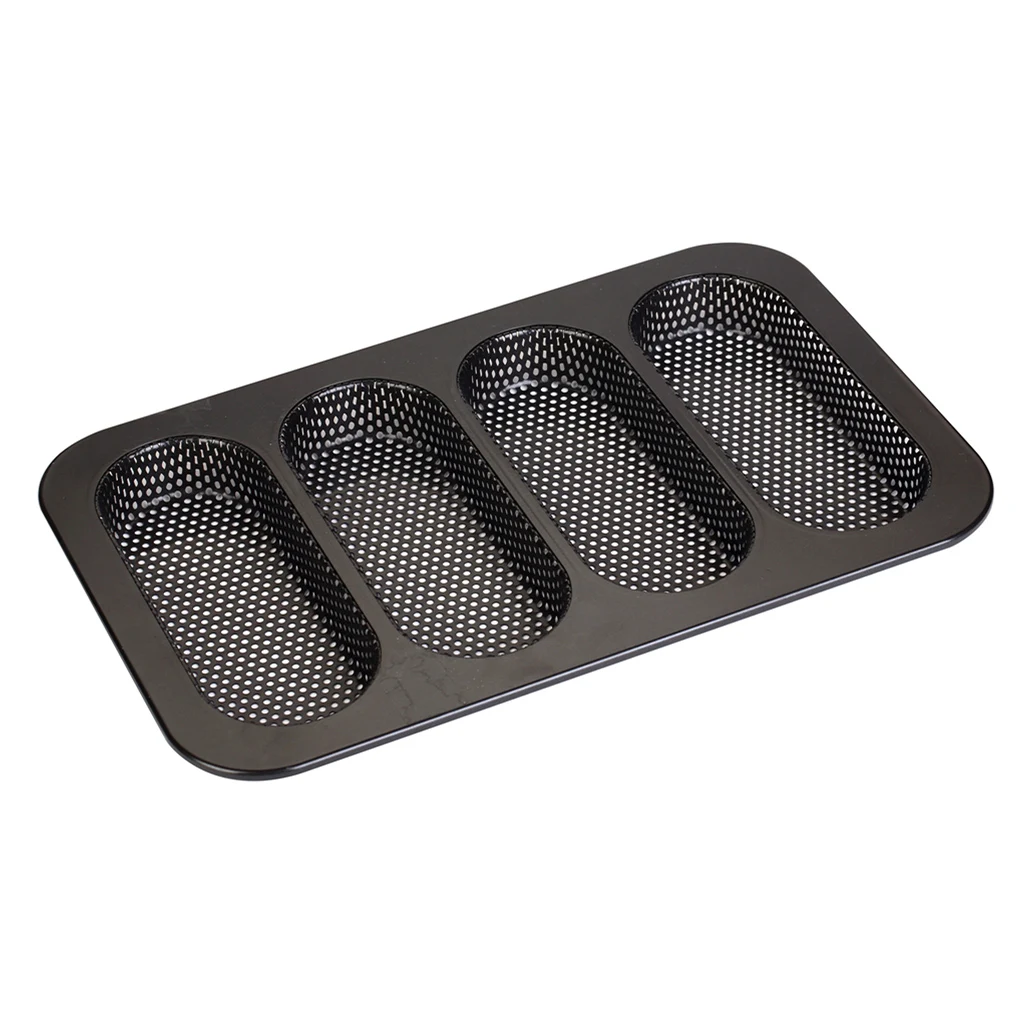
Baguette pans use perforated dies. The holes get punched either during forming or in a separate step. The dark coating often gets applied after perforation, ensuring every hole is clean and properly finished.
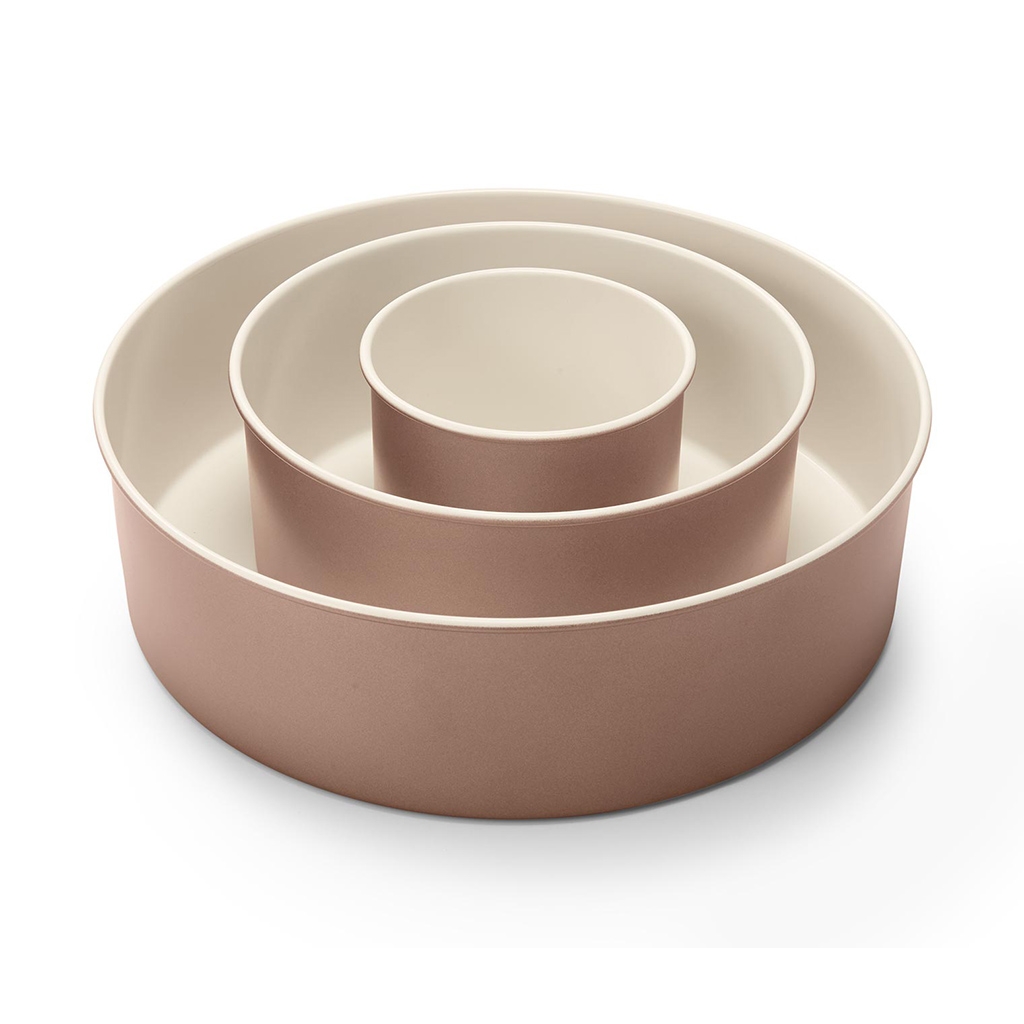
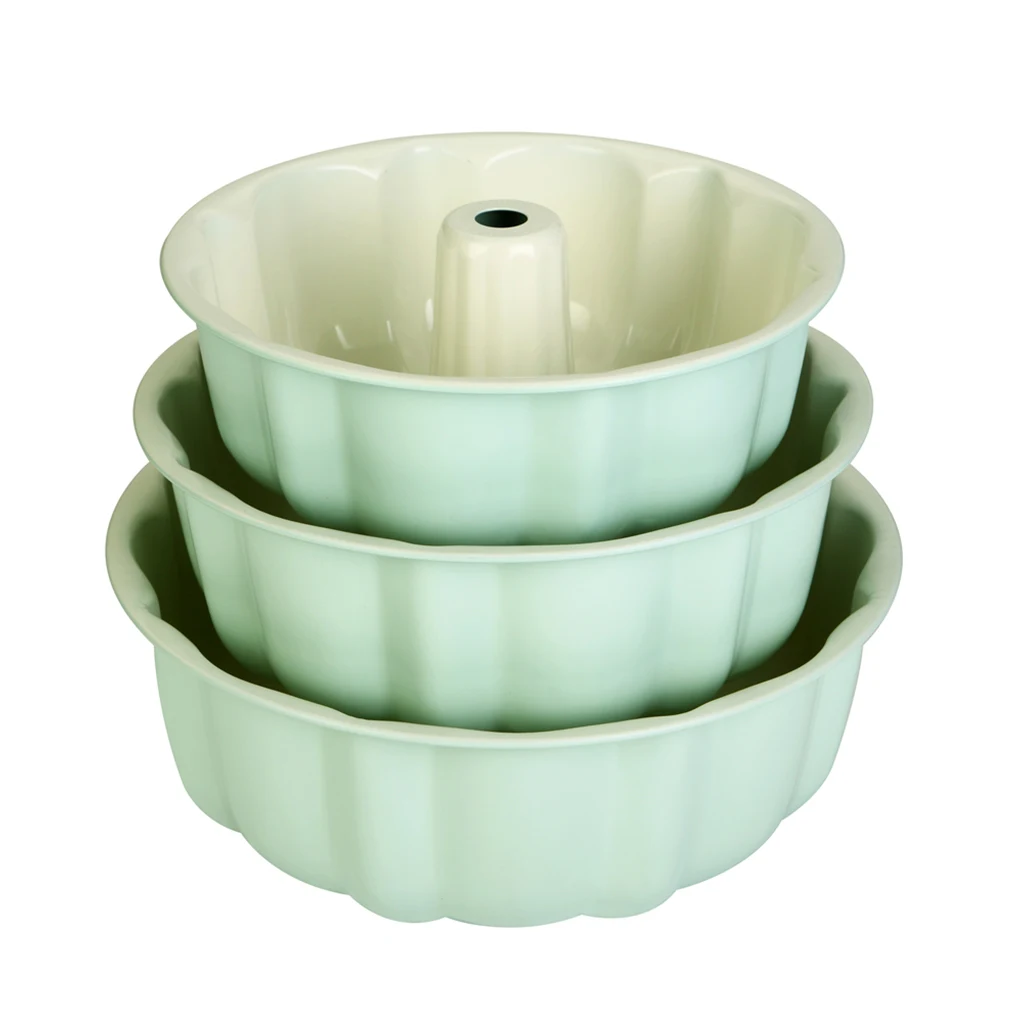
Bundt pans require complex dies to create those distinctive grooves. The baking pan must release cleanly from the die during forming—a challenging feat that requires precision engineering.
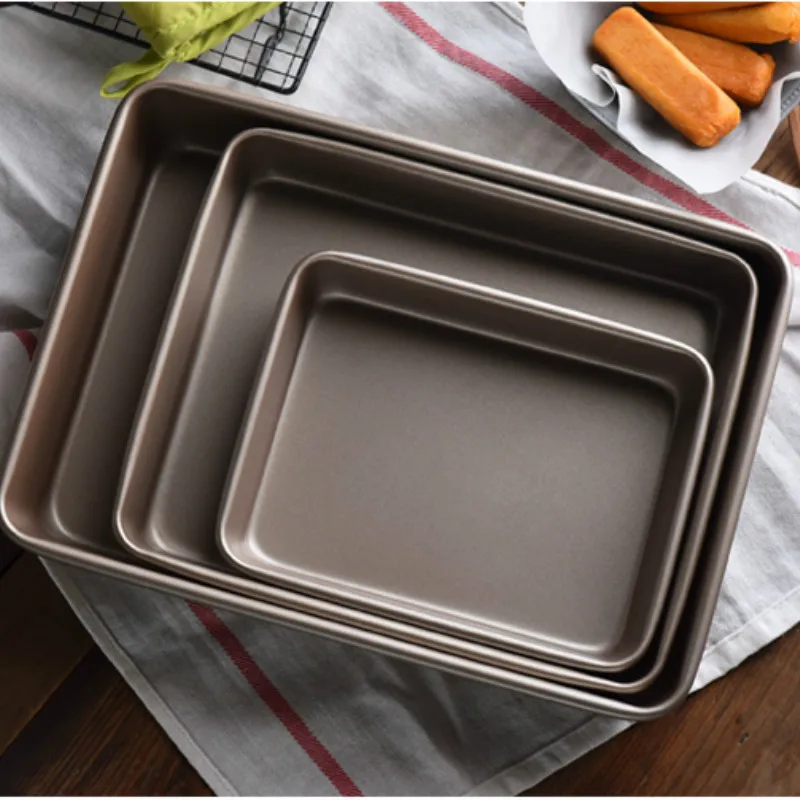
Sheet pans are simpler. They’re often formed in one quick press operation, then trimmed and coated. But even a simple baking pan demands quality materials and careful attention to avoid warping.
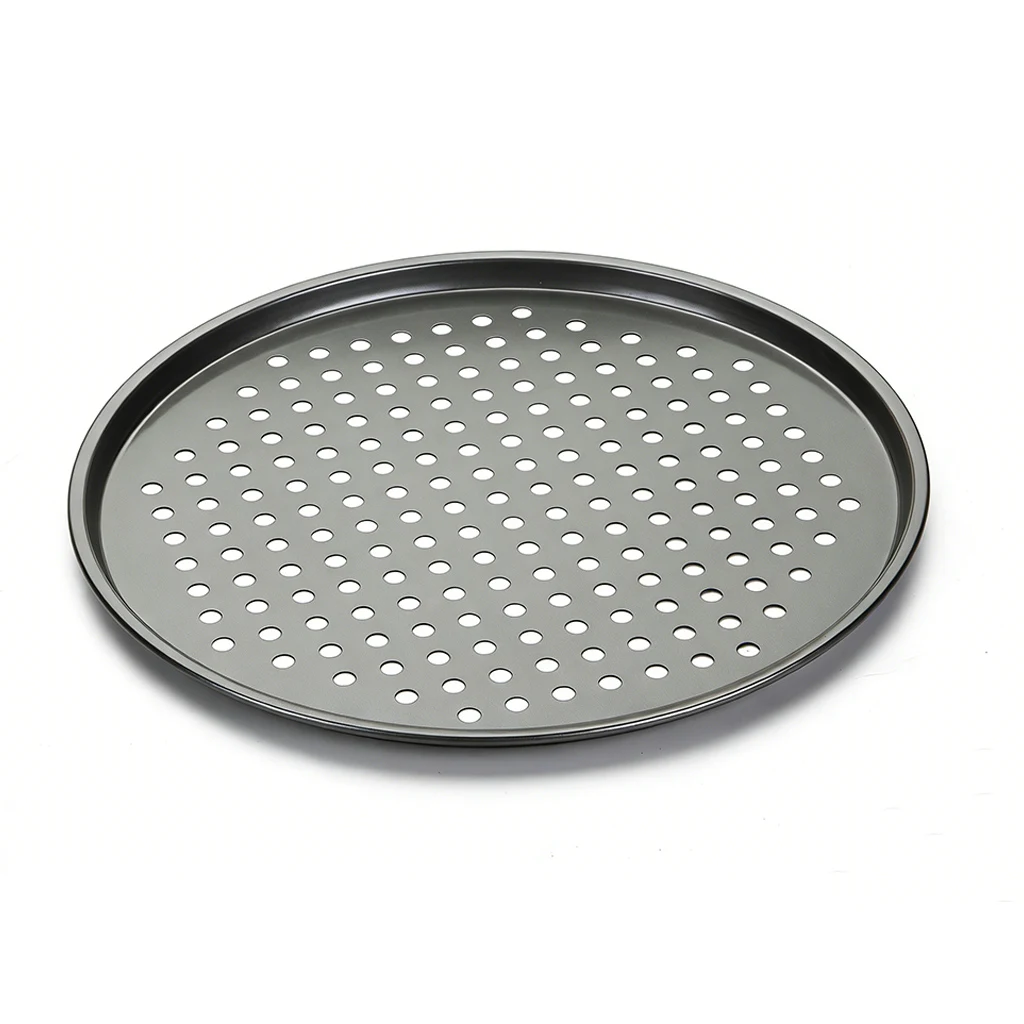
Perforated pizza pans need precise hole patterns. Rotary punches create hundreds of holes rapidly and accurately, turning a solid sheet of steel into a baking pan designed for maximum airflow.
Why Carbon Steel?
Carbon steel offers distinct advantages over other materials when it comes to baking pans:
Heats quickly and evenly—no hot spots to ruin your bake
Develops natural non-stick seasoning over time, improving with age
Extremely durable—a quality carbon steel baking pan lasts decades with proper care
Recyclable at end of life, making it an environmentally responsible choice
The manufacturing process harnesses these properties, creating baking pans that perform reliably for years—and often become cherished tools passed down through generations.
The Bottom Line
Making a baking pan isn’t simple. It takes precision machinery, quality materials, and careful control at every step. From raw steel coil to finished baking pan, each stage matters—each decision affects how that baking pan will perform when you pull it from your cupboard.
The result is a tool you can trust. Batch after batch. Year after year. A baking pan that doesn’t just hold your dough, but helps it become something beautiful.
Next time you pull a perfect loaf from your baking pan, you’ll know what went into making it. And you’ll appreciate just how much craftsmanship sits between you and that golden crust.
[Ready to add a premium baking pan to your kitchen? Click here to explore our collection.]