It happens to everyone.
You pull something from the oven. It looks fine—maybe even beautiful. Then you see it: the edge where sauce dripped and baked into black cement. Or maybe you forgot about those roasted vegetables entirely. Now they’re fossilized, fused to the surface like they’ve been there for centuries.
Your first instinct? The pan looks ruined. You start mentally preparing to toss it and buy a replacement. But here’s the truth: it’s not. That pan has plenty of life left. It just needs the right approach to get it back to its former glory.
The problem isn’t the pan itself—it’s the stubborn layer of burnt-on residue that makes you think it’s beyond saving. But with a few simple techniques, you can strip away that baked-on mess without damaging the surface. No harsh chemicals. No endless scrubbing that leaves your arms sore. Just smart, effective methods that work with the pan, not against it.
So before you give up on that trusted baking pan, here’s how to fix it. Because a little burnt food shouldn’t mean the end of your favorite cookware.
The Golden Rule
Don’t use steel wool.
Seriously. Put it down. Step away from the scrubber.
Here’s why: abrasive scrubbers scratch the surface of your pan. And those scratches aren’t just cosmetic—they’re functional damage. Every tiny groove becomes a trap for food the next time you use that pan. What started as one cleaning problem turns into a recurring nightmare. Burnt-on bits cling to those scratches like they were designed to hold them.
If your pan has a non-stick coating, steel wool will destroy it in seconds. Once that coating is compromised, the pan is no longer non-stick. Food will stick. The coating may even start flaking into your food. Not worth it.
If you’re working with a carbon steel pan, steel wool strips away the carefully built seasoning—that dark, natural non-stick layer you’ve been developing with every use. Without that seasoning, your pan loses its non-stick properties and becomes prone to rust.
So start gentle. Reach for a soft sponge, a nylon brush, or even a simple baking soda paste. Let time and chemistry do the heavy lifting instead of brute force. Get aggressive only if you must—and even then, opt for a non-abrasive scrubber designed to clean without scarring your pan.
Your pan will last longer, perform better, and stay looking good. And you’ll spend less time scrubbing and more time cooking.
Method 1: Hot Water and Patience
This works more often than you’d think.
Fill the pan with hot water. Not boiling—hot tap water is fine. You don’t need to wait for a kettle; the hottest water from your faucet will do the job. Let it sit right there in the pan, undisturbed.
Fifteen minutes. Thirty minutes. An hour if it’s really bad. The longer you let that pan soak, the more the water penetrates the crusted layers of burnt food.
The water softens the burnt bits. They loosen their grip on the pan surface. After soaking, most of it wipes away with a simple sponge—no elbow grease required. You’ll be surprised how much of that mess releases without a fight.
For stubborn spots, use a plastic scraper or wooden spatula. Gentle pressure is all you need. Work with the pan, not against it. Let the water do the heavy lifting; your job is just to guide the loosened residue off the pan and down the drain.
Method 2: Baking Soda Paste
Baking soda is magic. It’s mildly abrasive but won’t scratch your pan the way steel wool or harsh chemicals will. That gentle abrasion is exactly what you need—enough bite to lift burnt residue, but not enough to damage the surface underneath.
Make a paste. Three parts baking soda to one part water. Stir it until it forms a thick, spreadable consistency—thick enough to cling to the sides of your pan but not so runny that it drips off.
Cover the burnt areas with the paste. Spread it evenly across every stained spot on the pan. Let it sit for fifteen minutes. During that time, the baking soda works its way into the burnt-on layer, loosening the bond between food and pan.
Scrub gently with a sponge or soft brush. You’ll feel the paste working—it lifts burnt food without damaging the pan beneath. No scratching. No gouging. Just a clean surface ready for its next use.
Rinse well. Run the pan under warm water to wash away both the paste and the loosened residue. Repeat if needed. Stubborn spots may require a second application, but your pan will come back to life with patience and a little baking soda.
Method 3: Boil Water in the Pan
For really stuck-on messes, heat helps. When soaking and baking soda aren’t quite enough, this method brings out the big guns without damaging your pan.
Put the pan on the stovetop. Add water—enough to cover the burnt areas completely. You want the water to reach every spot where food has fused to the pan surface. Bring to a simmer, not a rolling boil. Gentle heat is all you need.
Let it bubble gently for five to ten minutes. During that time, the heat works its magic, loosening the bond between food and metal. The expansion and contraction of the pan material helps break the grip of burnt residue, releasing it bit by bit into the simmering water.
Use a wooden spoon or spatula to scrape while it simmers. A wooden utensil is safe for nearly any pan—it won’t scratch non-stick, won’t damage stainless steel, and won’t harm seasoned surfaces. As you scrape, you’ll see bits of burnt food float free from the pan, swirling in the water like evidence of your victory.
Pour out the water. Wash normally. Your pan will look transformed—clean, smooth, and ready to go back into rotation. No harsh chemicals, no exhausting scrubbing, just the simple power of heat and water working together to restore your pan.
Method 4: Vinegar and Baking Soda Combo
This gets dramatic. In a good way.
Sprinkle baking soda over the burnt areas of your pan. Cover generously—don’t be shy. You want a thick, even layer across every stained spot, especially where food has bonded most stubbornly to the pan surface.
Pour vinegar over it. Watch what happens: it will fizz and bubble immediately, foaming up like a science fair volcano right there in your pan. This reaction creates carbon dioxide bubbles that work their way underneath the burnt residue, physically lifting it away from the pan without any scrubbing. Let it react for a few minutes—enjoy the show, because your pan is getting cleaner with every bubble.
The chemical reaction helps lift burnt residue in ways that soaking alone can’t. The combination of acid and base breaks down the burnt-on food, loosening its grip on the pan surface. After the fizzing stops, scrub gently with a soft sponge. You’ll find that much of the mess has already released from the pan before you even touch it.
Rinse well under warm water. Any remaining baking soda or vinegar washes away easily. The vinegar smell disappears as your pan dries, leaving behind nothing but a clean, fresh surface ready for its next bake.
Method 5: Dishwasher Tablet Trick
This sounds weird. It works.
Wet the bottom of the pan—just a light rinse to dampen the surface. Then grab a dishwasher tablet and rub it directly on the burnt spots. The tablet’s abrasives are specifically designed to cut through carbonized food, and they work just as effectively on your pan as they do on dishes. Hold the tablet firmly and scrub in small circles, focusing on the areas where burnt residue clings most stubbornly to the pan.
Let it sit for a few minutes after you’ve applied the tablet. During that short pause, the cleaning agents continue breaking down the burnt-on mess, penetrating deeper into the residue while you wait. Then scrub again with the tablet itself, using the built-in abrasives to lift whatever remains. The tablet acts as both cleaner and scrubber, making quick work of spots that might otherwise require multiple rounds of soaking.
Rinse the pan thoroughly under warm water. Make sure no tablet residue remains—it’s powerful stuff, and you want your pan completely clean before its next use.
This method works best for smaller spots—drips, splatters, and localized messes. It’s not ideal for whole-pan coverage, where a baking soda paste or simmering method would be more efficient. But for those stubborn little patches that refuse to budge, a dishwasher tablet is a surprisingly effective secret weapon for restoring your pan.
What About Burnt-On Grease?
Grease is different from burnt food. It’s oily. It needs degreasing.
Sprinkle baking soda over the grease. Add a little water to make a paste. Let it sit.
Then add vinegar. The fizz helps break down grease.
Scrub. Rinse. If residue remains, repeat.
Method 6: Bar Keepers Friend (For Tough Cases)
Sometimes home remedies aren’t enough. You’ve soaked, scrubbed, and tried every trick, but that stubborn residue still clings to your pan like it’s never letting go.
That’s when Bar Keepers Friend comes in. It’s a mild abrasive cleaner that cuts through burnt-on residue that soaking won’t touch. Safe for most metal pans, it delivers professional-grade cleaning without harsh chemicals. The fine powder acts like a gentle sandpaper for your pan, lifting carbonized food while leaving the metal itself intact.
Make a paste with water. Apply it directly to the burnt areas of your pan. Let it sit for one minute—not longer, as extended contact can affect certain surfaces. Scrub gently with a soft sponge or cloth, working the paste into the residue until it lifts away from the pan. Rinse thoroughly, making sure no cleaner remains on the pan before drying.
This works beautifully on stainless steel and carbon steel. Always check the label for your specific pan type to ensure compatibility—especially if your pan has a non-stick coating or special finish. When used correctly, Bar Keepers Friend can rescue a pan that seemed beyond saving.
Method 7: Oven Cleaner (Last Resort)
This is the nuclear option. Use only if nothing else works—when your pan has endured every other method and still bears the scars of burnt-on food.
Spray oven cleaner directly on the burnt areas of the pan. Then place the pan in a plastic bag or wrap it tightly in plastic to trap moisture and prevent the cleaner from drying out. Let it sit overnight, giving the chemicals time to break down even the most stubborn carbonized layers clinging to your pan.
Wear gloves. Oven cleaner is powerful, and you want to protect your hands while handling the pan. Rinse extremely well. Multiple times. Run the pan under warm water, scrubbing gently to remove every trace of cleaner. Oven cleaner is harsh, and you don’t want any residue lingering on your pan before its next batch of cookies.
This method can damage some coatings. Non-stick finishes, colored exteriors, and delicate surfaces may not survive the process. Use only on sturdy metal pans you trust—heavy stainless steel, carbon steel, or uncoated options. For those rugged pans, this approach can deliver a clean slate when all else has failed.
Preventing Future Burns
Clean spills immediately. When something drips in the oven, it carbonizes fast. Wipe it after the pan cools.
Use parchment paper. For sheet pans, parchment catches drips. Toss the paper, pan stays clean.
Don’t overheat empty pans. Heating an empty non-stick pan can damage the coating. Food sticks more easily after that.
Season carbon steel properly. A well-seasoned pan releases food better. Less sticks, less burns.
By Pan Type
Carbon steel
Treat your carbon steel pan gently. Soak with hot water, then use a baking soda paste for stubborn spots. Never use steel wool on this pan—it will strip away the hard-earned seasoning. After any heavy cleaning, re-season your pan to keep it performing at its best.
Non-stick
For a non-stick pan, keep it gentle. Baking soda paste and hot water soaks are safe. Skip abrasives and metal tools. When your pan loses its coating, it’s time for a new one.
Stainless steel
Your stainless steel pan is more forgiving than other materials. Bar Keepers Friend is a great choice for cleaning it. Steel wool is an option, but it will leave scratches on the pan. Always start with the gentlest method first.
Perforated pans
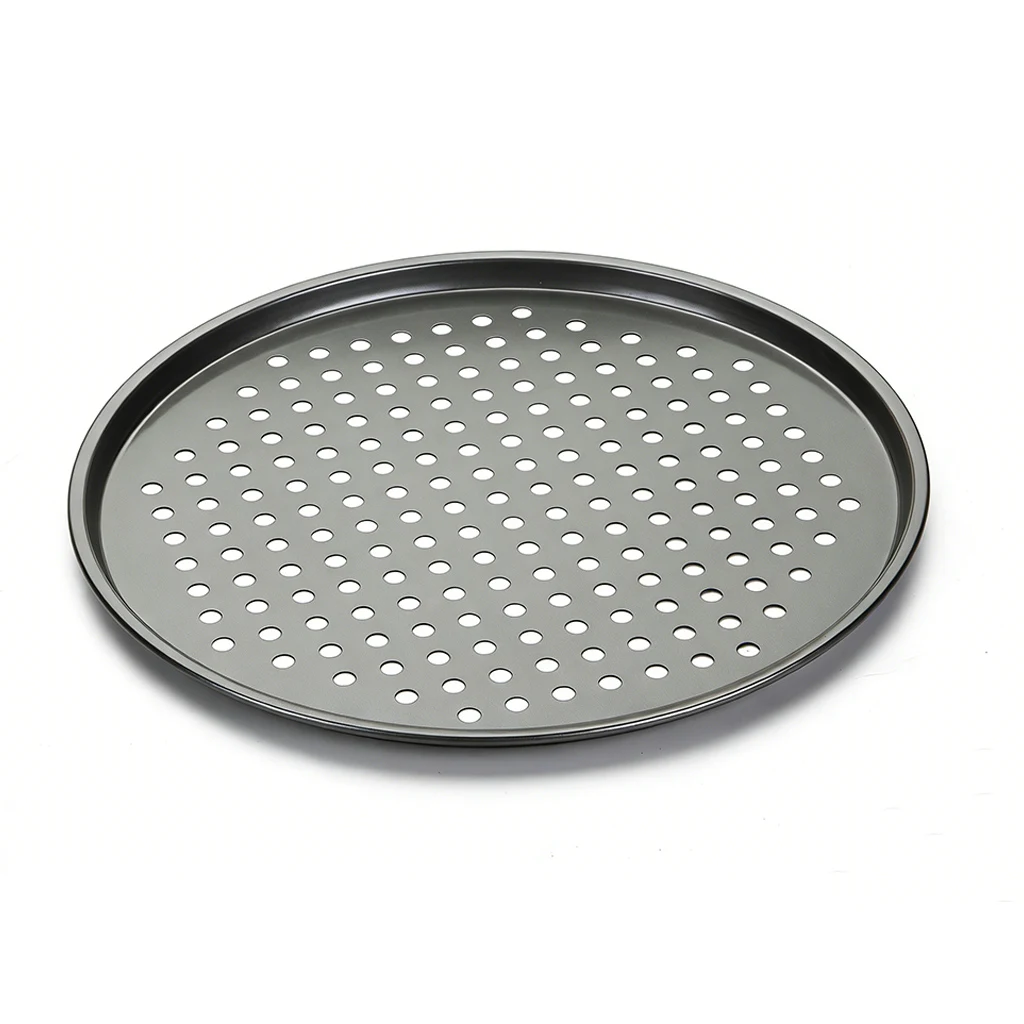
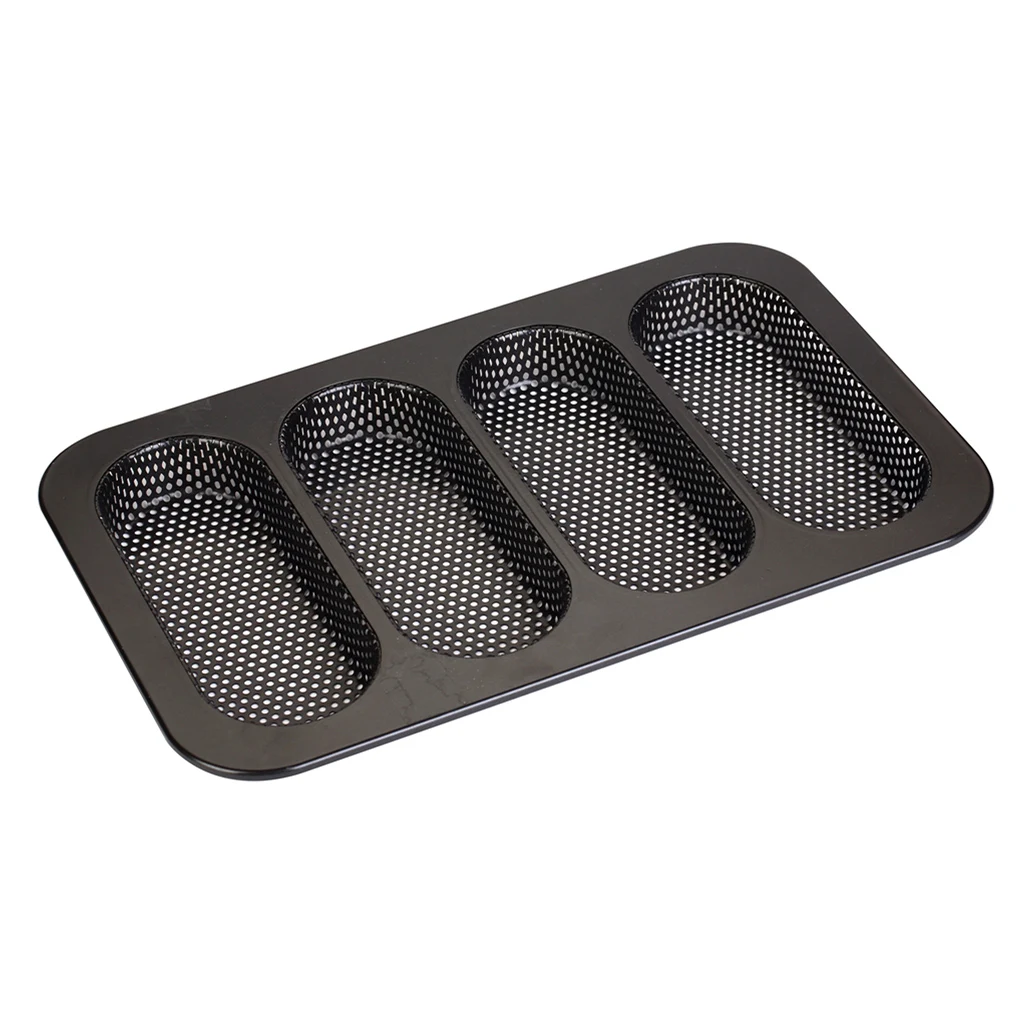
Perforated pans need a little extra care. Soak carefully—those holes trap water. Dry your pan thoroughly after cleaning. Baking soda paste works well in the grooves.
Glass
Glass is easy to clean. Soak your pan with hot water or use a baking soda paste. Just avoid thermal shock—never pour hot water into a cold glass pan.
The Bottom Line
Burnt pans look scary. They’re almost always fixable.
Start with hot water. Move to baking soda. Bring out stronger methods only if needed.
Your pan will survive. And next time, maybe set a timer.