Introduction: Why Parchment Paper Matters for Loaf Pans
If you have ever baked a loaf of banana bread, pound cake, or sandwich bread, you know the moment of truth well. You flip the pan over, tap the bottom, and hope the loaf slides out in one piece. Sometimes it works. Other times, half the loaf stays stuck to the pan, and you are left with a crumbly mess.
This is where parchment paper becomes helpful. A well-cut piece of parchment paper for loaf pan creates a non-stick barrier between your batter and the pan. It helps your baked goods release easily, keeps the corners intact, and makes cleanup much simpler.
But cutting parchment paper for loaf pan can feel awkward. The paper does not always stay in place. The corners can bunch up. The overhang may be too short or too long.
This article covers 5 simple ways to cut parchment paper for loaf pan. You will learn different methods, from precise folding techniques to quick freehand cuts. By the end, you will be able to line any loaf pan with confidence. Learning to cut parchment paper for loaf pan correctly is a useful baking skill.
Why Bother Lining a Loaf Pan with Parchment Paper?
Before we look at the methods, let us consider why lining a loaf pan is worth the extra minute of preparation.
No More Sticking
Parchment paper creates a reliable non-stick barrier between your batter and the pan. Using parchment paper for loaf pan is especially helpful for quick breads like banana bread or zucchini bread, which have moist batters that tend to cling to metal surfaces.
Clean Corners
Loaf pans have sharp corners where batter can easily get trapped. Without proper lining, these corners often crumble when you try to remove the baked loaf. A well-cut piece of parchment paper for loaf pan helps you get clean, intact corners every time.
Easy Cleanup
Once you lift your loaf out of the pan, you can simply throw away the parchment paper. Your pan stays mostly clean, saving you time and scrubbing effort.
Simple Lifting
By leaving an overhang of parchment paper for loaf pan on the sides, you create convenient handles. These handles allow you to lift the entire loaf out of the pan without flipping it upside down. This is especially useful for delicate cakes that might crack.
Even Baking
Parchment paper helps prevent the bottom and sides of your loaf from over-browning or becoming too crisp compared to the top. This leads to a more evenly baked final product.
What You Will Need
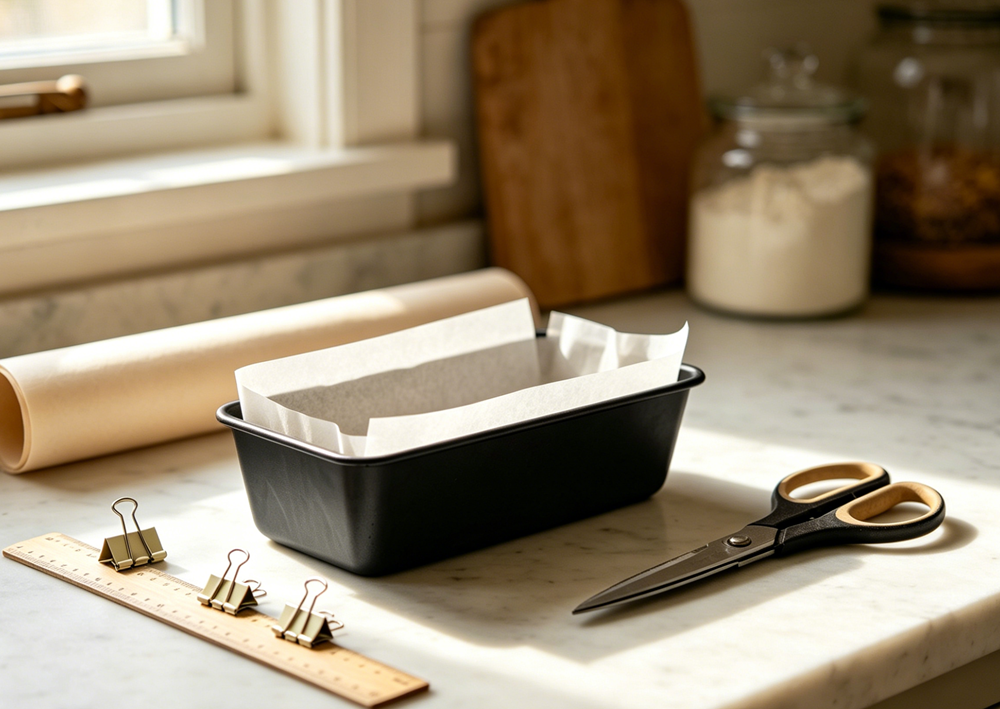
Before you start cutting, gather a few basic items. Having these ready makes the process smoother.
| Item | Purpose |
|---|---|
| Loaf pan | The pan you plan to bake in (use it as a template) |
| Parchment paper | Choose high-quality, oven-safe parchment (not wax paper) |
| Scissors or kitchen shears | For clean, precise cuts |
| Ruler or measuring tape | Optional, but helpful for accuracy |
| Cooking spray or butter | Optional, helps the parchment stay in place |
| Binder clips (optional) | To hold the parchment in place while you pour batter |
⚠️ Important: Do not use wax paper. Wax paper is not heat-resistant and can melt or smoke in the oven.
Method 1: The Fold and Crease Method (Most Precise)
This method is widely recommended for getting a perfect fit. It involves folding the parchment paper for loaf pan around the outside of the pan first, then placing it inside.
Step-by-Step
Step 1: Cut a Piece of Parchment Paper
Cut a piece of parchment paper that is slightly larger than your loaf pan. You do not need exact measurements at this stage. It is better to have a little extra than to come up short.
Step 2: Turn the Pan Upside Down
Place your loaf pan upside down on a flat surface. The bottom of the pan should be facing up.
Step 3: Center the Parchment Paper
Lay the parchment paper over the upturned pan. Make sure it covers the entire bottom surface with some overhang on all sides.
Step 4: Press and Crease
Press the parchment paper firmly against the sides of the pan. Use your fingers to create sharp creases where the paper meets the edges of the pan. Run your fingernail along these lines to make the creases distinct.
Step 5: Remove and Cut
Lift the parchment paper off the pan. You will see visible crease lines marking where the paper needs to be folded. Cut along these crease lines from the corners toward the center. This removes the excess paper that would otherwise bunch up inside the pan.
Step 6: Fit into the Pan
Place the cut parchment paper for loaf pan into the pan. This ensures a custom fit. The creases should align with the corners and sides. Press the paper into the pan so it sits flat against the bottom and walls.
Why This Method Works
By using the pan as a template, you get a custom fit every time. The creases guide your cuts, so you do not have to guess where to trim. This method produces a liner with smooth, crumple-free corners.
Best For
Bakers who want a precise fit and clean, professional-looking corners. This method is also good if you line loaf pans frequently and want a reliable technique.
Method 2: The Measurement Method (Most Accurate)
If you prefer to measure first and cut second, this method is for you. It uses the dimensions of your pan to calculate the exact size of parchment paper for loaf pan you need.
Step-by-Step
Step 1: Measure Your Pan
Measure the length, width, and height of your loaf pan’s interior. A standard loaf pan is often 9 inches long, 5 inches wide, and 2.5 inches high.
Step 2: Calculate the Parchment Size
For a full liner that covers the bottom and all four sides, use this formula:
Length of parchment = pan length + (2 × pan height) + 2 inches (for overhang)
Width of parchment = pan width + (2 × pan height) + 2 inches (for overhang)
For example, with a 9×5×2.5 inch pan:
Length: 9 + (2 × 2.5) + 2 = 9 + 5 + 2 = 16 inches
Width: 5 + (2 × 2.5) + 2 = 5 + 5 + 2 = 12 inches
Step 3: Cut the Parchment
Cut a rectangle of parchment paper using your calculated measurements.
Step 4: Fold and Fit
Fold the edges of the parchment up to create sides. Place the liner into the pan and press it into the corners. You can trim any excess paper if needed.
Why This Method Works
Measuring eliminates guesswork. You know exactly how much parchment paper for loaf pan you need before you start cutting. This method is especially useful if you use the same pan size repeatedly.
Best For
Bakers who like precision and want to create multiple liners at once (for example, when meal prepping or baking in batches).
Method 3: The Sling Method (Best for Easy Removal)
The sling method creates a liner with long overhangs on two sides. These overhangs act like handles, allowing you to lift the finished loaf straight out of the pan.
Step-by-Step
Step 1: Cut a Strip of Parchment
Cut a strip of parchment paper for loaf pan that is as wide as your pan (or slightly wider) and long enough to cover the bottom and both short ends with extra overhang. A good rule is: length = pan length + (2 × pan height) + 4 inches.
Step 2: Place the Strip in the Pan
Lay the parchment strip into the pan so it covers the bottom and extends up the two short sides. The excess paper should hang over the rim on both ends.
Step 3: Grease the Pan (Optional)
If you want the parchment to stay in place, lightly grease the bottom of the pan before inserting the paper. The grease helps the parchment adhere.
Step 4: Secure with Clips (Optional)
If the parchment keeps shifting, you can use binder clips to hold the overhang in place while you pour your batter. Remove the clips before placing the pan in the oven.
Step 5: Bake and Lift
After baking, let the loaf cool for about 10 to 15 minutes. Then grab the two parchment overhangs and lift the loaf straight out of the pan.
Why This Method Works
The sling method allows you to remove the loaf without flipping the pan. This is a significant advantage for delicate cakes or quick breads that might crack if inverted.
Best For
Delicate baked goods like cheesecake, pound cake, or very moist quick breads. Also useful if you have arthritis or hand strength issues that make flipping a hot pan difficult.
Method 4: The Freehand Cut Method (Quickest)
If you are comfortable estimating sizes and want the fastest approach, freehand cutting works well. This method does not require measuring or folding.
Step-by-Step
Step 1: Estimate the Size
Cut a rectangle of parchment paper that looks slightly larger than your loaf pan. It is better to cut too large than too small.
Step 2: Press into the Pan
Place the parchment paper into the pan. Use your fingers to press it into the bottom and against the sides.
Step 3: Trim the Excess
Use scissors to trim away the excess paper around the rim. Leave about 1 to 2 inches of overhang on each side for easy removal.
Step 4: Snip the Corners (Optional)
If the paper bunches up in the corners, you can make small snips from the edge toward the corner. This allows the paper to lie flatter.
Why This Method Works
Freehand cutting is fast and does not require any tools besides scissors. With a little practice, you can get consistent results without measuring.
Best For
Quick baking projects when you are short on time. Also good for bakers who have lined loaf pans many times before and know roughly how much parchment paper for loaf pan they need.
Method 5: The Two-Piece Method (For Stubborn Batters)
Some batters are very sticky or high in sugar. These batters can seep through the seams of a single-piece liner. The two-piece method provides extra protection.
Step-by-Step
Step 1: Cut a Bottom Piece
Cut a piece of parchment paper for loaf pan that fits the bottom of your loaf pan exactly. You can trace the pan’s bottom or measure it.
Step 2: Cut a Long Strip
Cut a long strip of parchment paper that is as wide as your pan and long enough to cover the bottom and both short ends with overhang.
Step 3: Assemble the Liner
Place the bottom piece into the pan first. Then lay the long strip on top of it, crossing the pan lengthwise. The two pieces will overlap at the bottom.
Step 4: Grease Between Layers (Optional)
If you are concerned about batter seeping between the layers, you can lightly grease the bottom piece before adding the top strip.
Why This Method Works
The two-piece design creates overlapping layers. This makes it harder for thin or sticky batters to reach the pan surface. Using parchment paper for loaf pan in two pieces is a good choice for very moist recipes.
Best For
Sticky batters like honey cake, molasses bread, or any recipe with a high sugar content. Also useful if your parchment paper is thin or low quality.
Comparison Table: Which Method Is Right for You?
| Method | Precision | Speed | Best For |
|---|---|---|---|
| Fold and Crease | High | Medium | Clean corners, professional results |
| Measurement | Very high | Medium | Batch preparation, exact sizing |
| Sling | Medium | Fast | Easy lifting, delicate cakes |
| Freehand | Low | Very fast | Quick baking, experienced bakers |
| Two-Piece | Medium | Medium | Sticky batters, extra protection |
Tips for Getting Better Results
Here are some additional suggestions to help you line your loaf pan with confidence.
Use Quality Parchment Paper
Not all parchment paper is the same. Look for parchment that is labeled oven-safe and has a silicone coating for better non-stick performance. Unbleached parchment is a good choice if you prefer to avoid chlorine-treated products.
Lightly Grease the Pan First
A light coating of cooking spray or butter helps the parchment paper for loaf pan stay in place while you pour your batter. This prevents the paper from shifting and causing uneven sides.
Leave Enough Overhang
Aim for about 1 to 2 inches of overhang on each side. Too little overhang makes the loaf hard to lift. Too much overhang can get in the way or burn in the oven. You can always trim excess paper after placing the liner.
Crease the Corners
Whether you use the fold method or the measurement method, take a moment to crease the parchment firmly in the corners. This helps the paper sit flat against the pan and prevents batter from seeping underneath.
Do Not Skip the Cooling Step
After baking, let your loaf cool in the pan for about 10 to 15 minutes before lifting it out. This allows the structure to set. Lifting too early can cause the loaf to break apart.
Common Mistakes and How to Avoid Them
Even with good technique, a few things can go wrong when using parchment paper for loaf pan. Here is how to address common issues.
| Issue | Likely Cause | Solution |
|---|---|---|
| Parchment slips when pouring batter | Pan not greased | Lightly grease the pan before adding parchment |
| Paper bunches up in corners | Not enough trimming | Cut small snips from the edges toward the corners |
| Loaf has wrinkled sides | Paper not pressed flat | Smooth the paper against the pan before adding batter |
| Loaf sticks to paper | Old or low-quality parchment | Use fresh, high-quality parchment paper for loaf pan |
| Paper burns at the edges | Overhang too long | Trim overhang to 1-2 inches above the rim |
| Batter seeps under paper | Gaps in corners | Press paper firmly into corners; consider two-piece method |
Frequently Asked Questions
Do I need to grease the parchment paper?
Generally, no. Parchment paper has non-stick properties built in. However, for very sticky batters or older parchment paper for loaf pan, a light greasing can provide extra insurance.
Can I reuse parchment paper?
It depends. If the parchment is not heavily soiled or burnt, you can reuse it for another batch of similar baked goods. For lining a loaf pan, it is usually best to use a fresh piece of parchment paper for loaf pan for optimal non-stick performance.
What is the difference between parchment paper and wax paper?
Parchment paper is coated with silicone and is heat-resistant, making it safe for oven use. Wax paper is coated with wax and will melt or smoke in the oven. Never use wax paper as parchment paper for loaf pan.
Can I use aluminum foil instead of parchment paper?
You can, but it is not ideal. Aluminum foil does not have non-stick properties, so you would need to grease it well. Foil can also react with acidic ingredients. Parchment paper is generally a better choice for lining loaf pans.
How do I line a Pullman loaf pan (with a lid)?
The same methods work for Pullman pans. Just make sure the parchment paper for loaf pan does not interfere with the lid. Trim the overhang so it sits below the rim of the pan.
Conclusion
Cutting parchment paper for loaf pan does not have to be complicated. With a few simple techniques, you can line any loaf pan quickly and effectively.
The 5 methods covered in this guide are:
Fold and crease – for a precise, custom fit
Measurement – for exact sizing and batch preparation
Sling – for easy lifting without flipping the pan
Freehand cut – for speed and convenience
Two-piece – for sticky batters and extra protection
Each method works for different situations. You may find that one method works best for your favorite loaf pan. With practice, you will learn what works for your kitchen, your recipes, and your baking style.
A well-lined loaf pan saves you from stuck bread, crumbly corners, and messy cleanup. Taking a moment to prepare parchment paper for loaf pan makes a noticeable difference in your baking results.