Introduction
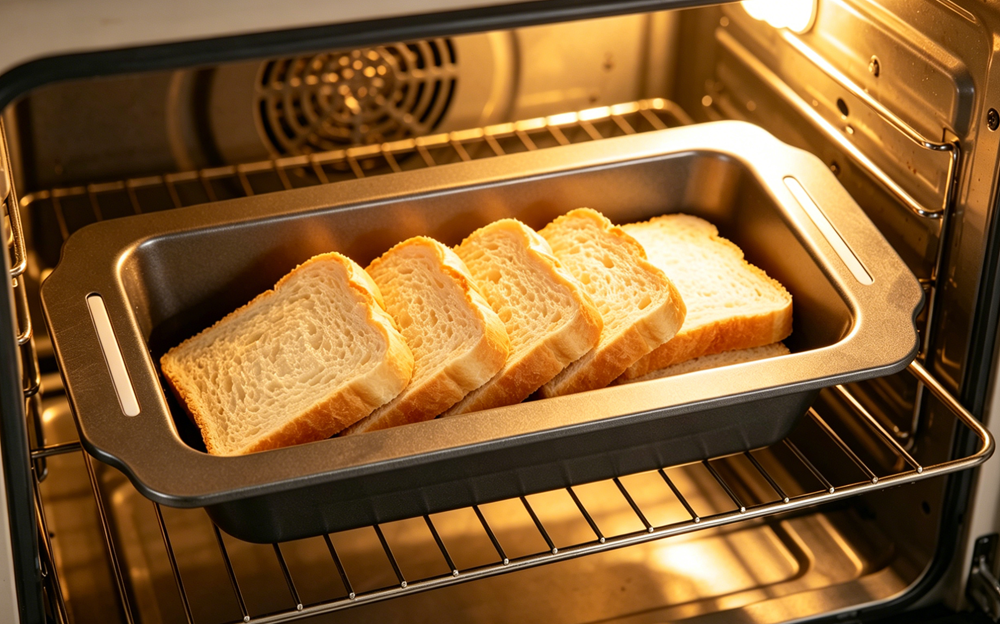
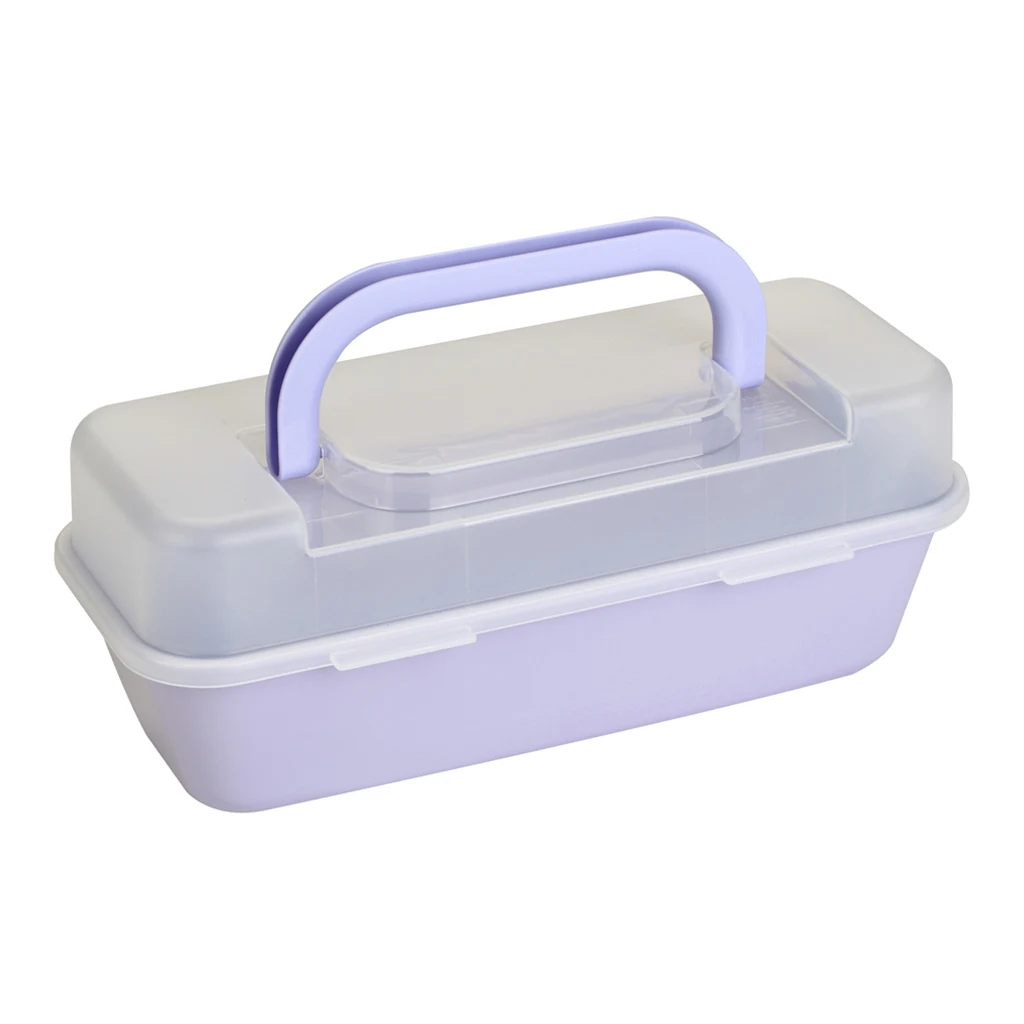
A nonstick loaf pan is the standard tool for baking sandwich bread. You can also use the same nonstick loaf pan to toast bread in the oven. This is useful when you don’t have a toaster, when you need to toast several slices at once, or when you want to add toppings like cheese while toasting.
Because your nonstick loaf pan has a sprayed-on non-stick coating (oil-based silicone paint), it is designed for oven use only. It should never be placed directly on a stovetop or open flame. All the methods in this article use an oven.
Below are 7 simple ways to toast bread using a nonstick loaf pan.
What You Need
A nonstick loaf pan (carbon steel with non-stick coating)
Sliced bread (any type)
Butter or oil (optional)
Oven
Tongs or a fork
Oven mitts
Before you start, make sure your nonstick loaf pan is clean and dry. Check that the pan is within its recommended temperature limit. Most coated nonstick loaf pans are safe up to 450°F (230°C).
Method 1: Basic Oven Toasting
This is the most straightforward way to toast bread in a nonstick loaf pan.
Preheat your oven to 375°F (190°C). Place the nonstick loaf pan on the middle oven rack. Arrange 2 to 3 slices of bread in the pan in a single layer. Do not overlap.
Toast for 4 to 6 minutes. Flip the bread using tongs or a fork. Toast for another 3 to 5 minutes. The toast is ready when it reaches your preferred color and crispness.
This method gives you evenly toasted slices without much effort.
Method 2: Toasting with Butter
Adding butter before toasting gives the bread more flavor and helps it brown.
Lightly brush one side of each bread slice with melted butter or olive oil. Place the slices in the nonstick loaf pan with the buttered side up.
Preheat the oven to 375°F (190°C). Put the pan in the oven. Toast for 5 to 7 minutes. Flip the slices and toast for another 3 to 4 minutes.
The butter creates a golden, slightly crisp surface. You can use salted butter, unsalted butter, or garlic butter.
Method 3: Covered Toasting for a Softer Interior
Using a cover traps some moisture. This gives you a toast that is crisp on the outside but softer inside.
Preheat the oven to 375°F (190°C). Place the bread slices in the nonstick loaf pan. Cover the pan with a piece of aluminum foil. Make sure the foil is tucked around the edges but does not touch the heating elements.
Toast for 5 minutes with the foil on. Remove the foil. Flip the bread. Toast for another 3 to 4 minutes without the foil.
This method works well for thicker slices of bread, such as sourdough or whole grain loaves.
Method 4: Low-Temperature Toasting for Drying Bread
If you want to dry out bread for breadcrumbs, stuffing, or croutons, use a lower oven temperature.
Preheat the oven to 300°F (150°C). Arrange the bread slices in the nonstick loaf pan in a single layer.
Toast for 8 to 10 minutes without flipping. Check the bread. If it is not dry enough, toast for another 3 to 5 minutes.
The bread will become firm and dry but will not darken much. This method takes longer but gives you evenly dried bread.
Method 5: Cheese Toast
Making cheese toast in a nonstick loaf pan is simple. The non-stick coating helps prevent the melted cheese from sticking.
Preheat the oven to 400°F (200°C). Place the bread slices in the nonstick loaf pan. Sprinkle shredded cheese evenly over the bread. Cheddar, mozzarella, provolone, or a mix all work well.
Put the pan in the oven. Toast for 5 to 7 minutes. The cheese should be fully melted and slightly bubbly. For a browner top, switch the oven to broil for the last 1 minute. Watch carefully so the cheese does not burn.
You can add other toppings before toasting, such as sliced tomato, oregano, or cooked pepperoni.
Method 6: Toasting Frozen Bread Directly
You do not need to thaw frozen bread before toasting it. The nonstick loaf pan handles frozen slices without any problem.
Preheat the oven to 375°F (190°C). Take the frozen bread slices directly from the freezer. Place them in the nonstick loaf pan in a single layer.
Toast for 8 to 10 minutes. Flip the bread halfway through. Check the bread. Frozen bread may need 2 to 3 extra minutes to reach the desired color.
This method is useful for quick breakfasts. You can also toast frozen waffles or frozen bagels the same way.
Method 7: Toasting with Toppings Baked In
You can toast bread with dry toppings already on it. This works well for cinnamon sugar, sesame seeds, poppy seeds, or grated Parmesan cheese.
Lightly brush the bread with butter or oil. Sprinkle the dry topping evenly over the bread. Place the slices in the nonstick loaf pan.
Preheat the oven to 375°F (190°C). Toast for 5 to 6 minutes. Flip the bread and toast for another 3 to 4 minutes.
The topping stays on the bread better than if you add it after toasting.
Tips for Using a Nonstick Loaf Pan in the Oven
Here are a few tips to help you get good results every time.
⚠️Do not overcrowd the pan. Leave a small space between each slice of bread. Overcrowding traps steam and can make the bread soft instead of crisp.
⚠️Flip the bread halfway through. For most methods, flipping gives you more even toasting. The non-stick coating makes flipping easy.
⚠️Stay within the recommended temperature. Most coated nonstick loaf pans are safe up to 450°F (230°C). Check the manufacturer’s instructions for your specific pan.
⚠️Do not use the pan on a stovetop. The nonstick loaf pan is for oven use only. Direct heat can damage the coating and the carbon steel.
⚠️Let the pan cool before cleaning. After you finish toasting, set the nonstick loaf pan aside to cool. Wash it with warm, soapy water and a soft sponge. Do not use abrasive scrubbers or steel wool.
Common Questions
Can I use a nonstick loaf pan under the broiler?
Some nonstick loaf pans can handle brief broiling at the end of toasting, but check the manufacturer’s instructions first. High broiler heat can damage some non-stick coatings. If you use the broiler, watch the pan closely and keep it a few inches away from the heating element.
Will high heat damage the coating?
Prolonged exposure to very high heat (above the pan’s recommended limit) may damage the non-stick coating. Stay within 450°F (230°C) unless the manufacturer states otherwise.
Can I toast bagels or English muffins in a nonstick loaf pan?
Yes. The same methods work for bagels, English muffins, and thick slices of artisan bread. You may need to adjust the toasting time slightly.
Do I need to use butter or oil?
No. The non-stick coating prevents sticking without added fat. But butter or oil can add flavor and help the bread brown more evenly.
How do I keep the bread from drying out?
If you prefer softer toast, try the covered method (Method 3). The foil traps some moisture, so the inside stays softer while the outside becomes crisp.
Troubleshooting
The bread sticks to the pan.
If the bread sticks, the non-stick coating may be worn. Try lightly greasing the nonstick loaf pan with a small amount of oil or butter before adding the bread.
The toast is unevenly browned.
The oven temperature may not be even. Rotate the nonstick loaf pan halfway through the toasting time. Also, make sure the pan is on the middle rack.
The bread burns before the inside is done.
The oven temperature is too high. Lower the temperature by 25°F (about 15°C) and toast for a longer time.
The bread is too dry and hard.
You toasted it for too long. Next time, reduce the toasting time or try the covered method.
The coating is peeling.
The nonstick loaf pan has worn out. Replace it with a new one. Do not use a pan with peeling coating.
Caring for Your Nonstick Loaf Pan
A nonstick loaf pan lasts longer when you take care of it.
Hand wash only. Use mild soap and a soft sponge. Dishwashers can damage the sprayed-on non-stick coating.
Use soft utensils. Silicone, nylon, or wooden tools are safe. Metal utensils can scratch the coating.
Store the pan in a dry place. If you stack other pans on top of it, place a paper towel or soft cloth between them to protect the coating.
Do not use on a stovetop. The pan is for oven use only.
With proper care, a nonstick loaf pan can serve you well for many years, whether you are baking bread or toasting slices in the oven.
Final Thoughts
A nonstick loaf pan is a practical tool for toasting bread in the oven. You can use it for plain toast, buttered toast, cheese toast, or dried bread for recipes. The 7 methods in this guide give you options for different situations.
Because your nonstick loaf pan has a sprayed-on non-stick coating, it is important to use it only in the oven. Keep the temperature within the recommended range. Hand wash the pan and avoid metal tools.
With a little practice, you will get consistent results from your nonstick loaf pan.