Introduction
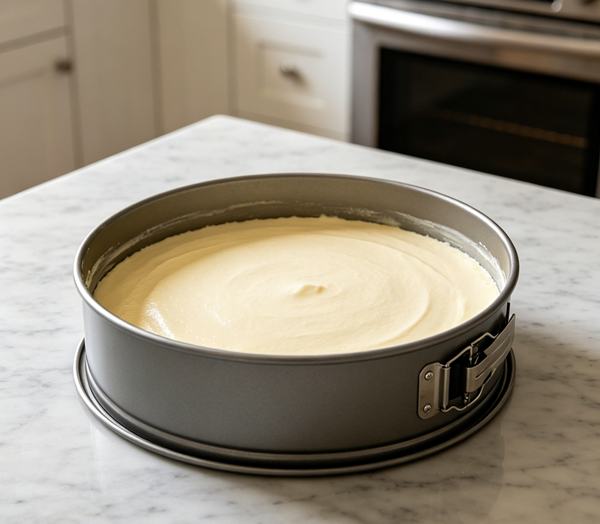
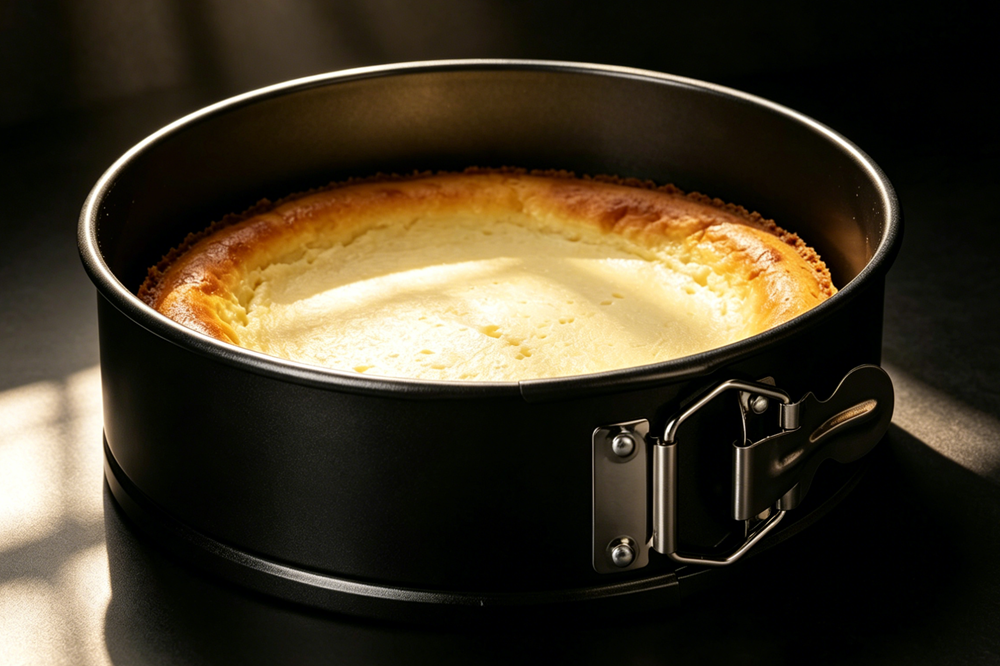
A springform pan is a special type of bakeware with a removable bottom and a side ring that opens with a clamp. This design is very useful for delicate desserts like cheesecake.
Unlike regular cake pans, this tool allows you to remove the sides without flipping the cake upside down. This is a big advantage for soft, creamy cheesecakes that might crack or break. Standard cake pans require flipping, which can be risky for delicate textures.
But many home bakers feel nervous about using this tool. The biggest worry is batter leaking through the bottom. A leak can create a mess in your oven and ruin your cheesecake. Some people avoid using their springform pan altogether because of this fear.
The good news is that leaking is easy to prevent. With a few simple steps, you can produce beautiful, leak-free cheesecakes every time. This article covers 6 easy steps for using a springform pan without leaks.
What Is a Springform Pan?
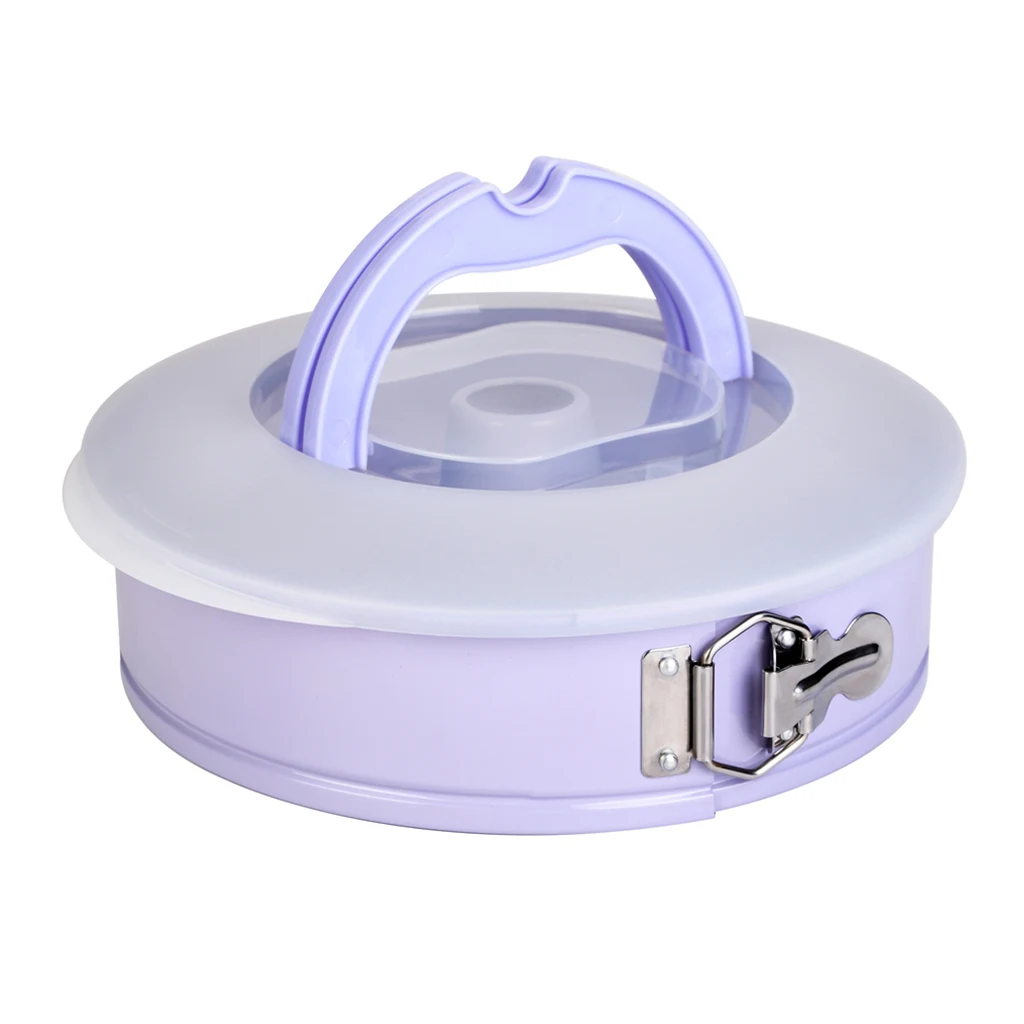
Before we dive into the steps, let us understand what this bakeware looks like. The pan has two main parts: a flat metal base and a removable side ring. The side ring has a spring-loaded clamp or latch.
When the latch is closed, the ring fits tightly against the base. When you open the latch, the ring expands slightly and can be lifted away. This design is perfect for cheesecakes, tortes, and ice cream cakes. A good springform pan should have a smooth coating and a sturdy clamp that stays closed during baking.
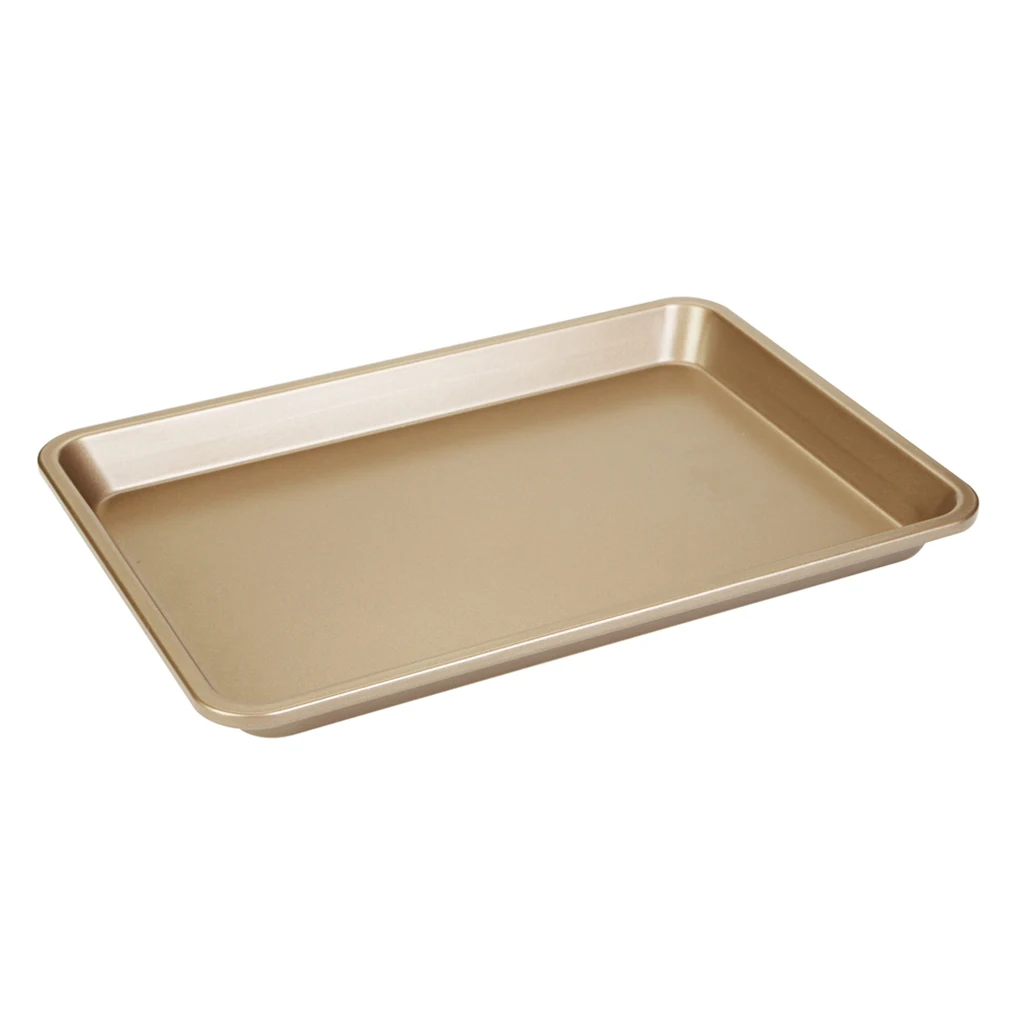
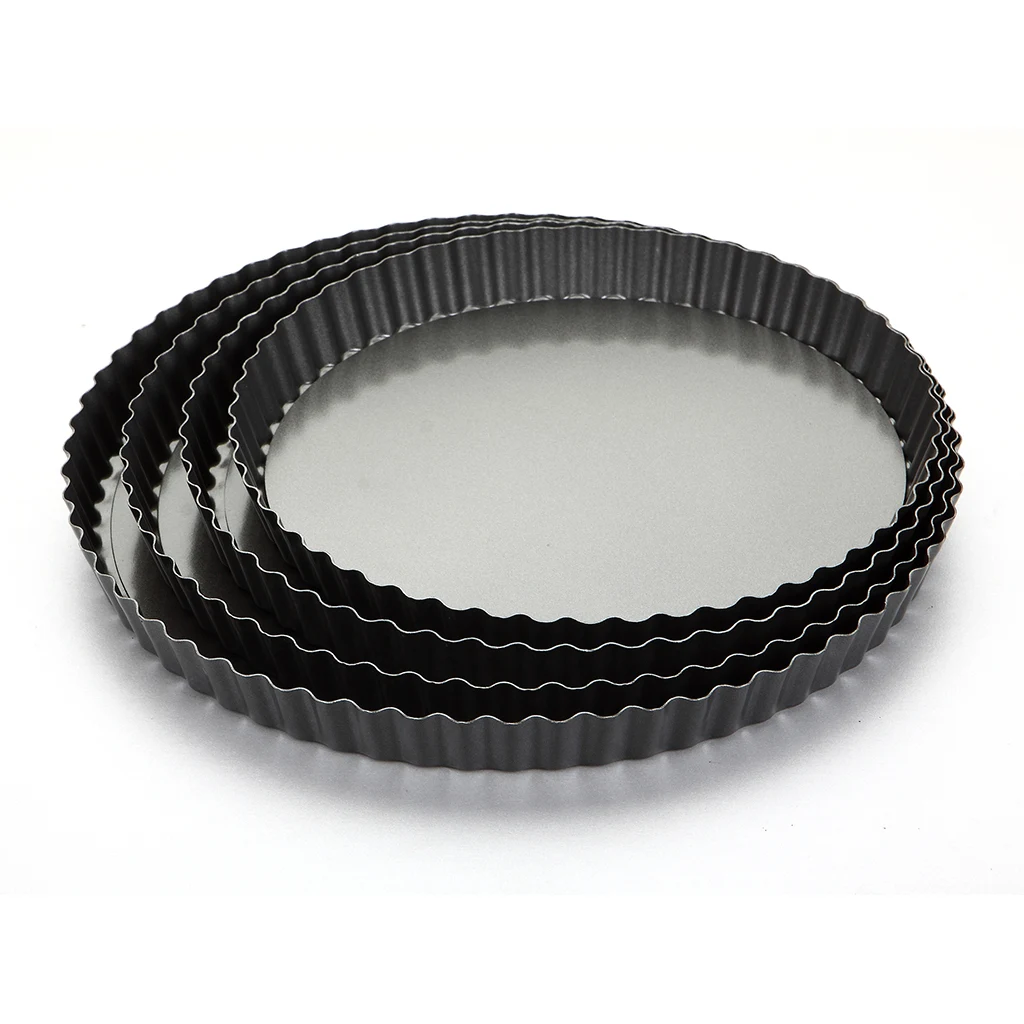
Springform pan products come in various sizes. The most common size is 9 inches in diameter. You can also find 7-inch, 8-inch, and 10-inch pans. Some are smaller for mini cheesecakes. The material also varies. Many are made of carbon steel with a non-stick coating. Others are made of aluminized steel or glass.
For most home bakers, a 9-inch carbon steel springform pan with a non-stick coating offers a good balance of performance and value. It heats evenly, releases well, and fits most recipes. Some brands also offer silicone versions, but metal pans generally produce better browning.
Now that you understand the basic design of a springform pan, let us look at how to use it without leaks. The following six steps will guide you through the entire process.
Step 1: Check Your Pan Before Use
Before you start baking, inspect your pan. A damaged pan is more likely to leak. Take a few minutes to examine all parts carefully.
Look at the bottom of your pan. It should be completely flat. Any warping or bending can create small gaps where batter can escape. Place the bottom on a flat counter and press down on the edges. If it rocks or wobbles, the pan may be warped and should be replaced.
Check the side ring. The clamp should close firmly and smoothly. When the clamp is closed, the ring should fit snugly against the bottom. There should be no visible gaps between the ring and the base. Run your finger along the seam to feel for any irregularities.
Also inspect the non-stick coating. If the coating is peeling, scratched, or damaged, the pan may need replacement. A damaged coating can cause sticking and may flake into your food. If your springform pan is in good condition, you are ready to prepare it for baking.
A well-maintained springform pan is the first step to a successful, leak-free cheesecake. Taking a few minutes to inspect your pan before each use is a good habit that will save you from potential disasters.
Step 2: Assemble the Pan Correctly
Proper assembly is very important. Many leaks happen because the pan is put together wrong. Follow these steps carefully to ensure a tight seal.
Place the bottom on a flat surface with the smooth side facing up. The side with a slight lip or ridge should face down. This orientation is important for the pan to seal correctly. Some people accidentally put the bottom upside down, which creates a gap.
Place the side ring around the bottom. Make sure the ring sits evenly all the way around. The bottom should be centered inside the ring. Close the clamp. You should hear a click when it locks into place.
Gently try to separate the ring from the bottom. If there is any gap or wobble, reopen the clamp and try again. A tight seal is essential for a springform pan to work correctly. If the pan does not feel secure, do not use it for a wet batter.
Some bakers also like to flip the assembled springform pan over and check that the bottom is sitting flush with the ring. This extra check takes only a few seconds but can save you from a messy oven. Once your springform pan is assembled correctly, you can move on to the next step.
Step 3: Use Aluminum Foil to Prevent Leaks
Even with a well-assembled pan, some batters may still leak. Thin cheesecake batters are especially prone to seeping through small gaps. Wrapping the pan in aluminum foil provides an extra layer of protection.
Tear off a large piece of heavy-duty aluminum foil. Regular foil can tear more easily, so heavy-duty foil is a better choice. The foil should be large enough to wrap around your springform pan completely, including the sides.
Place your springform pan in the center of the foil. Bring the foil up around the sides of the pan. Crimp the foil tightly against the pan, making sure there are no loose areas. The foil should hug the pan closely to prevent water from seeping in during the water bath.
For best results, use two layers of foil. Double-wrapping provides extra strength and reduces the chance of tears. Make sure there are no holes in the foil. Even a small tear can let batter escape from your springform pan during baking.
Place the foil-wrapped pan on a baking sheet. The baking sheet will catch any drips if the foil leaks. This is a good safety measure even when you are confident in your wrapping. Now your springform pan is ready for the crust and filling.
Step 4: Prepare the Bottom and Sides
Proper preparation helps the cheesecake release easily after baking. Take your time with this step to ensure good results.
Grease the bottom and sides lightly. Use butter, shortening, or cooking spray. A light coating is usually enough because most cheesecakes have a crust. Use a pastry brush to reach all the corners where the bottom meets the ring.
For the crust, press your crumb mixture firmly into the bottom. Graham cracker crumbs, cookie crumbs, or ground nuts all work well. Press the crust about one inch up the sides. This helps seal the gap between the bottom and the ring.
Use the bottom of a measuring cup or a flat glass to press the crust firmly. An even, compact crust is less likely to allow batter to seep underneath. Pay extra attention to the edge where the crust meets the ring. A well-pressed crust creates a natural barrier.
For extra insurance, place a circle of parchment paper in your springform pan before adding the crust. Trace the bottom of the pan on parchment paper. Cut out the circle just inside the line. Place the parchment circle on top of the greased bottom before pressing in the crust.
This parchment layer provides an additional barrier against leaks. It also makes it easier to remove the finished cheesecake from the springform pan bottom. For chocolate crusts, you may skip the parchment. The crust itself creates a good barrier.
Step 5: Bake in a Water Bath
Many cheesecake recipes recommend a water bath, also known as a bain-marie. A water bath helps the cheesecake bake evenly and prevents cracks on the surface. It also helps your pan stay leak-free when wrapped in foil.
Place the foil-wrapped springform pan inside a larger roasting pan or baking dish. A roasting pan that is 2 to 3 inches larger works well. The larger pan should have high enough sides to hold water without spilling.
Put the assembly in the oven on the middle rack. Make sure the oven rack is level. Pour hot water into the larger pan. The water should reach about halfway up the sides of your springform pan. Do not fill the water too high, or it may splash into the cheesecake.
Be very careful not to splash water into the pan itself. Water in the batter can affect the texture of your cheesecake. It can also prevent the crust from setting properly. If you are using a springform pan, always wrap it well with foil before placing it in a water bath.
Bake according to your recipe directions. The water bath creates steam that gently cooks the cheesecake from all sides. This gentle heat helps your springform pan produce a smooth, crack-free top. The cheesecake will also bake more evenly, with no burnt edges or undercooked center.
After baking, carefully remove the pan from the water bath. Use oven mitts and be cautious of hot water. Place the springform pan on a wire rack to cool. Let the water bath cool before disposing of the water.
Step 6: Remove the Cheesecake
Removing the cheesecake from the pan is the final step. With proper cooling, this step is not difficult. Patience is the key to success here.
Let the cheesecake cool in the pan on a wire rack for 1 to 2 hours. The cheesecake needs time to set at room temperature before refrigeration. Do not rush this step, or the cheesecake may crack.
After room temperature cooling, refrigerate your springform pan for at least 4 hours. Overnight chilling is even better. The cold temperature helps the cheesecake firm up completely, making it easier to remove from the pan.
After chilling, run a thin knife around the inside edge of the pan. Gently slide the knife between the cheesecake and the side ring. Go all the way around to loosen any stuck areas. A thin, flexible knife works best for this task.
Open the clamp. The side ring should loosen immediately. Carefully lift the ring straight up and away from the cheesecake. If the ring sticks, run the knife around again before lifting.
The cheesecake now sits on the bottom of the pan. To serve, slide a thin spatula between the crust and the bottom. Gently transfer the cheesecake to a serving plate. If you used parchment paper, simply lift the paper edges to move the cheesecake.
Many people serve the cheesecake directly on the pan bottom. The bottom is flat and presentable, and this method eliminates the risk of breaking the cheesecake during transfer. This is a common way to serve cheesecake made in a springform pan.
How to Clean Your Pan
After using your pan, proper cleaning helps it last longer. Take care of your pan so it stays in good condition for many bakes.
Hand wash with warm, soapy water. Use a soft sponge. Avoid steel wool or abrasive scrubbers, as they can scratch the non-stick coating. Dishwashers are not recommended for most springform pan products.
Pay extra attention to the gap where the bottom meets the ring. Crumbs and residue can get trapped there. A small brush or an old toothbrush can help clean these hard-to-reach areas.
Dry your pan completely before storing. Moisture can cause rust on some metal pans. Use a soft towel to dry all surfaces, including the clamp mechanism.
Store your pan with the clamp open. This prevents stress on the spring mechanism. If you stack other pans inside, place a paper towel between them to prevent scratches.
Common Questions
Do I need to grease a springform pan? Lightly greasing is a good idea. Use butter or cooking spray.
Why does my springform pan leak? Leaks usually happen when the pan is not assembled correctly. Check that the bottom faces the right way and the clamp is fully closed.
Can I use a springform pan for regular cakes? Yes, but it is not necessary. A springform pan is most useful for delicate desserts that should not be flipped.
What size should I buy? A 9-inch springform pan is the most common size. Most cheesecake recipes are written for this size.
Can I put it in the dishwasher? Most springform pans should be hand washed. Dishwashers can damage the non-stick coating and the spring mechanism.
Conclusion
A springform pan is a wonderful tool for making cheesecake and other delicate desserts. With the right techniques, you can use it without worrying about leaks. The 6 easy steps covered in this guide will help you succeed every time. With proper care, your pan will last for many years of delicious baking.