Introduction
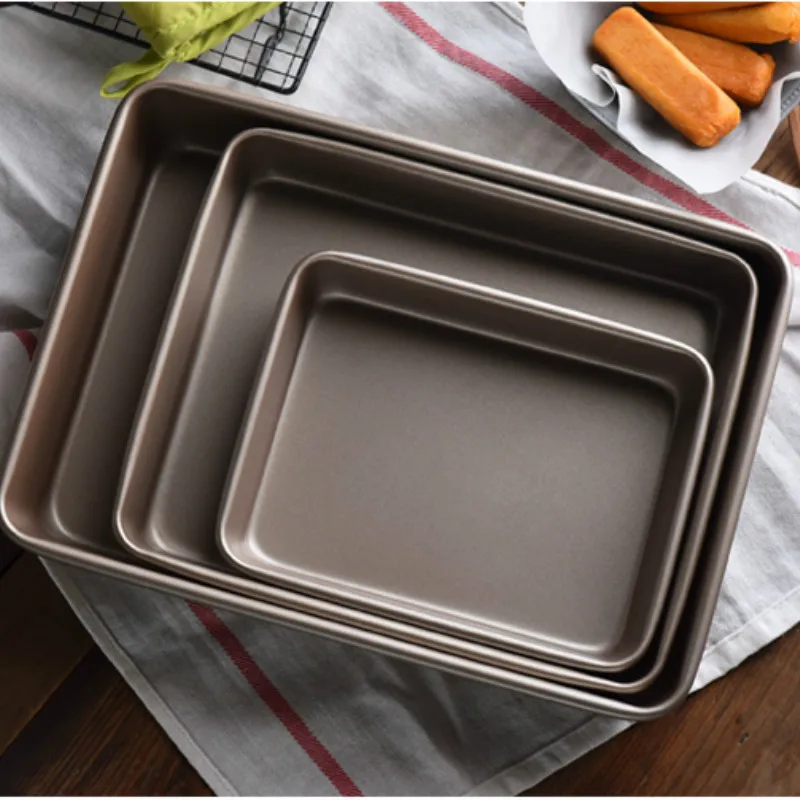
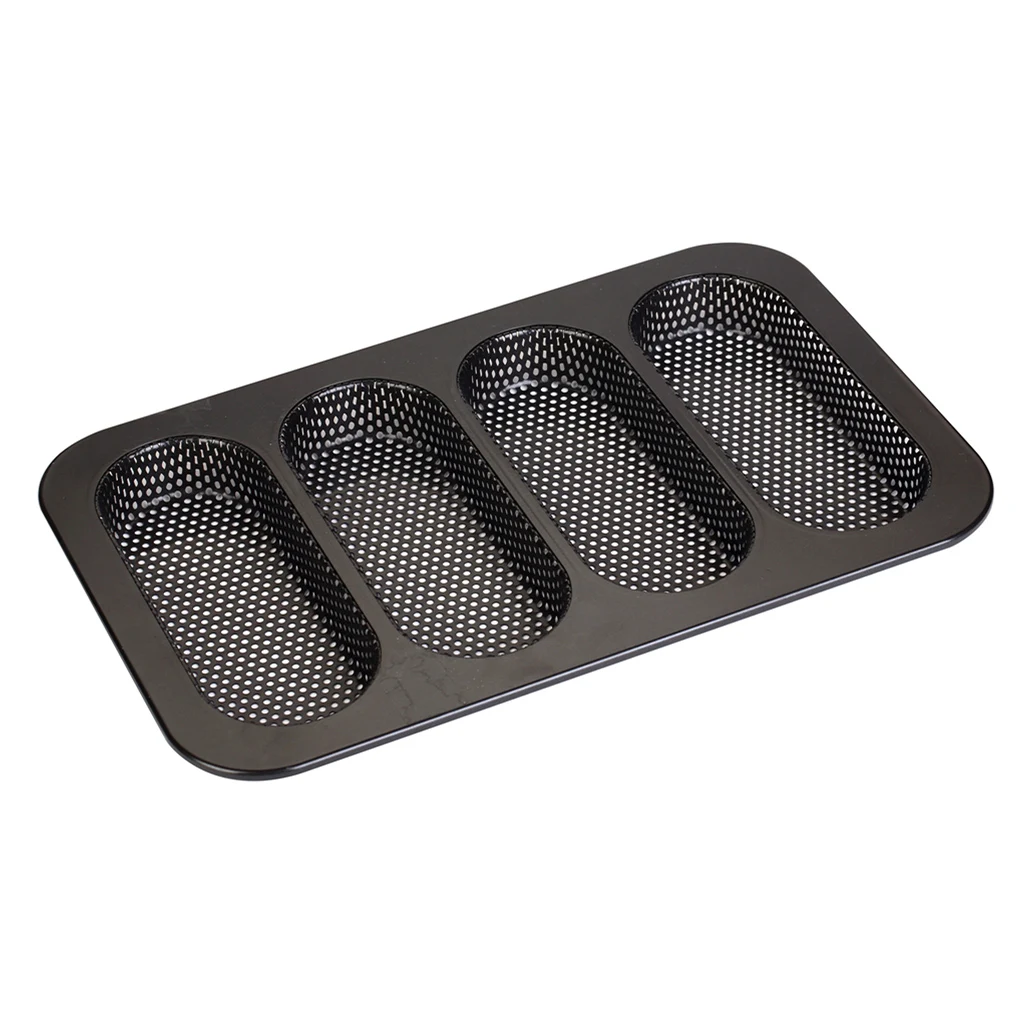
A non-stick loaf pan is one of the most useful tools for home bakers. You can use it for banana bread, sandwich loaves, pound cake, and even meatloaf. Using this pan correctly makes a big difference in your baking results.
The right preparation and baking techniques help your bread release easily. The loaf keeps its shape, and cleanup becomes much faster. This article covers 7 essential tips for using a non-stick loaf pan to get perfect bread every time.
You will learn about preparing the pan, filling it correctly, adjusting baking time, and caring for your bakeware. By the end, you will feel confident baking any loaf recipe.
1. Choose the Right Recipe
Not every bread recipe works the same way in a non-stick loaf pan. Some batters are denser, while others are lighter.
Dense batters like pound cake, banana bread, and zucchini bread perform very well. These batters are thick and heavy. They hold their shape during baking and do not stick easily to the non-stick surface.
Light batters like sponge cake can be more challenging. If you have a recipe written for a glass pan, you can use it in a non-stick loaf pan. Keep the same oven temperature. The baking time may be slightly shorter.
Choosing the right recipe is the first step to success with a non-stick loaf pan.
2. Prepare the Pan Properly
Many people think a non-stick loaf pan does not need any preparation. That is not always true. Even with a non-stick surface, a light coating of grease can help.
The non-stick coating reduces sticking, but it is not perfect. Over time, the coating may wear down in certain spots. A thin layer of butter, shortening, or cooking spray provides extra insurance.
Use a paper towel or pastry brush to apply a thin, even layer of grease. Make sure you cover the bottom and all four sides. Pay extra attention to the corners, where batter often clings.
For batters with high sugar content, add a dusting of flour after greasing your non-stick loaf pan. The flour absorbs excess moisture and helps the loaf release. For chocolate breads, use cocoa powder instead.
Proper preparation of your non-stick loaf pan takes very little time but saves you from frustration later.
3. Fill the Pan Correctly
How you fill your non-stick loaf pan affects how the bread bakes and releases.
Fill your pan about two-thirds to three-quarters full. Most standard loaf pans hold about 6 cups of batter. Overfilling can cause the batter to spill over the sides during baking. This creates a mess and can make the loaf stick.
Use a spatula to spread the batter evenly in your non-stick loaf pan. Make sure the batter reaches all four corners. Uneven distribution can lead to lopsided loaves that are harder to remove.
After filling, lift the pan a few inches above the counter and drop it gently. Repeat two or three times. This helps air bubbles rise and settles the batter into the corners.
Proper filling of your non-stick loaf pan helps the bread bake evenly and release cleanly.
4. Adjust Baking Time and Temperature
A non-stick loaf pan made of metal conducts heat differently than glass or ceramic pans.
If you are using a dark-coated non-stick loaf pan, consider lowering your oven temperature by 25°F. Dark pans absorb more heat. This can cause the outside of your bread to brown too quickly while the inside remains undercooked.
Bread baked in this pan typically takes 45 to 60 minutes. Start checking at 40 minutes. Insert a long skewer or toothpick into the center of the loaf. The bread is likely done when the skewer comes out clean or with a few moist crumbs.
After removing the non-stick loaf pan from the oven, let it cool on a wire rack for 10 to 15 minutes. This allows the loaf to set and begin pulling away from the sides. Do not let the bread cool completely in the pan, as this can cause sticking.
Proper temperature and timing help your non-stick loaf pan perform at its best.
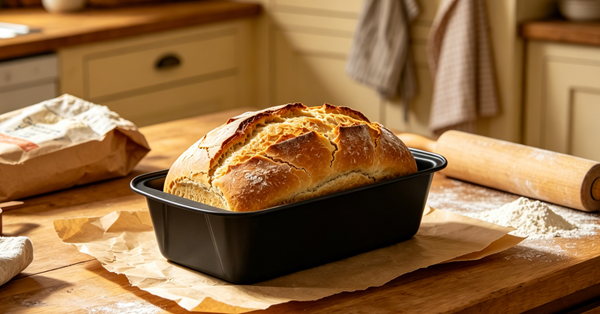
5. Release the Bread from the Pan
This step is often the most nerve-wracking part of baking. With a non-stick loaf pan, it is usually straightforward.
After the 10 to 15 minute cooling period, run a thin spatula around the edges. Gently slide it between the bread and the pan. Be careful not to cut into the loaf itself.
Place a wire cooling rack upside down on top of the non-stick loaf pan. Hold the rack firmly against the pan. Flip the pan over in one smooth motion. Lift the pan slowly. The bread should release onto the rack.
If the bread does not release right away, do not force it. Place a hot, damp towel over the bottom of the pan for a few minutes. The steam can help loosen the bread. You can also tap the pan gently on the counter.
A well-maintained non-stick loaf pan makes this step much easier than other types of pans.
6. Clean and Care for Your Pan
Proper care extends the life of your non-stick loaf pan. The coating is durable but not indestructible.
Most non-stick bakeware should be hand washed. Dishwasher detergents can damage the coating over time. Use warm, soapy water and a soft sponge. Avoid steel wool or abrasive scrubbers.
If food sticks to your non-stick loaf pan, soak it in warm, soapy water for 15 minutes. Use a soft sponge or nylon brush to remove residue. For stubborn spots, make a paste of baking soda and water. Apply it to the spots and let it sit for 15 minutes, then scrub gently.
Metal knives or spatulas can scratch the non-stick coating. Use silicone, nylon, or wooden tools instead.
Store your non-stick loaf pan in a dry place. If you stack other pans inside it, place a paper towel or soft cloth between them to prevent scratches. Do not stack heavy items on top of your bakeware.
With proper care, a good non-stick loaf pan can last for many years of regular baking.
7. Know When to Replace Your Pan
Even the best non-stick loaf pan will eventually wear out. Knowing when to replace it helps you avoid baking problems.
Look for these signs that your pan needs replacement:
The non-stick coating is peeling or flaking
Food sticks even after greasing
The pan is warped and does not sit flat
There are deep scratches in the coating
A damaged non-stick loaf pan can cause food to stick and burn. Peeling coating may also get into your food. Replacing an old pan ensures better baking results and food safety.
With proper care, a quality pan can last 3 to 5 years. If you bake very often, you may need to replace it sooner.
Knowing when to replace your non-stick loaf pan helps you maintain consistent baking results.
Common Questions
Do I need to grease a non-stick loaf pan?
Even with a non-stick loaf pan, a light greasing can help. Use butter, shortening, or cooking spray. This is especially helpful for high-sugar batters.
Can I use this pan for meatloaf?
Yes. A non-stick loaf pan works very well for meatloaf. The surface helps the meatloaf release easily. You may still want to lightly grease the pan for extra insurance.
Why does my bread stick?
Bread may stick if the coating is worn. It could also stick if you did not let the bread cool enough. Try greasing your non-stick loaf pan lightly even if the coating looks fine.
Can I put this pan in the dishwasher?
Check the manufacturer’s instructions. Most non-stick loaf pan products should be hand washed. Dishwasher detergents can damage the coating.
What size should I buy?
A standard 8.5 x 4.5 inch non-stick loaf pan is the most versatile choice. It works for most bread and cake recipes.
Conclusion
A non-stick loaf pan is a valuable tool for any home baker. With the right preparation and care, it helps you bake beautiful loaves that release easily.
The 7 essential tips covered in this guide are:
Choose the right recipe
Prepare the pan with light greasing
Fill the pan two-thirds to three-quarters full
Adjust baking time and temperature
Release the bread after 10 to 15 minutes
Clean and care for your pan by hand
Know when to replace your pan
A good non-stick loaf pan makes baking more enjoyable and cleanup much faster. With proper care, your pan will help you bake delicious breads and cakes for many years.