While artisan boules showcase sourdough’s rustic charm, there’s unparalleled satisfaction in pulling a perfectly rectangular, golden-brown loaf from your own oven. Mastering how to bake sourdough in a loaf pan unlocks a world of consistent, sliceable bread perfect for daily meals. This method offers structural support for reliable oven spring and yields the uniform slices dreamt of by sandwich lovers. Whether you’re seeking to tame a high-hydration dough or simply want picture-perfect toast, this guide provides the complete roadmap.
Unlocking the Advantages of the Loaf Pan Method
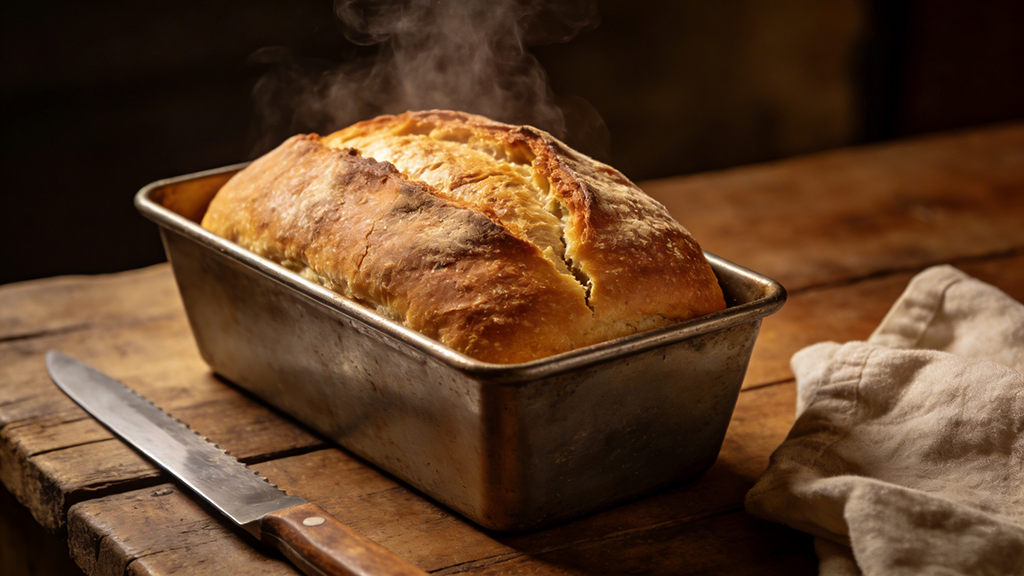
Choosing a loaf pan over free-form baking isn’t a compromise; it’s a strategic decision with multiple benefits that simplify the sourdough process while delivering exceptional results. This is a core benefit when you learn how to bake sourdough in a loaf pan.
- Consistent Shape & Height: The pan acts as a mold, guiding the dough’s final rise and bake into a predictable, sandwich-friendly form every single time.
- Superior Structural Support: For doughs that are slightly over-proofed or higher in hydration, the pan’s walls prevent excessive spreading, ensuring a good rise.
- Softer, More Palatable Crust: The enclosed sides create a microenvironment that often results in a tender, golden crust—ideal for those who prefer a less chewy exterior.
- Streamlined Process: Eliminates the need for a baking stone or Dutch oven, along with the risky transfer of a proofed loaf. The dough is shaped, proofed, and baked in the same vessel.
- Optimized for Slicing and Storage: The straight edges and square profile make for neat slices that fit perfectly in toasters and sandwich bags.
Gearing Up: Essential Equipment and Ingredients
Success in learning how to bake sourdough in a loaf pan starts with the right tools. Here’s what you’ll need.
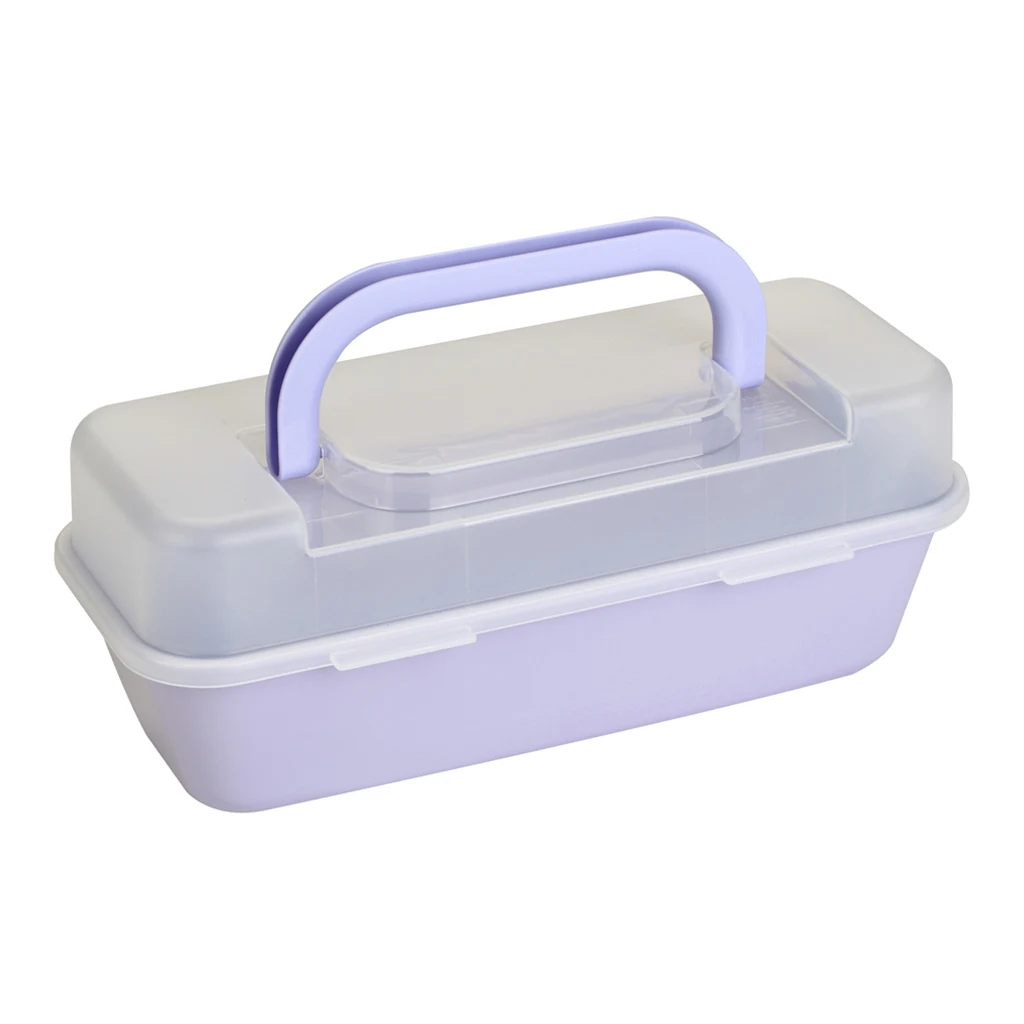
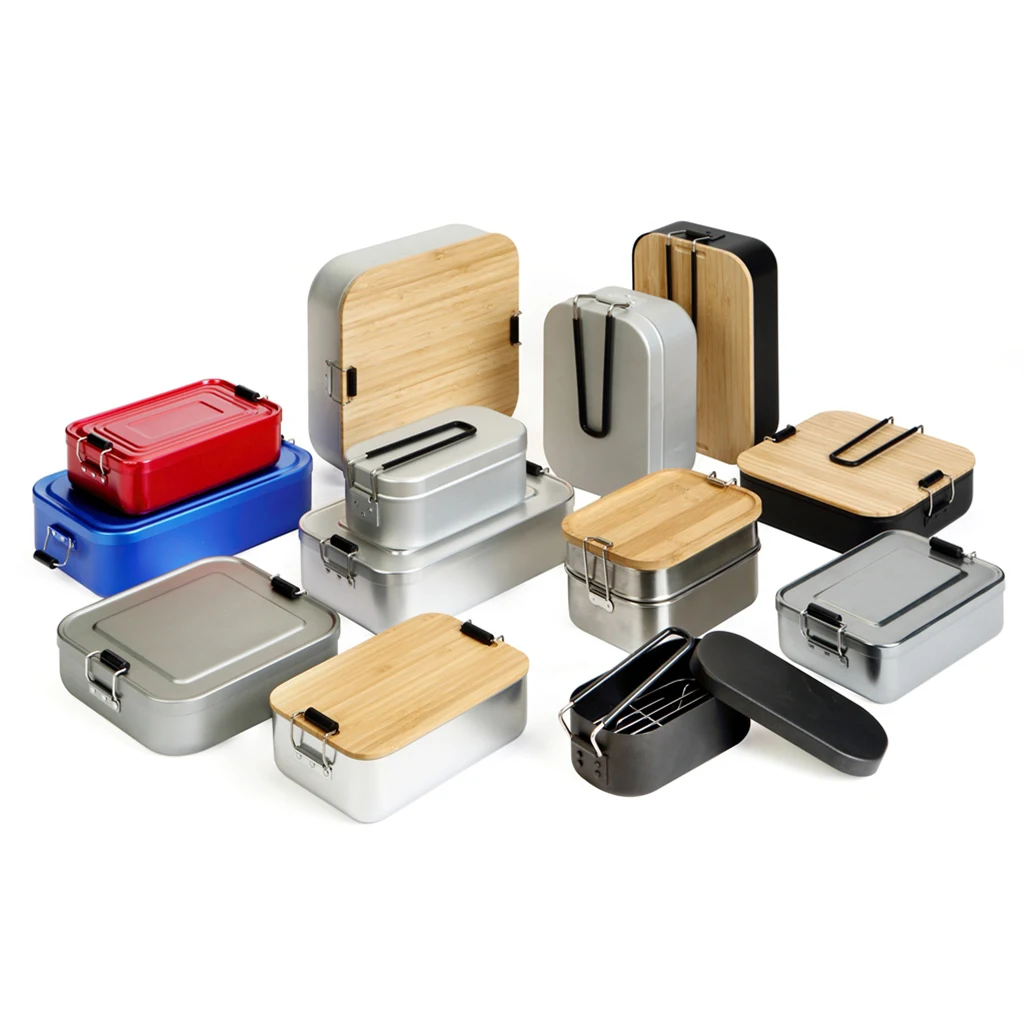
Selecting the Perfect Loaf Pan
Your pan choice influences heat conduction, crust development, and ease of release. Understanding the options is key.
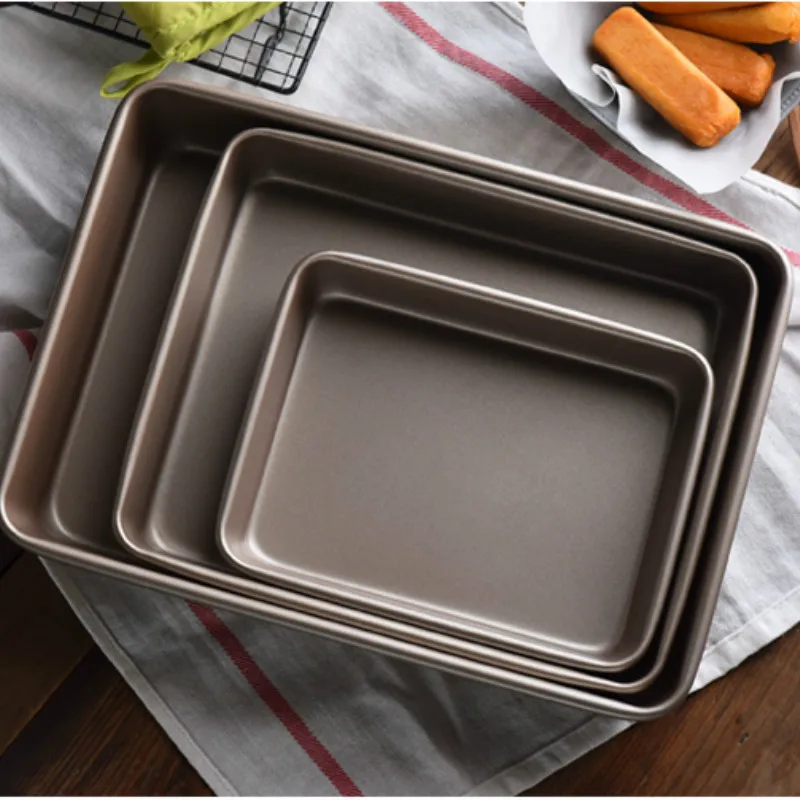
- Aluminum (Light-Colored): Excellent for even heating, promoting consistent browning and a balanced crust. A versatile, reliable choice for most bakers.
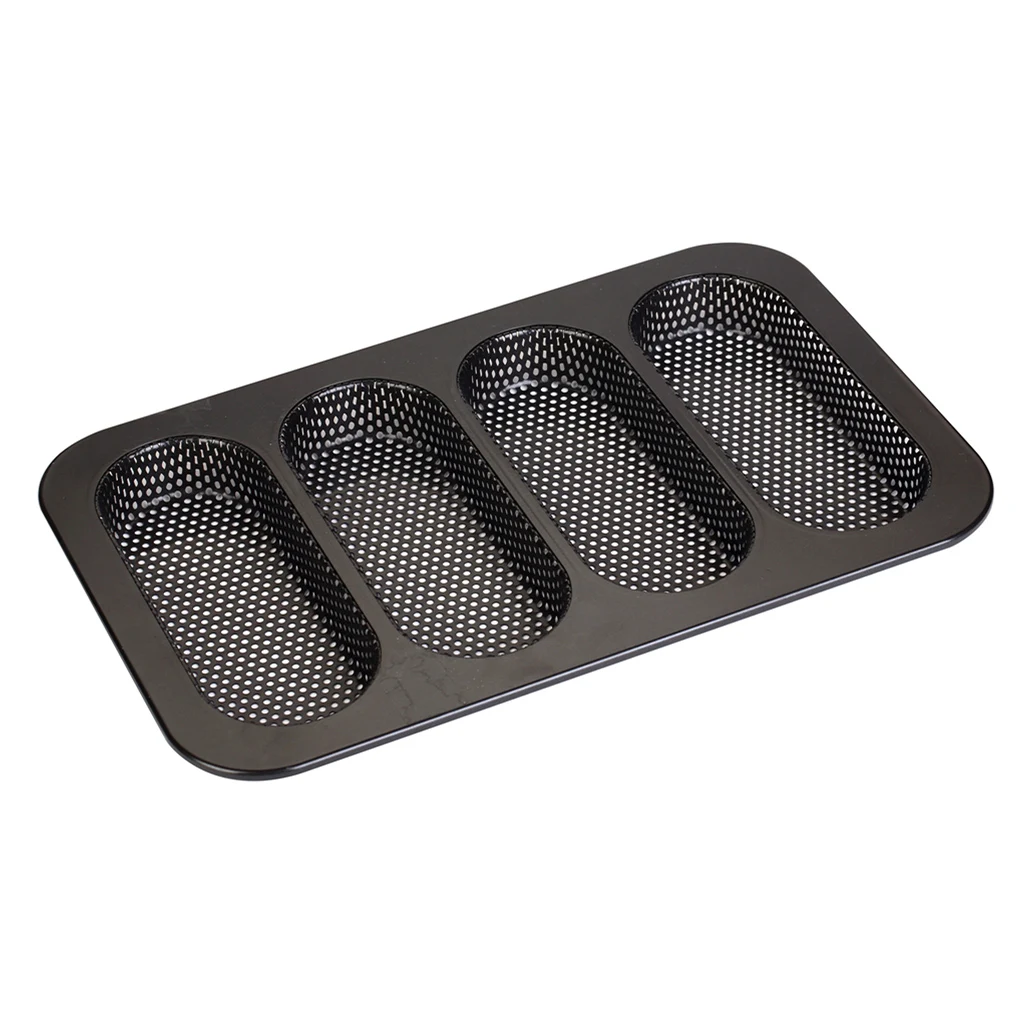
- Aluminum (Dark or Nonstick Coated): Dark surfaces absorb more radiant heat, which can lead to a darker, crispier bottom crust. A quality nonstick loaf pan guarantees effortless release.
- Glass (e.g., Pyrex): Provides slower, gentler heat transfer, often yielding a softer crust overall. The clear sides allow you to monitor browning progress.
- Carbon Steel: A carbon steel loaf pan is a heavyweight champion. It offers superior heat retention and distribution, promoting deep caramelization and an exceptionally crisp, professional-quality crust.
- Pan Size Matters: For a standard recipe using 450-500g of flour, aim for a pan with interior dimensions close to 21.5cm long x 11.5cm wide x 7.5cm high (8.5″ x 4.5″ x 3″). Getting the size right is a foundational step in mastering how to bake sourdough in a loaf pan.
Additional Toolkit
These tools are indispensable for anyone serious about how to bake sourdough in a loaf pan.
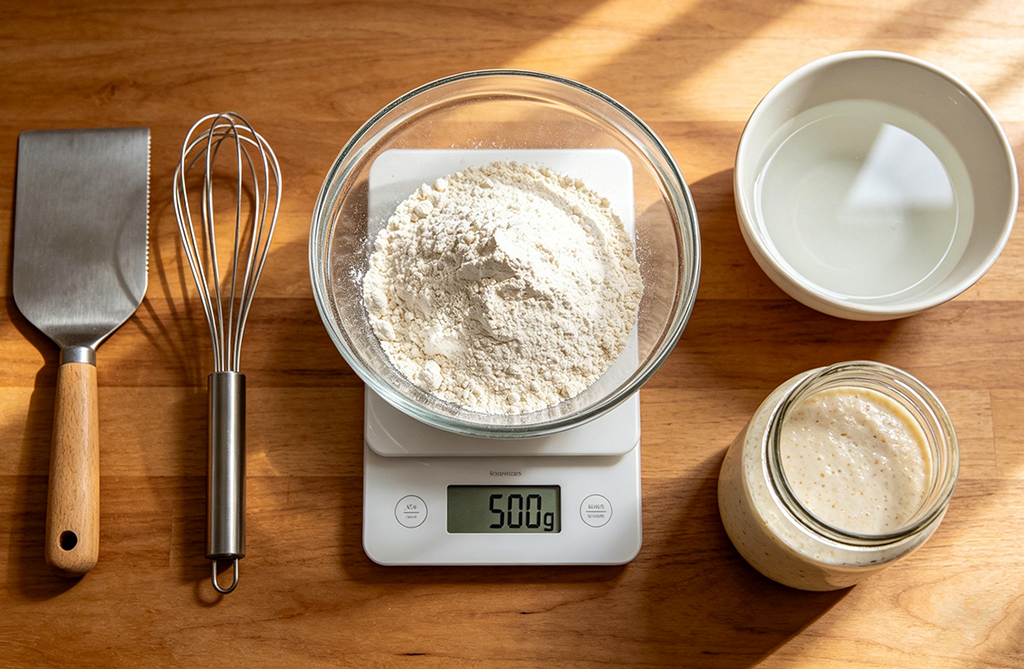
- Digital Kitchen Scale: Precision in baking is non-negotiable; volume measurements are too inconsistent.
- Dough Whisk & Bench Scraper: For initial mixing and for handling and shaping the dough cleanly.
- Proofing Basket (Optional): Useful for a cold bulk fermentation before the final shaping into the pan.
- Lame or Razor Blade: For creating controlled expansion through scoring.
- Instant-Read Thermometer: The only sure way to know your bread is perfectly baked internally (target: 96-99°C / 205-210°F).
Classic Sourdough Loaf Pan Recipe
- Active, Fed Sourdough Starter: 100g
- Filtered Water (lukewarm): 350g
- Strong Bread Flour: 500g
- Fine Sea Salt: 10g
A Detailed Walkthrough: How to Bake Sourdough in a Loaf Pan
Step 1: Initial Mix and Rest
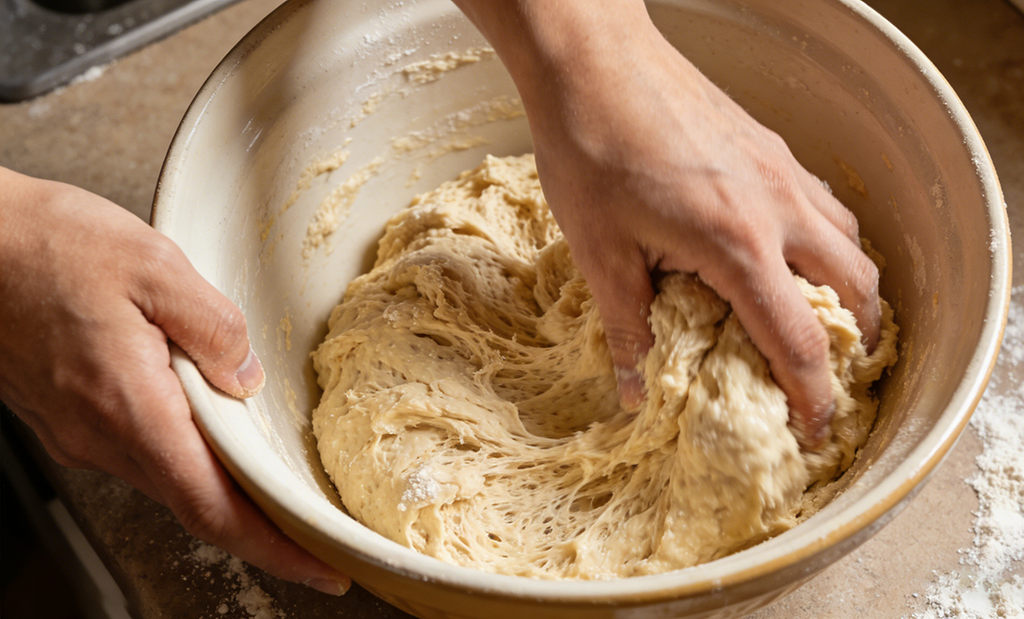
In a large mixing bowl, combine the water and active starter, stirring until fully dispersed. Add the flour and salt. Mix thoroughly until no dry flour remains—the dough will be rough and shaggy. Cover the bowl and let it rest for 45 minutes to 1 hour. This rest period allows the flour to fully hydrate, jumpstarting gluten development.
Step 2: Bulk Fermentation with Coil Folds
This stage builds strength and flavor. Over the next 3 to 5 hours (depending on kitchen temperature), perform 4 to 6 sets of “coil folds.” With wet hands, reach under one side of the dough, gently lift it, and fold it over the top towards the center. Rotate the bowl and repeat. Cover and let rest for 30-45 minutes between sets. The dough is ready when it has increased in volume by about 50%, feels airy and jiggly.
Step 3: Pre-shaping and Final Shaping
This step creates the surface tension necessary for a good rise. Lightly flour your work surface. Gently turn the dough out and let it rest for 10-15 minutes to relax. Gently pat and stretch the dough into a rough rectangle. Fold the top third down to the middle, then fold the bottom third up over it. Starting from the top edge, roll the dough down toward yourself into a snug log, sealing the final seam.
Step 4: Final Proof (The Rise Before Baking)
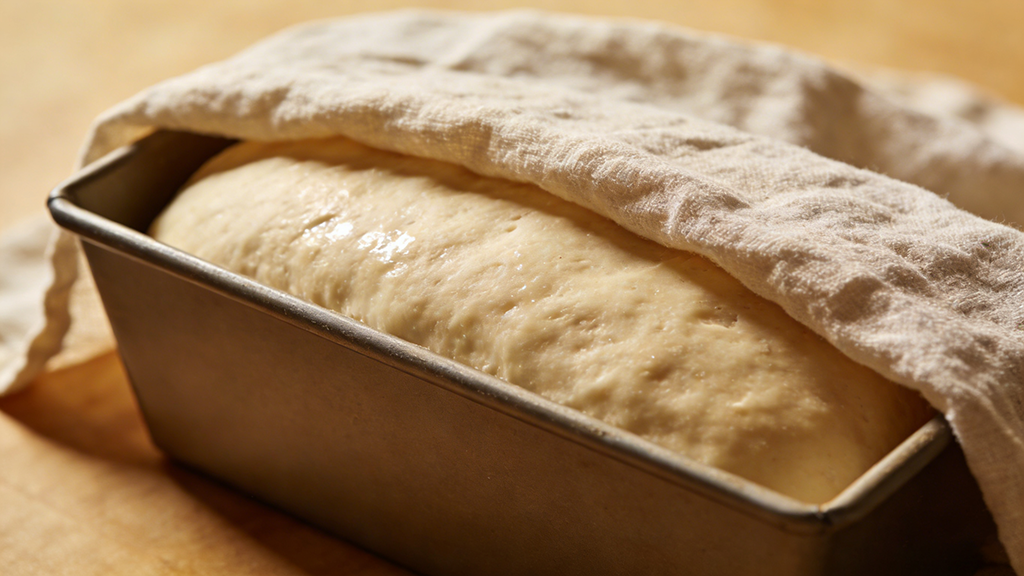
Generously grease your loaf pan. Place the shaped dough seam-side down in the pan. Cover. You have two primary proofing paths when learning how to bake sourdough in a loaf pan:
1.Ambient Proof
Let rise at room temperature until the dough domes about 2-3cm (¾ to 1 inch) above the rim of the pan.
2.Cold Retardation (Recommended): Place the covered pan directly in the refrigerator for 8-16 hours (overnight). This slow fermentation deepens flavor complexity.
Step 5: Baking for a Golden Finish
Preheat your oven to 375°F (190°C). If desired, score the top of the proofed loaf with a sharp blade. A single, deep slash down the center is classic. Lightly mist the top of the loaf with water to encourage initial oven spring. Place the pan on the middle rack and bake for 40-50 minutes. The bread is done when it has a deep golden-brown color and registers an internal temperature of 205-210°F (96-99°C).
Step 6: The Crucial Cooling Phase
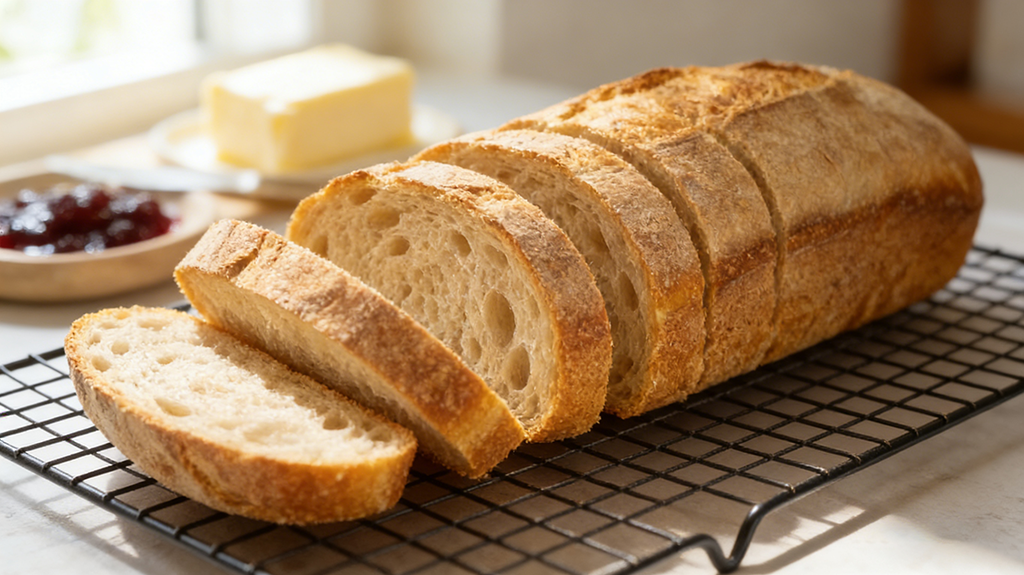
Immediately upon removal from the oven, turn the loaf out of the pan onto a wire cooling rack. Allow the bread to cool completely for at least 3-4 hours before slicing. Cutting into a hot loaf releases trapped steam, resulting in a gummy crumb texture.
Diagnosing and Solving Common Loaf Pan Challenges
Understanding these issues is part of mastering how to bake sourdough in a loaf pan.
- Dense, Heavy Texture: Often caused by under-proofing. Ensure your starter is very active and allow sufficient time for fermentation.
- Pale, Soft Top Crust: Can indicate an oven running cool. Verify temperature with a thermometer.
- Bread Sticking to the Pan: Inadequate greasing is the usual cause. Be generous with butter or oil, especially in the corners.
- Large, Irregular Holes or Collapsed Loaf: A clear sign of over-proofing. Shorten proofing times in your next attempt.
Frequently Asked Questions (FAQ)
Q: What’s the ideal hydration for a loaf pan sourdough?
A: Doughs with 65-75% hydration are generally ideal as they are easier to shape and hold their structure well in the pan, which is a key aspect of learning how to bake sourdough in a loaf pan successfully.
Q: Can I use my regular sourdough recipe?
A: Yes, most free-form recipes adapt beautifully. The key is ensuring the dough weight suits your pan size. Your dough should fill the pan about halfway after shaping.
Q: Why is my loaf pale on top?
A: This often happens if the oven temperature is too low, or if the dough was under-proofed. Using an oven thermometer and learning to judge proofing completion are crucial skills.
Key Principles for Loaf Pan Mastery
Embracing the technique of how to bake sourdough in a loaf pan brings reliability and versatility to your baking. Keep these core concepts in mind:
- Tool Selection Defines Outcome: Your choice of pan material directly shapes the crust and ease of your bake.
- Structure Through Shaping: Creating a taut, well-shaped log is essential for directing the rise upward.
- Proofing is Visual: Learn to read the dough’s cues—volume increase and a bubbly surface—rather than relying solely on the clock.
- Patience Completes the Process: Allowing the loaf to cool completely is the final, non-negotiable step for perfect texture.
Ready to Start Your Journey?
Now that you understand the fundamentals of how to bake sourdough in a loaf pan, it’s time to put theory into practice. The right equipment can make a significant difference in your results. For bakers seeking a reliable, high-performance pan that promotes even heating and a perfect release, we recommend exploring the specialized loaf pans from AOLIJUE. Their durable construction and thoughtful design are well-suited to the unique demands of sourdough baking, helping you achieve that professional-quality loaf at home. Visit their collection to find the perfect pan for your next baking adventure.
The journey of mastering how to bake sourdough in a loaf pan is one of rewarding precision, leading to bread that is as beautiful as it is practical. Happy baking!