Introduction: A Different Way to Shape Your Sourdough
Sourdough bread has become a favorite among home bakers. The tangy flavor, chewy texture, and crisp crust are hard to resist. Traditionally, sourdough is baked on a stone or in a cast iron Dutch oven. These methods help create steam and develop a thick crust.
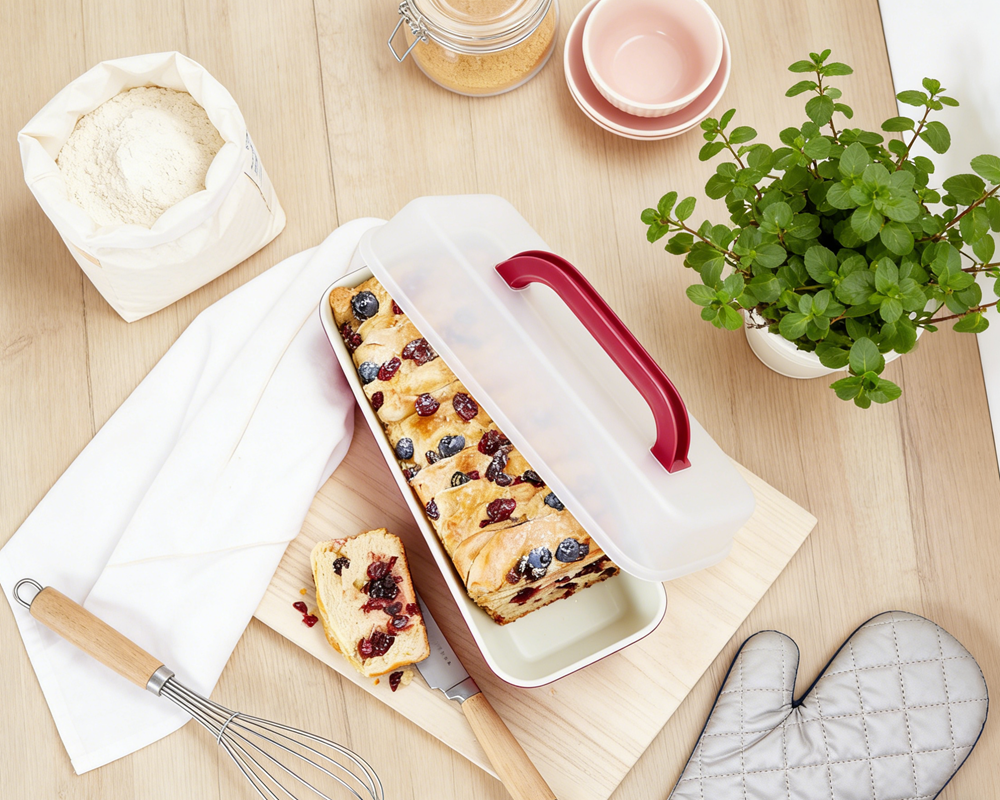
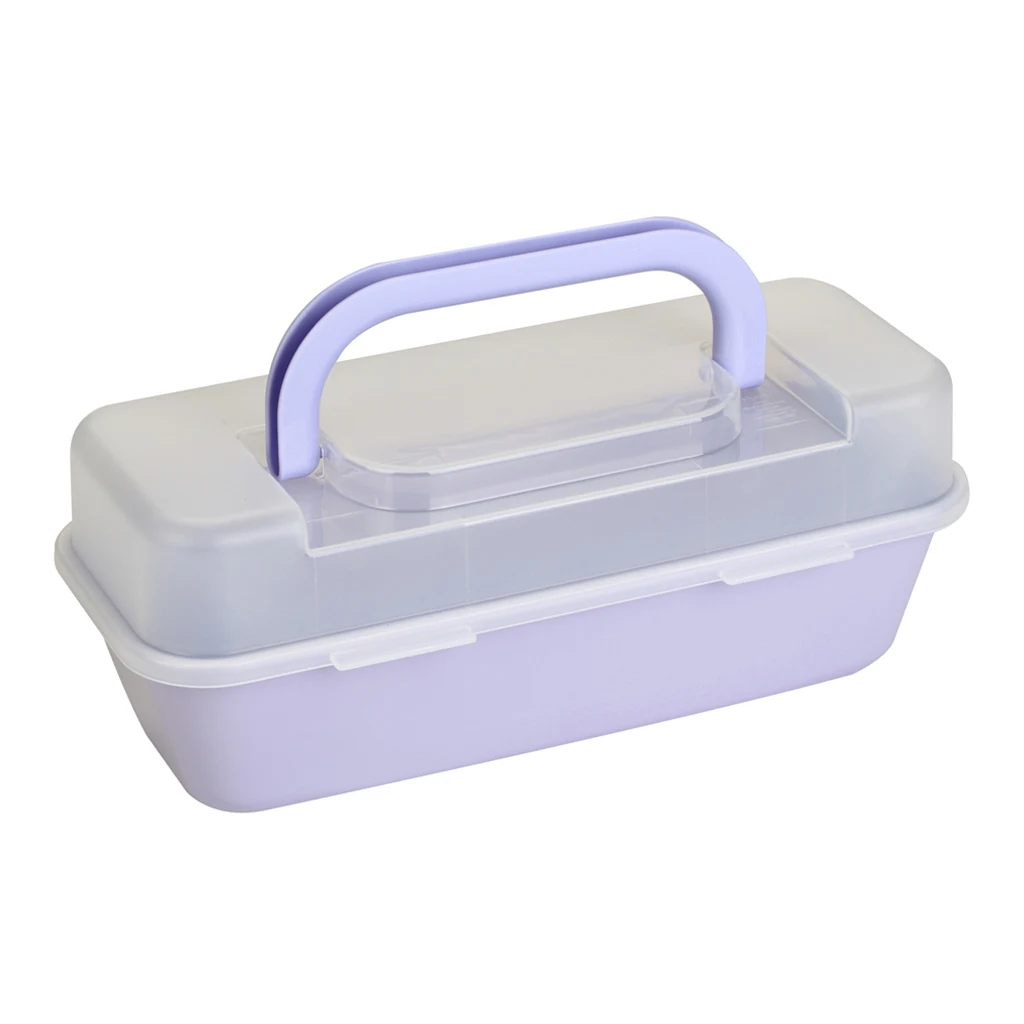
But not everyone owns a Dutch oven. Some bakers find those pots heavy. Others simply want to try a different shape for their sourdough, such as a sandwich-style loaf. This raises a common question: can you bake sourdough in a loaf pan? A bread loaf pan with lid offers a practical alternative to traditional methods.
The answer is yes. A bread loaf pan with lid can be used for baking sourdough, though the approach may differ from traditional methods. In this article, we will cover 6 things to know before trying this method with your bread loaf pan with lid.
Thing 1: The Shape of Your Sourdough Will Change
When you bake sourdough in a loaf pan, the final shape will look different from a traditional round or oval loaf.
From Boule to Sandwich Loaf
Traditional sourdough is often shaped into a round boule or an oval batard. These shapes work well for baking on a stone or in a Dutch oven. The dough spreads outward slightly as it bakes, creating a wide, rustic loaf.
In a bread loaf pan with lid, the dough takes on the rectangular shape of the pan. The sides of the pan support the dough, encouraging it to rise upward rather than outward. Depending on whether you use the lid during baking, the top may be flat or domed.
Is This Good or Bad?
Neither shape is inherently better. It depends on what you prefer. Some sourdough bakers enjoy the rustic appearance of a boule. Others appreciate the practicality of a sandwich-shaped loaf for toast or sandwiches.
If you usually make sandwiches with your sourdough, a rectangular shape may be more convenient. If you enjoy tearing off pieces of a round loaf to dip in soup, the traditional shape might suit you better.
Thing 2: The Crust May Be Different
One of the most noticeable changes when baking sourdough in a loaf pan is the crust.
Thinner and Softer Crust
Traditional sourdough baked in a Dutch oven typically develops a thick, hard, and crackly crust. This happens because the Dutch oven traps steam during the first part of baking. The steam keeps the surface flexible, allowing the dough to expand. Then, when the lid is removed, the dry heat of the oven creates a firm, blistered crust.
When you bake sourdough in an open loaf pan without a lid, the crust will be different. Without a cover, steam escapes more easily. The crust may be thinner and less crackly. It may also be slightly softer.
If your bread loaf pan with lid has a metal lid that can go in the oven, you can use it to trap steam. This will produce a crust closer to Dutch oven results. If the lid is made of plastic, it should not go in the oven, and you will need other methods to manage steam.
How to Improve the Crust
If you want a crust that is closer to Dutch oven results, you can try a few methods:
Place a small pan of hot water on the oven rack below the loaf pan. This adds moisture to the oven environment.
Spray water inside the oven just before closing the door. Be careful not to spray onto the oven light or heating elements.
Use an overturned metal baking pan as a cover for the first part of baking.
These methods can help you get a better crust when using a bread loaf pan with lid.
Thing 3: You May Need to Adjust Your Recipe
Baking sourdough in a loaf pan does not usually require a completely different recipe. However, a few small adjustments can help you get better results.
Dough Hydration
When using a loaf pan, you may find that slightly lower hydration works well. A dough with around 65% to 70% hydration tends to hold its shape better in the pan. It is also less likely to stick to the sides.
Higher hydration doughs (75% to 85%) can still work. You may simply need to handle them more gently during the transfer to the pan.
Dough Quantity
A standard 9-inch by 5-inch bread loaf pan with lid typically holds between 800 and 1000 grams of dough. Using too much dough can cause the loaf to mushroom over the top of the pan. Using too little dough may result in a short, squat loaf.
For a typical pan, around 900 grams of dough is a reasonable starting point. You can adjust this based on your results.
Proofing Time
Because the dough is constrained by the sides of the pan, it may proof more slowly than a free-form loaf on a baking sheet. You may need to extend the final proof by 15 to 30 minutes. Look for visual cues: the dough should rise to near the top of the pan before baking.
Thing 4: Steam Management Works Differently
Steam is essential for good sourdough. It keeps the surface moist during the early stage of baking, allowing the dough to expand fully. In a Dutch oven, steam is created by the moisture in the dough itself, trapped by the pot.
Using the Lid for Steam
If your bread loaf pan with lid has a lid that is oven-safe (such as a metal lid), you can use it to trap steam. Place the lid on the pan for the first 20 to 25 minutes of baking. This creates a humid environment inside the pan. The dough can expand without forming a hard crust too early.
After that, remove the lid to allow the top to brown and firm up. This two-stage method produces a loaf with a better crust.
If the Lid Is Not Oven-Safe
Some bread loaf pan with lid products come with plastic lids. These are not designed for oven use. In that case, you will need to manage steam without the lid. A pan of water on a lower rack is a simple solution.
Adding Extra Steam
Regardless of whether you use a lid, you can add extra steam to the oven. A small pan of hot water placed on the bottom rack works well. Some bakers also spray water inside the oven just before closing the door.
Be careful not to open the oven door too often during baking, as this releases steam.
Thing 5: Not All Loaf Pans Perform the Same
The quality and design of your bread loaf pan with lid can affect your results. When shopping for a bread loaf pan with lid, here are a few factors to consider.
Material
Carbon steel: Heats relatively evenly and holds heat well. A carbon steel pan tends to produce good browning. It may develop a natural non-stick surface over time.
Aluminum: Lightweight and heats quickly. An aluminum pan may brown crusts less aggressively. Some bakers prefer this for lighter-colored loaves.
Non-stick coated: Easy release, but the coating can scratch. If you use a non-stick bread loaf pan with lid, handle it with care and avoid metal utensils.
Lid Type
If you plan to use the lid during baking, make sure it is oven-safe. Metal lids are generally safe to at least 450°F (230°C). Plastic lids are not for oven use. Check the manufacturer’s instructions for your specific bread loaf pan with lid.
Tamaño
Bread loaf pans with lids come in various lengths. Common sizes include 8-inch, 9-inch, and 10-inch pans. The 9-inch by 5-inch size is popular for standard sandwich loaves.
Choose a size that fits your oven and your typical batch size. A smaller pan works well for half batches or smaller loaves.
Thing 6: Practice May Improve Your Results
Like many baking techniques, using a bread loaf pan with lid for sourdough may take a few tries to get right. Do not be discouraged if your first loaf is not exactly what you expected.
Keep Notes
Consider keeping a baking notebook. Write down the dough weight, hydration, proofing time, baking temperature, and how you managed steam. Small changes can lead to noticeable improvements.
Adjust One Variable at a Time
If you are not happy with your results, change only one thing at a time. For example, if the crust is too soft, try leaving a metal lid on for longer. If the loaf is too dense, try extending the final proof.
Common First Attempts
Many bakers find that their first sourdough loaf in a loaf pan turns out slightly shorter than expected. This often means the dough needed more proofing time. Others find the crust lighter in color than they prefer. Baking a little longer or adding steam can help with browning.
With each bake, you will likely get closer to your desired outcome.
Step-by-Step: Baking Sourdough in a Bread Loaf Pan with Lid
Here is a basic outline of the process. This assumes you already have an active sourdough starter and a standard sourdough recipe. It also assumes your bread loaf pan with lid has an oven-safe lid. If not, skip the lid-using steps and add steam by other methods.
Step 1: Prepare Your Dough
Make your sourdough dough as usual. Include the autolyse, mixing, and bulk fermentation steps. Perform stretch and folds as your recipe directs.
Step 2: Shape for the Pan
When bulk fermentation is complete, turn the dough onto a lightly floured surface. Shape it into a rough rectangle about the length of your bread loaf pan with lid. Fold the dough into a log, similar to shaping a sandwich loaf. Pinch the seam closed.
Step 3: Place in the Pan
Lightly grease your bread loaf pan with lid or line it with parchment paper. Place the shaped dough into the pan, seam side down. Gently press the dough so it fills the corners.
Step 4: Final Proof
Cover the pan with a cloth or plastic wrap (not the lid, if you are saving the lid for baking). Let the dough proof at room temperature. The time will vary based on your kitchen temperature and recipe. The dough is likely ready when it has risen to within about half an inch of the top of the pan.
Step 5: Preheat and Add the Lid (If Oven-Safe)
Preheat your oven to around 425°F (220°C). When the dough is ready, place the lid on your bread loaf pan with lid (if it is oven-safe). Put the pan in the oven.
Step 6: Bake
Bake with the lid on for about 20 to 25 minutes. Then carefully remove the lid. Continue baking for another 15 to 20 minutes, or until the loaf sounds hollow when tapped on the bottom.
If your lid is not oven-safe, bake without a lid and add a pan of water to the oven for steam. The baking time may be similar, but the crust will be different.
Step 7: Cool
Remove the bread loaf pan with lid from the oven. Let the loaf cool in the pan for about 5 to 10 minutes. Then turn it out onto a wire rack. Allow the bread to cool completely before slicing.
Potential Challenges and How to Address Them
Even with good technique, you may encounter a few issues when baking sourdough in a bread loaf pan with lid.
The Dough Sticks to the Pan
To reduce sticking, grease the pan thoroughly or use parchment paper. Letting the loaf cool in the pan for 5 to 10 minutes before removing can also help.
The Loaf Is Dense
A dense loaf often means the dough was under-proofed. Try extending the final proof time. The dough should look puffy and have visible bubbles before baking.
The Crust Is Too Pale
If the crust is lighter than you like, try baking longer with the lid off. You can also increase the oven temperature slightly for the last 10 minutes. Adding steam to the oven at the beginning of baking can also improve crust color.
The Loaf Sticks to the Lid
If you used a lid during baking and the dough stuck to it, try greasing the underside of the lid lightly. Using parchment paper between the dough and the lid can also help.
Final Thoughts
So, can you bake sourdough in a loaf pan? The answer is yes. A bread loaf pan with lid can be a useful tool for this purpose, especially if the lid is oven-safe. Using a bread loaf pan with lid changes the shape of your sourdough to rectangular, similar to sandwich bread. The crust may be different from Dutch oven bread, but you can add steam to improve it. With a few small adjustments to your recipe and technique, a bread loaf pan with lid can help you get good results.
If you enjoy sandwich bread or simply want to try something new, this method is worth exploring. Every baker has their own preferences. Some will always prefer a Dutch oven. Others may find that a loaf pan fits their needs better.
The best approach is to experiment. Try baking the same recipe both ways if you have the equipment. See which result you like more. And remember that sourdough baking is a journey. Each loaf teaches you something.