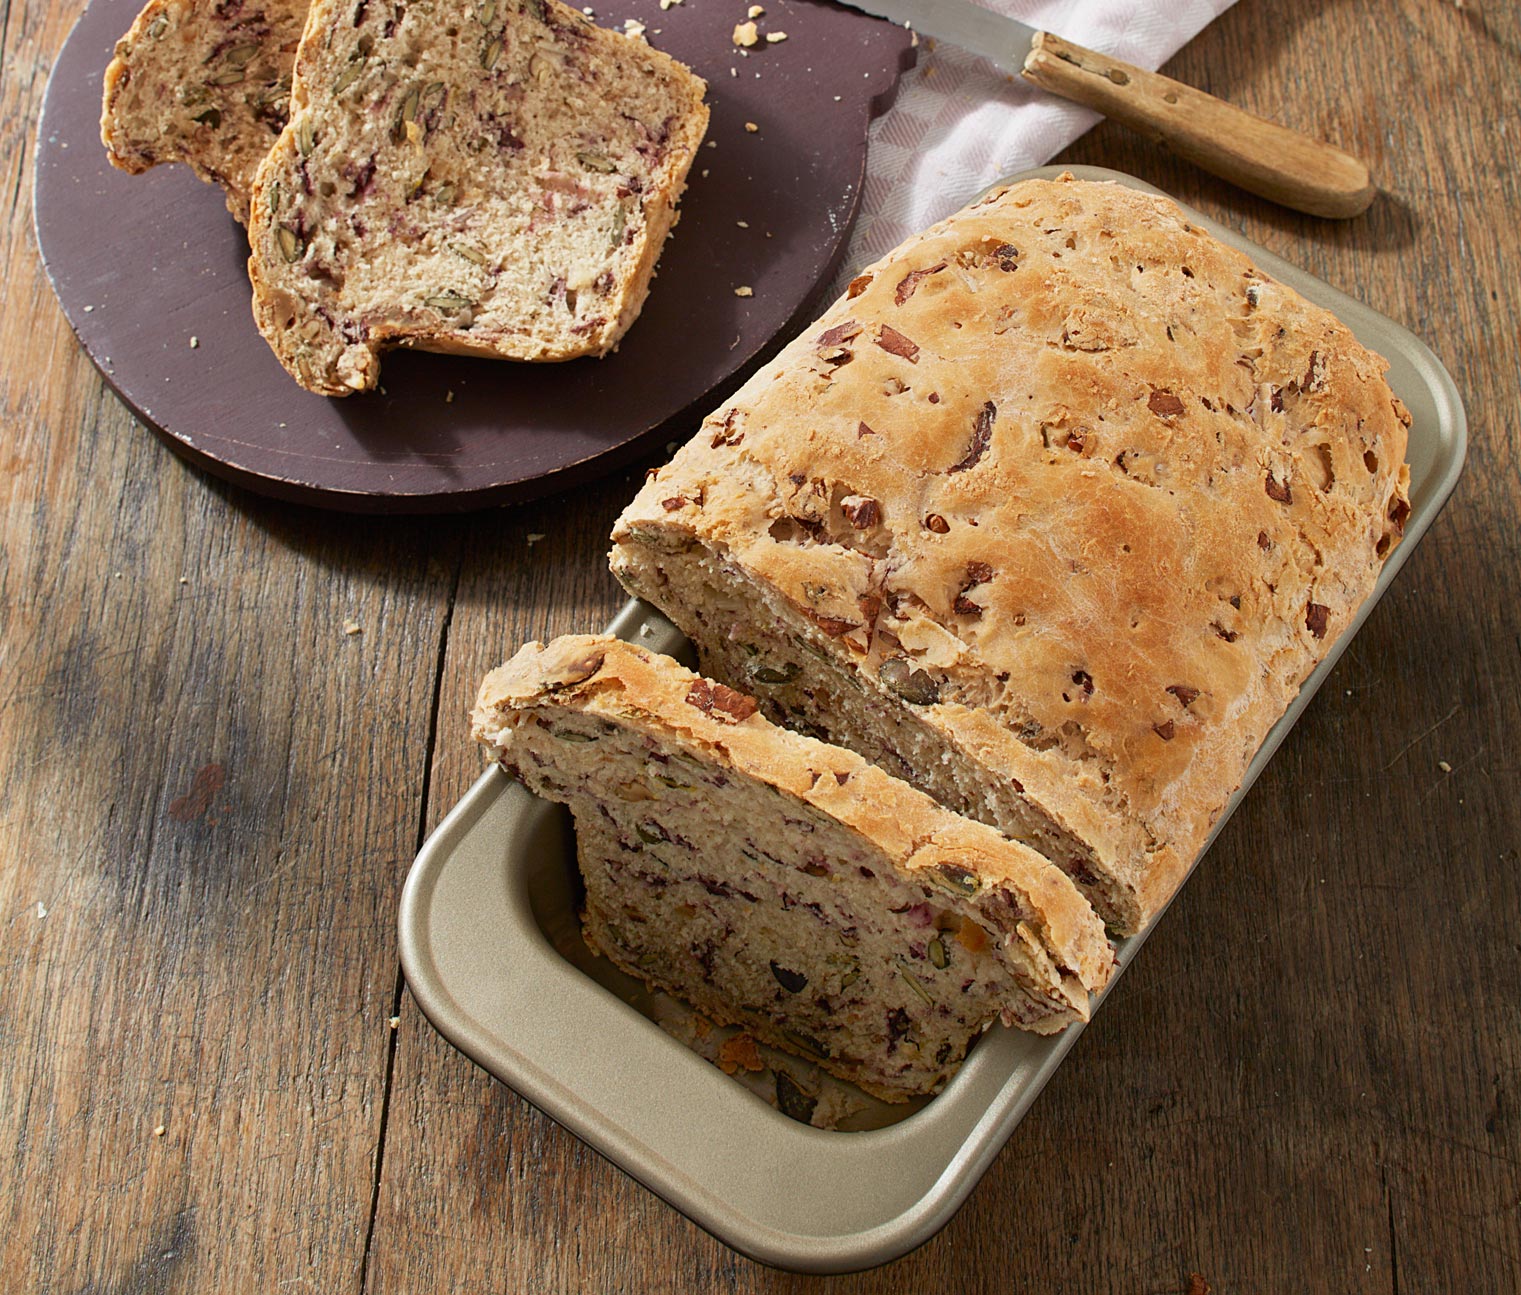
Sacas una hogaza hermosa del horno. Está dorada. Huele delicioso. Es exactamente lo que querías: el tipo de resultado que hace que todo el esfuerzo de hornear se sienta completamente valioso.
¿Ahora qué?
La bandeja está caliente. El pan se ve perfecto exactamente donde está. La cocina huele increíble y ya imaginas la primera rebanada con mantequilla. Quizás piensas: Lo dejaré enfriar aquí. No hay necesidad de complicarlo. Ya está fuera del horno, así que la parte difícil del horneado terminó, ¿verdad?
No.
Ese momento justo allí —el instante en que te tienta dejar la hogaza en la bandeja— es donde un buen horneado puede torcerse. Lo que suceda después importa tanto como el tiempo que pasaste mezclando, formando y vigilando el horno. Porque cómo manejes esos primeros minutos tras hornear determinará si tu pan permanece crujiente, aireado y glorioso, o se vuelve blando, húmedo y decepcionante.
La respuesta corta
No. Saca el pan.
Cada vez.
Por qué es importante
Esto es lo que ocurre cuando el pan se queda en una sartén caliente después de hornearlo y por qué esos minutos de impaciencia pueden deshacer gran parte de tu trabajo duro.
Vapor atrapado. Tu pan está lleno de humedad cuando sale del horno. Eso es bueno, es lo que te da esa miga tierna y aireada. Pero esa humedad necesita escapar. Si la barra se queda en el molde, el vapor no puede salir por la base. Queda atrapado entre el pan y el metal, sin poder ventilarse. En lugar de subir y dispersarse por la cocina, se acumula debajo de tu hermosa barra, contrarrestando todo lo logrado.
Fondo mojado. Ese vapor atrapado ablanda la corteza. Y no de una buena manera. La base de tu barra pasa de crujiente a gomosa. De dorada y crujiente a húmeda y decepcionante. De calidad de panadería a algo que parece haber estado bajo una lámpara de calor durante horas. Todo el trabajo para conseguir una corteza perfecta —el marcado, la inyección de vapor, el tiempo cuidadoso de horneado— se deshace en minutos. La parte superior podría seguir viéndose hermosa, pero voltea la barra y verás la verdad: una base pálida y blanda que carece del crujido satisfactorio de una baguette o barra artesanal bien terminada.
Sobrecocción. La sartén se mantiene caliente durante un tiempo después de hornear. Está diseñada para retener el calor, lo cual es excelente durante el proceso de horneado, pero no tanto después. Deja el pan en contacto con ese calor residual y la base sigue cocinándose. No lo suficiente para quemarse, normalmente. Pero sí lo bastante para secar o endurecer la corteza más allá de lo deseado. En lugar de una textura crujiente y quebradiza, terminas con una base que parece dura, gruesa o simplemente... incorrecta. El equilibrio de la barra se pierde. Y lo que debería haber sido un triunfo se convierte en una pequeña y persistente decepción.
El arreglo es sencillo. Toma diez segundos. Pero entender lo que sucede cuando omites ese paso marca toda la diferencia en tu rutina de horneado y tus resultados.
¿Qué hay de las bandejas para baguette?
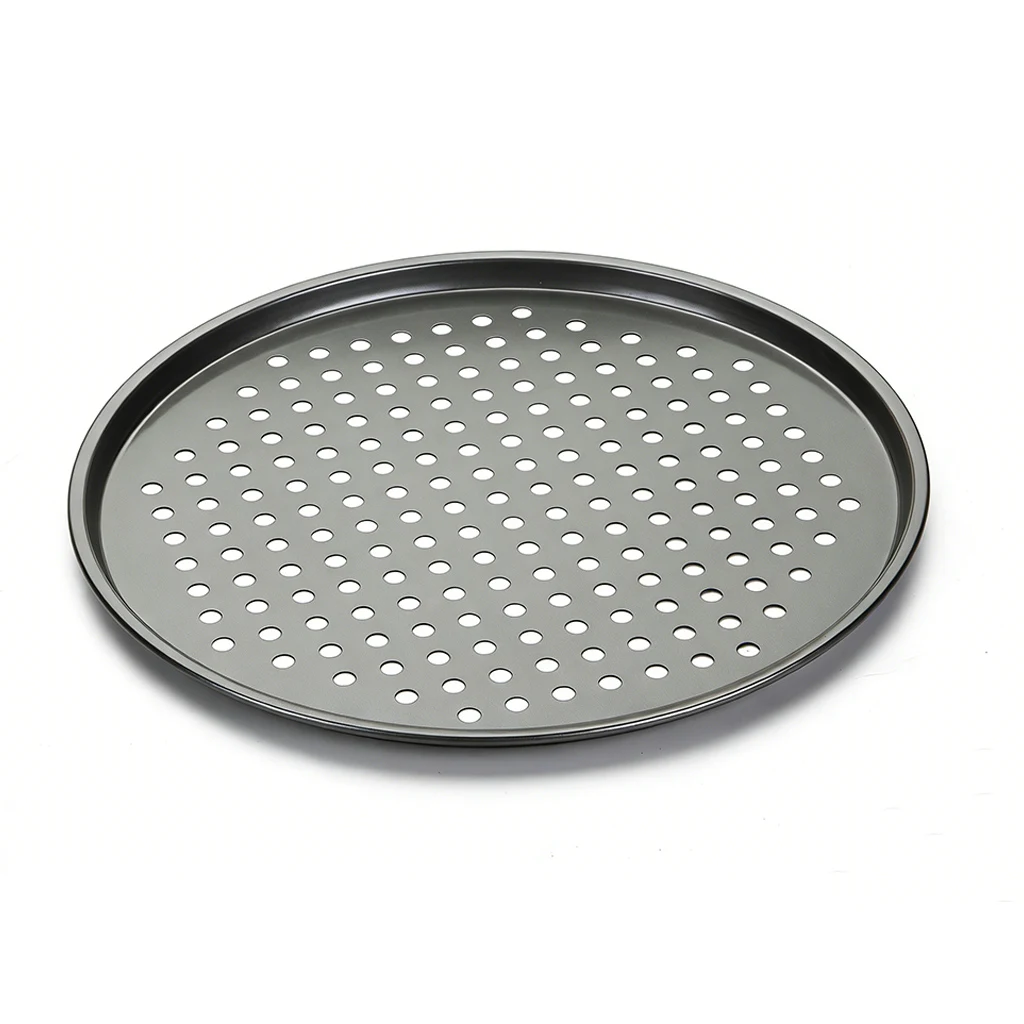
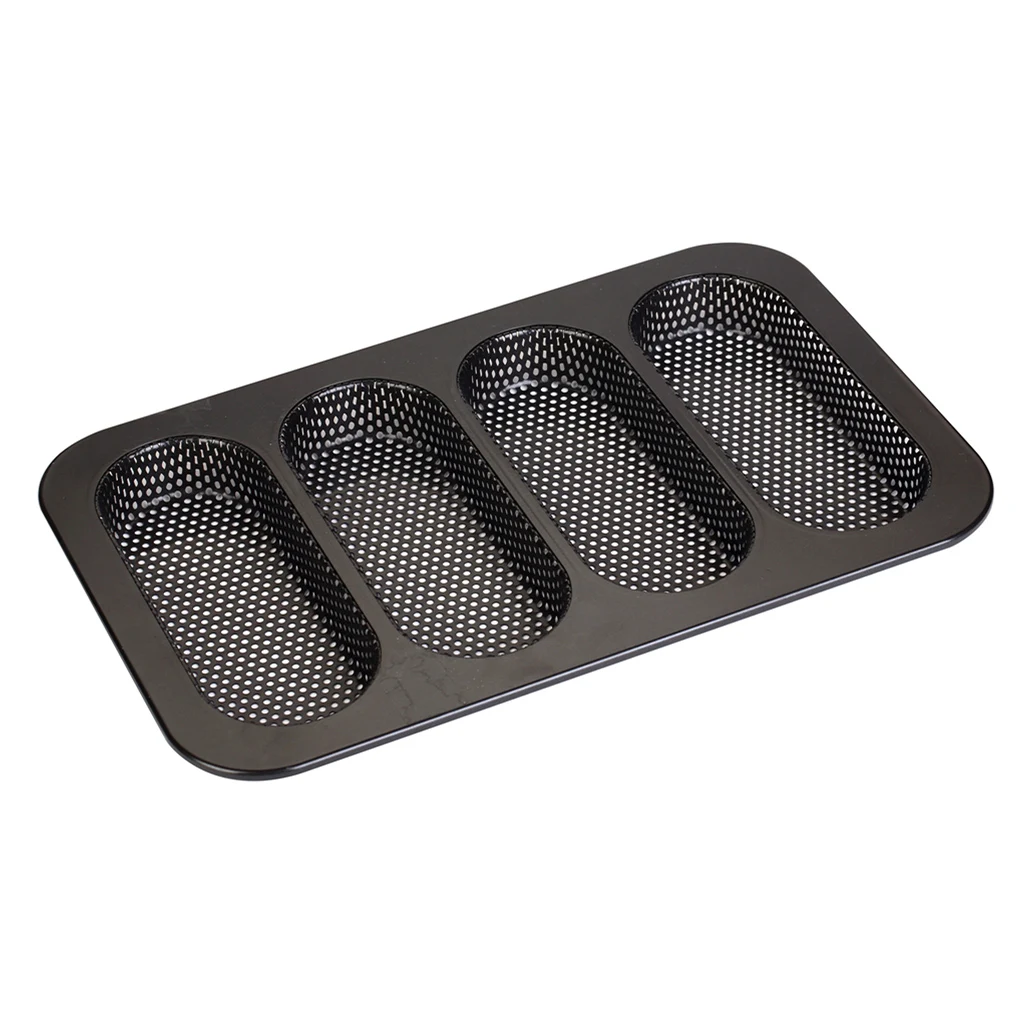
Si estás usando una bandeja perforada para baguette—el tipo con agujeros diseñados específicamente para horneado artesanal—la situación mejora ligeramente. El aire puede circular por debajo durante el horneado, lo que ayuda a desarrollar esa corteza crujiente en todo el pan que buscas. El vapor escapa mejor, la humedad no se acumula tan fácilmente y la base de tu pan recibe el mismo calor directo que la parte superior. Es una de las razones por las que las bandejas perforadas son una gran diferencia para los panaderos caseros.
Pero incluso entonces, saca el pan.
Esos agujeros cumplen una función vital durante el proceso de horneado. Dejan que el aire caliente llegue a cada superficie de la masa, asegurando un dorado uniforme y ese crujido característico. Pero después de hornear, la dinámica cambia. El metal mismo retiene el calor y lo retiene con terquedad. Ese calor residual sigue actuando sobre tu pan, ya sea que lo desees o no. Incluso con circulación de aire por debajo, la bandeja sigue siendo una superficie caliente. Deja tu pan reposando allí y la base continúa cocinándose, endureciéndose más allá de lo que planeaste. Lo que estaba perfectamente horneado en el momento en que lo sacaste del horno puede quedar sobrehecho en el tiempo que te tomas para servirte una taza de café.
La labor de la bandeja termina cuando suena el temporizador. Te ayudó a lograr un horneado perfecto. Ahora es momento de dejar que el pan termine por sí mismo—en una rejilla de enfriamiento, con aire circulando libremente, manteniendo la corteza exactamente como debe ser. Tus instintos de panadero podrían indicarte dejarlo tranquilo. Pero en este caso, un poco de acción al finalizar marca toda la diferencia.
Qué hacer en su lugar
Mueve el pan. This is the first and most important step. Transfer your loaf to a wire cooling rack as soon as it comes out of the oven. Anything with airflow underneath works—even an oven rack turned upside down in a pinch. The goal is simple: get the bread off the solid surface where steam can pool and onto something that lets air do its job.
Let it breathe. Air needs to reach all sides of the bread—top, bottom, and everywhere in between. That’s how crust stays crusty. On a solid pan or countertop, moisture gets trapped underneath, turning that beautifully crisp bottom into a soft, sweaty disappointment. But on a rack, moisture escapes evenly from every angle. The bottom dries just like the top. The crust stays firm. The crackle stays intact.
Wait. I know it’s hard. Fresh bread smells incredible—that warm, yeasty aroma filling your kitchen is practically begging you to tear into it right now. But slicing too early is one of the most common mistakes in home baking. Here’s why: the inside of your loaf is still finishing its job. Even though it looks done, the internal structure is continuing to set as it cools. Steam is still moving outward. Gluten is firming up. Cut too soon and all that escaping steam rushes out at once, leaving you with a gummy, compressed interior that never quite recovers.
Let it cool completely—at least an hour for a standard loaf. For baguettes, 20 to 30 minutes is usually enough, but patience still pays off. Trust the process. The bread will be there when it’s ready. And when you finally slice into it—knife gliding through a crisp crust, revealing an airy, tender crumb—you’ll understand why the wait was worth it.
One Exception
There’s exactly one time you might leave bread in the pan—and even then, it’s temporary.
Some recipes for very soft breads call for a short rest in the pan. We’re talking about certain sandwich loaves with their tender, pillowy crumb. Some sweet breads like brioche or challah. Even the occasional milk bread that needs a moment to settle before it can be turned out without losing its shape. In these cases, the recipe will usually specify a brief rest—typically five to ten minutes—right in the pan after baking. This short pause allows the structure to firm up just enough that the loaf holds together when you release it. Think of it as a brief transition, not a storage solution.
But even then, it comes out. Always. The pan is just a temporary holding spot—a few minutes at most. After that short window, the loaf needs to move to a cooling rack so air can circulate and the crust can finish properly. Leave it any longer and you’re back to the same problems: trapped steam, softening bottom, overworked crust.
So yes, there is one exception. But it comes with a timer and a clear next step. The pan helps you bake; it helps you rest briefly; then it steps aside so your bread can become what it’s meant to be.
What About Cleaning?
Here’s another reason to remove bread promptly—and it has less to do with the loaf and more to do with the pan itself.
Empty pans cool faster. A hot pan with bread in it stays hot for ages, holding onto that heat like a stubborn oven. But an empty pan? It cools in minutes, ready for its next use or a quick clean-up.
And cool pans are easier to clean. Let’s be honest: scrubbing a hot pan with dried-on bits of dough and crust isn’t anyone’s idea of a good time. You’re left wrestling with stubborn residue while the metal stays too hot to handle comfortably. Not fun. And if you’re tempted to speed things up by running it under cold water—don’t. That sudden temperature shift can cause thermal shock, and before you know it, your once-perfect pan is warped, wobbly, and no longer fits quite right in the oven.
So here’s the simple routine: let it cool. Clean it gently with warm, soapy water and a soft sponge. Dry it thoroughly. Treat it with a little respect, and it’ll last forever—baking loaf after beautiful loaf without ever letting you down.
Bottom Line
The pan is a baking tool, not a storage container. Its job begins when you load the dough and ends the moment the bread is perfectly baked. After that, the loaf needs to stand on its own—on a cooling rack, with air circulating freely around it, crust staying crisp and intact. Leaving it in the pan traps steam underneath, turning that golden, crackling exterior into something soft and sad within minutes.
So next time you bake: pull it out, tip it out, let it cool. It takes just a few seconds, and it makes all the difference between a loaf that tastes like it came from a bakery and one that lost its magic while you weren’t looking.
Your bread will thank you. And if you’re looking for the right tool to help you bake—and cool—like a pro, [click here to explore our collection of high-quality baking pans and cooling racks].