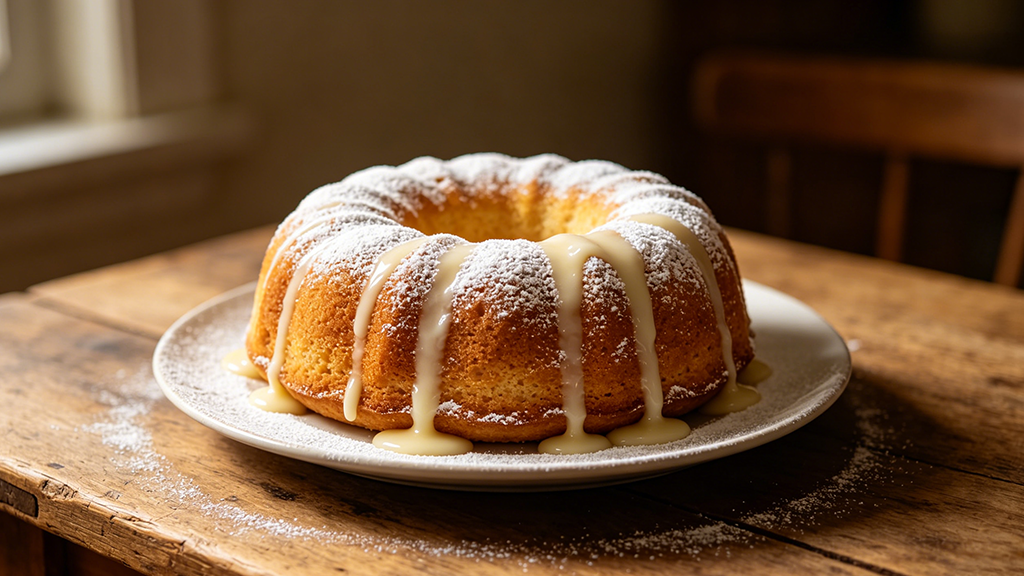
There is something undeniably majestic about a Bundt cake. With its intricate ridges, sweeping curves, and the iconic hole in the center, it transforms a simple batter into a centerpiece. However, for many home bakers, the Bundt pan is a source of both admiration and anxiety. We’ve all been there: waiting for the cake to cool, flipping it over, and feeling that heart-sinking thud when half the cake remains stuck in the intricate design of the pan. The key to avoiding this lies in a precise method. If you are wondering, “how do you use a bundt pan” to achieve professional results every time, you have come to the right place. Understanding the complete process of how to use a bundt pan is what separates frustrating failures from consistent success. This comprehensive guide covers everything from preparation and greasing techniques to baking science and troubleshooting. By the end of this article, you will possess the expertise of a professional pastry chef, ensuring your cakes slide out perfectly every single time.
Core Takeaway: Success with a Bundt pan relies on three pillars: meticulous greasing (even with non-stick pans), choosing the right batter density, and mastering the “10-minute rest” before inversion. Mastering how do you use a bundt pan effectively hinges on respecting these three principles.
Understanding the Bundt Pan: Form and Function
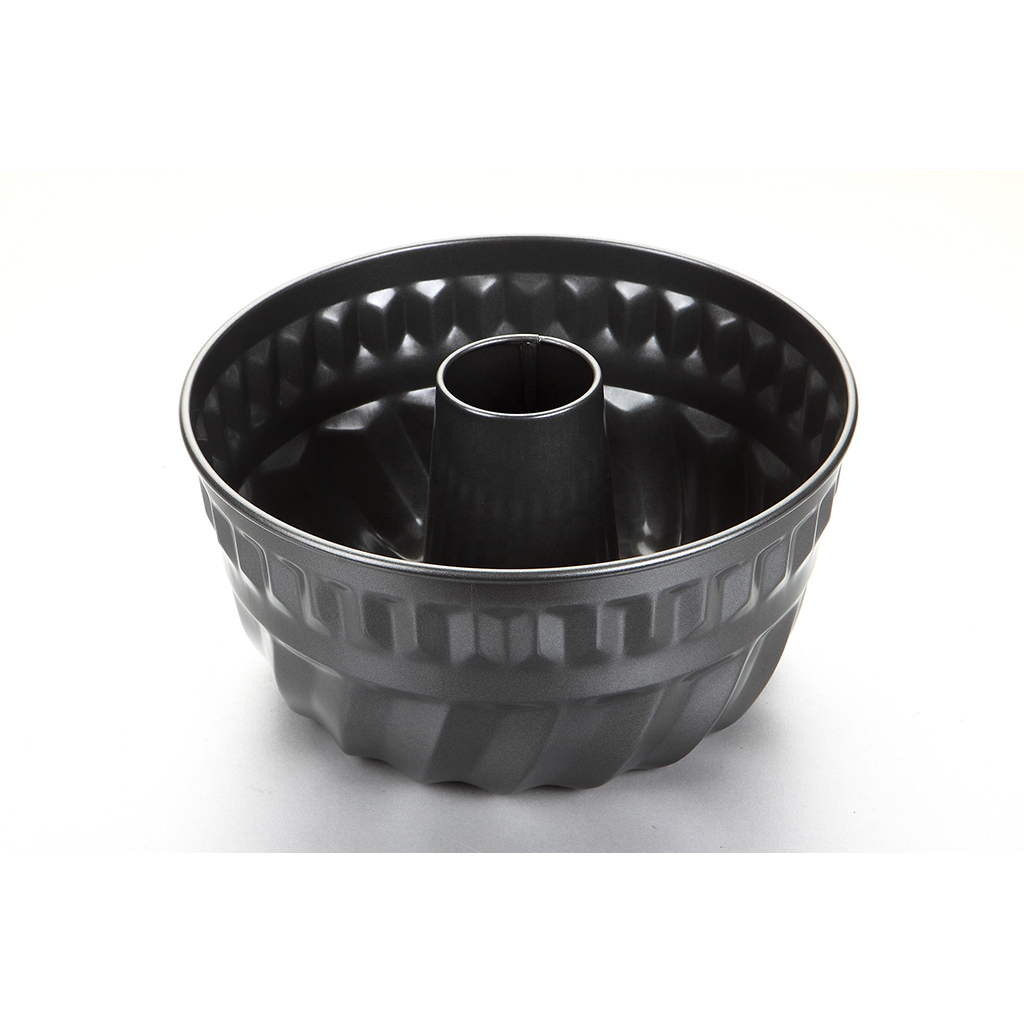
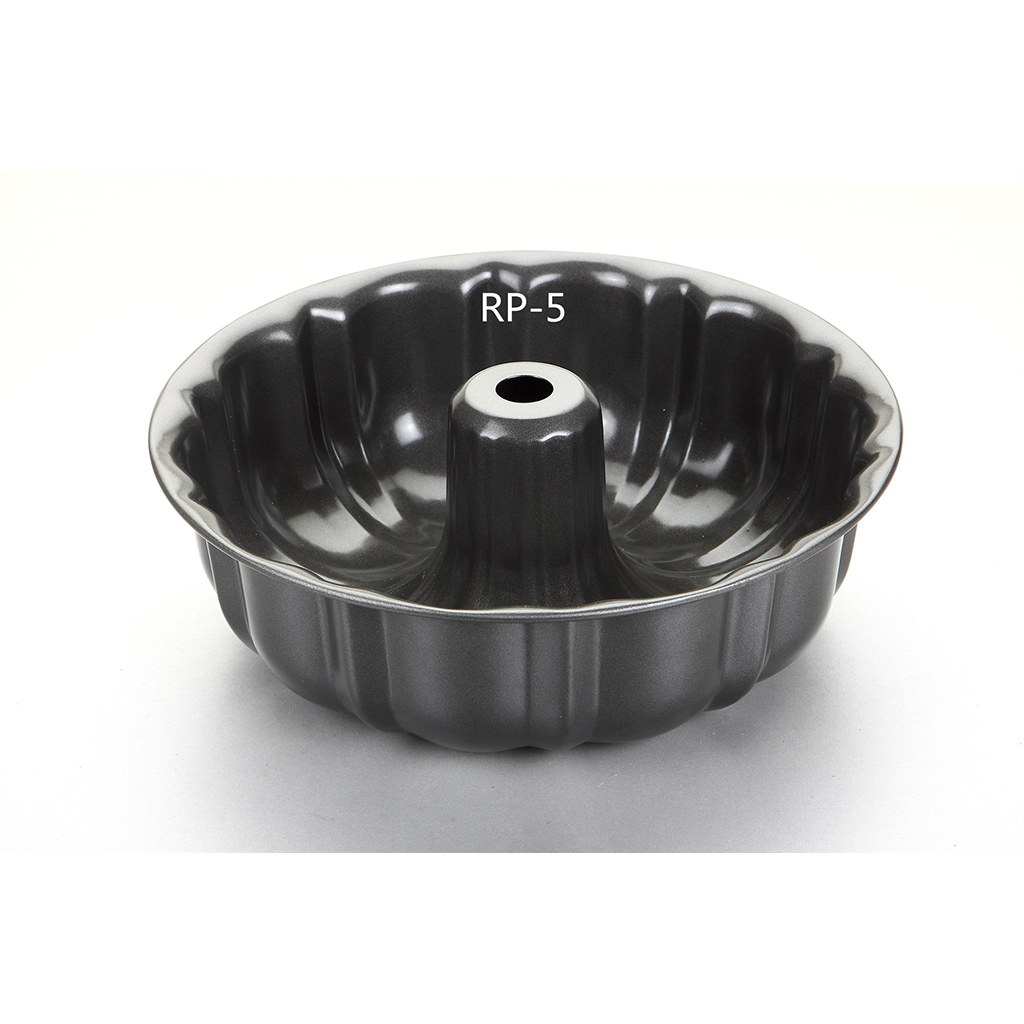
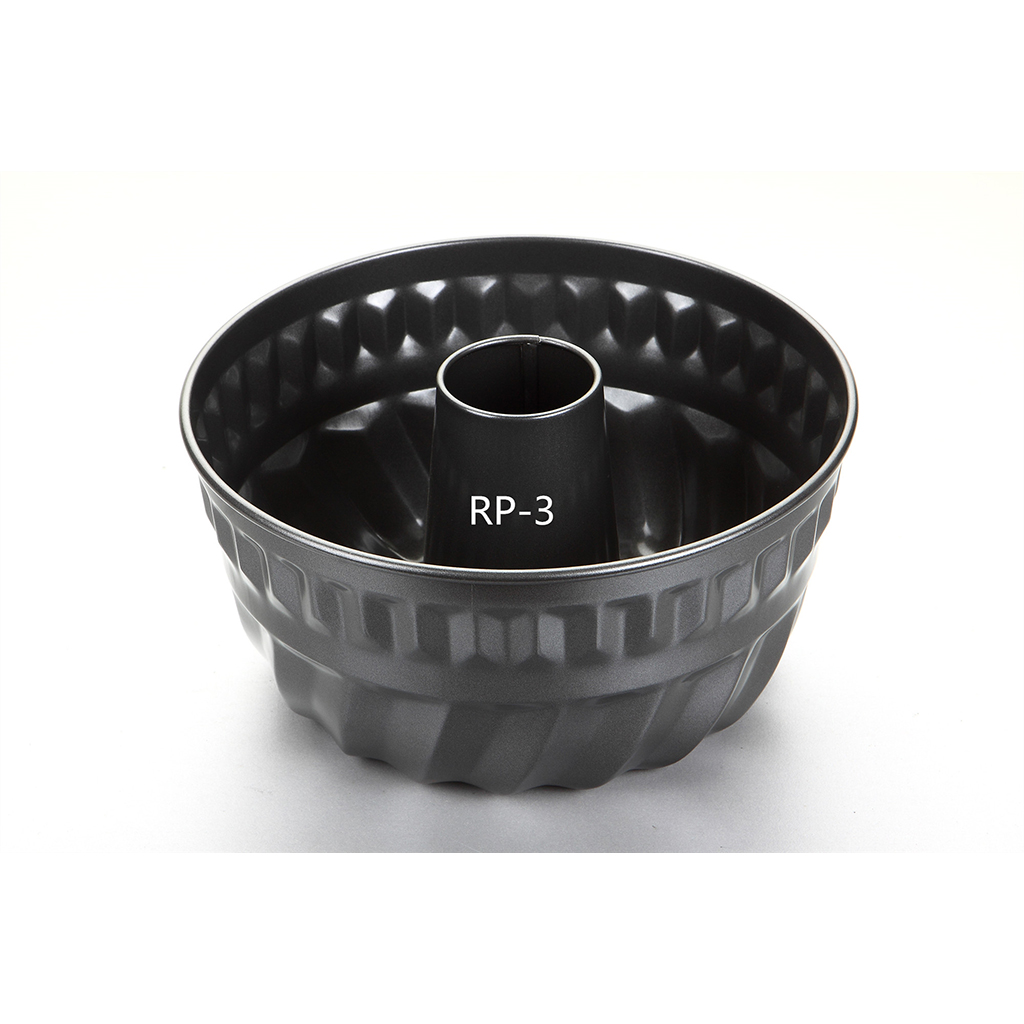
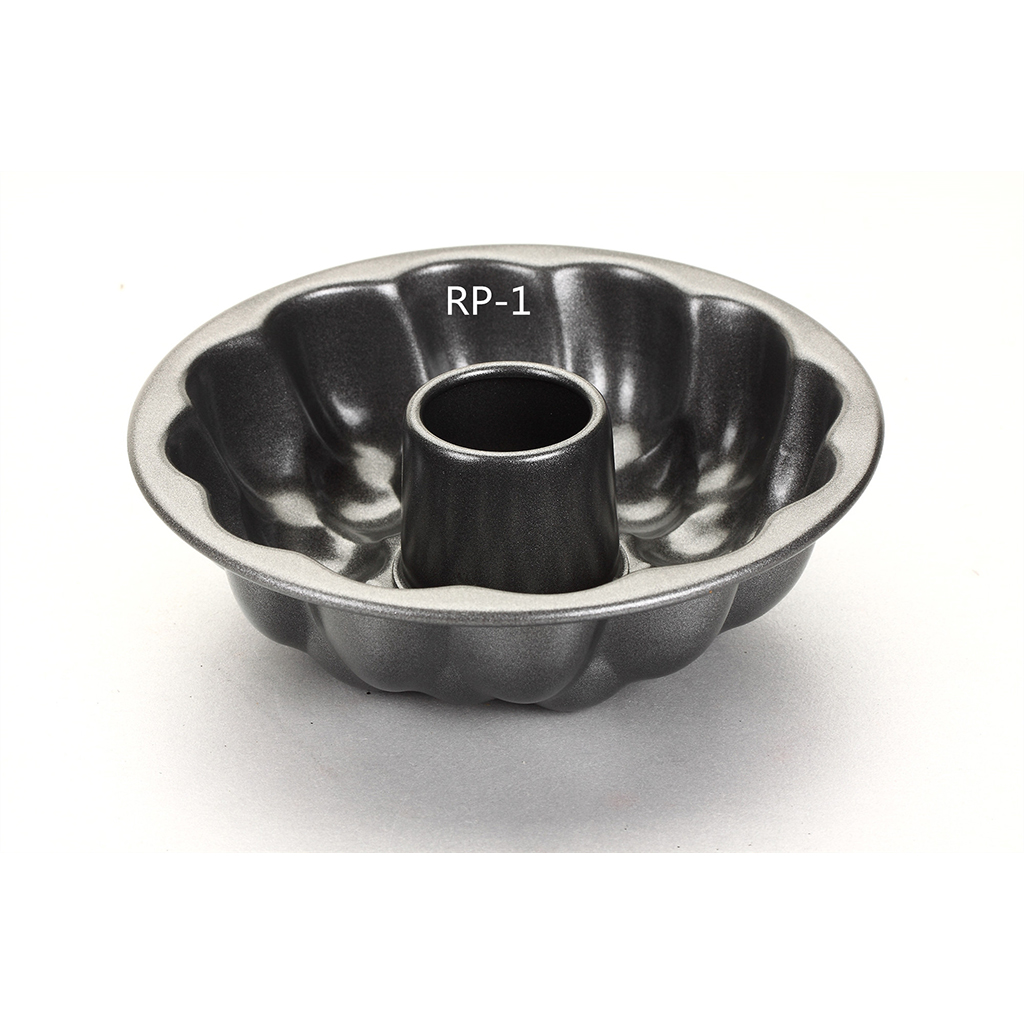
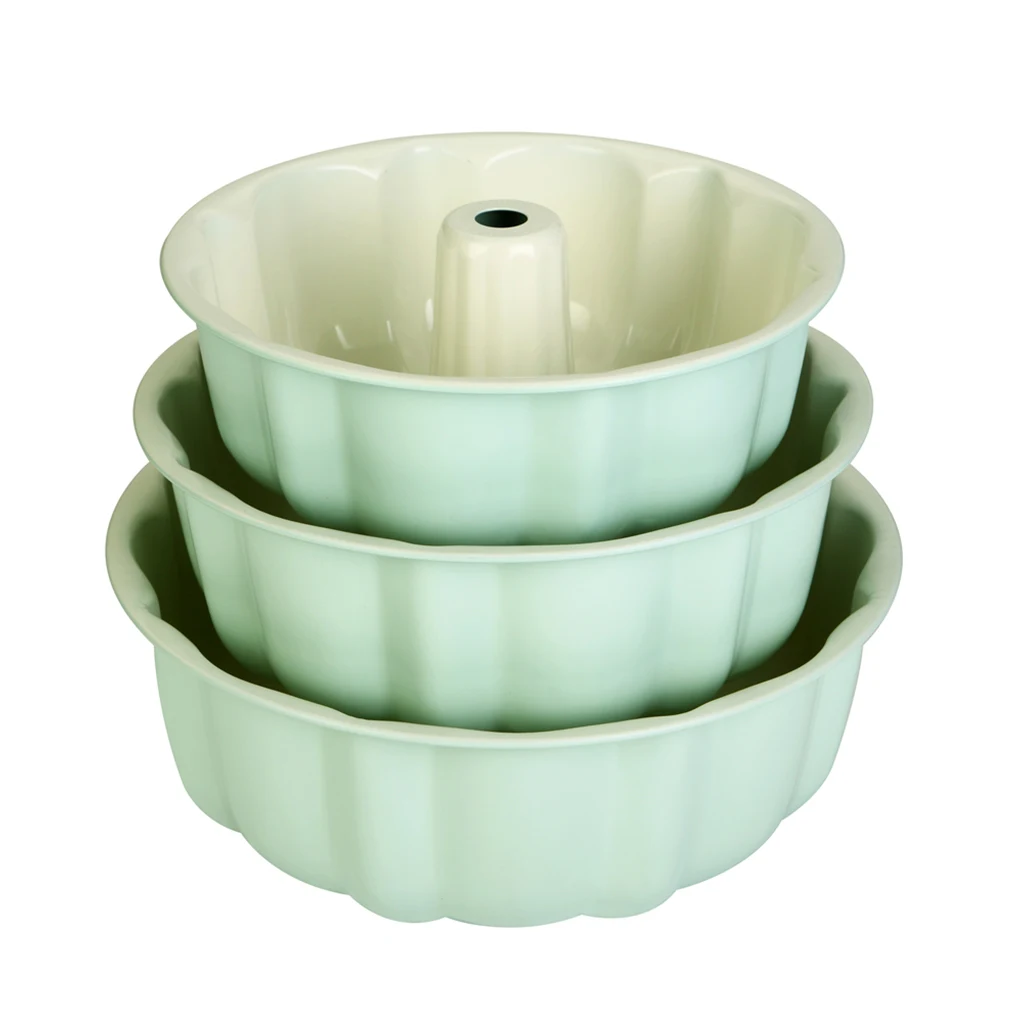
Before diving into the detailed steps of how do you use a bundt pan, it is essential to understand why Bundt pans are unique and how their design impacts your bundt pan usage. Unlike standard round or square cake pans, the Bundt pan (originally trademarked by Nordic Ware) features a central tube called a “chimney.”
The Science of the Chimney
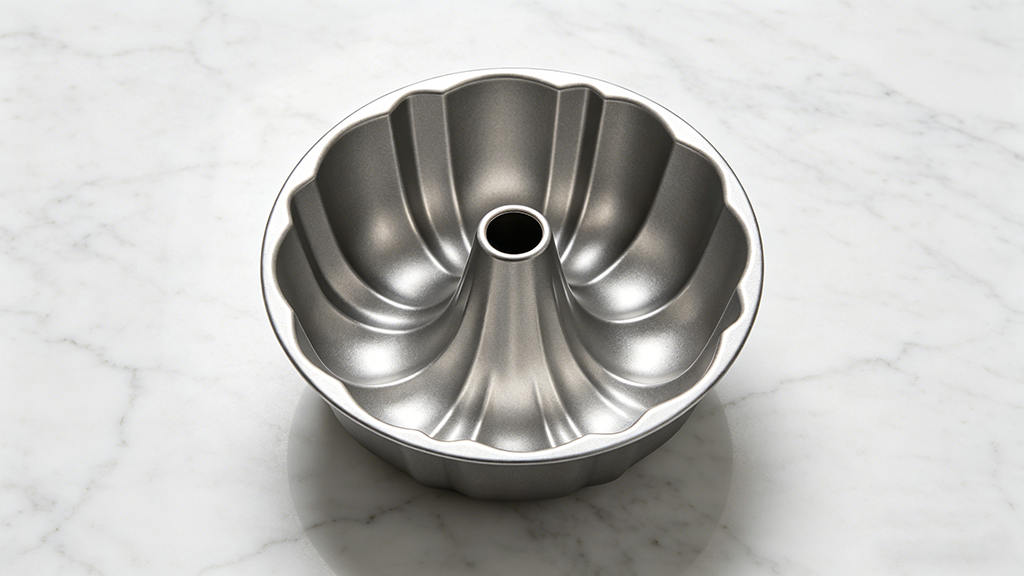
The hole in the middle isn’t just for aesthetics. Because Bundt cakes are typically deep and voluminous, the central tube allows heat to conduct into the center of the cake. This ensures that the interior bakes at the same rate as the exterior, preventing the common issue of a burnt outside and a raw inside. This fundamental design principle is crucial to grasp when learning how to use a bundt pan correctly. This design is also why Bundt pans are perfect for heavy, dense batters like pound cakes and coffee cakes.
Material Matters: Cast Aluminum vs. Carbon Steel vs. Silicone
When selecting a pan, the material significantly impacts your results and your approach to using a bundt pan.
- Traditional cast aluminum offers exceptional thermal conductivity, ensuring that cakes brown evenly. It’s a favorite for purists but requires diligent preparation.
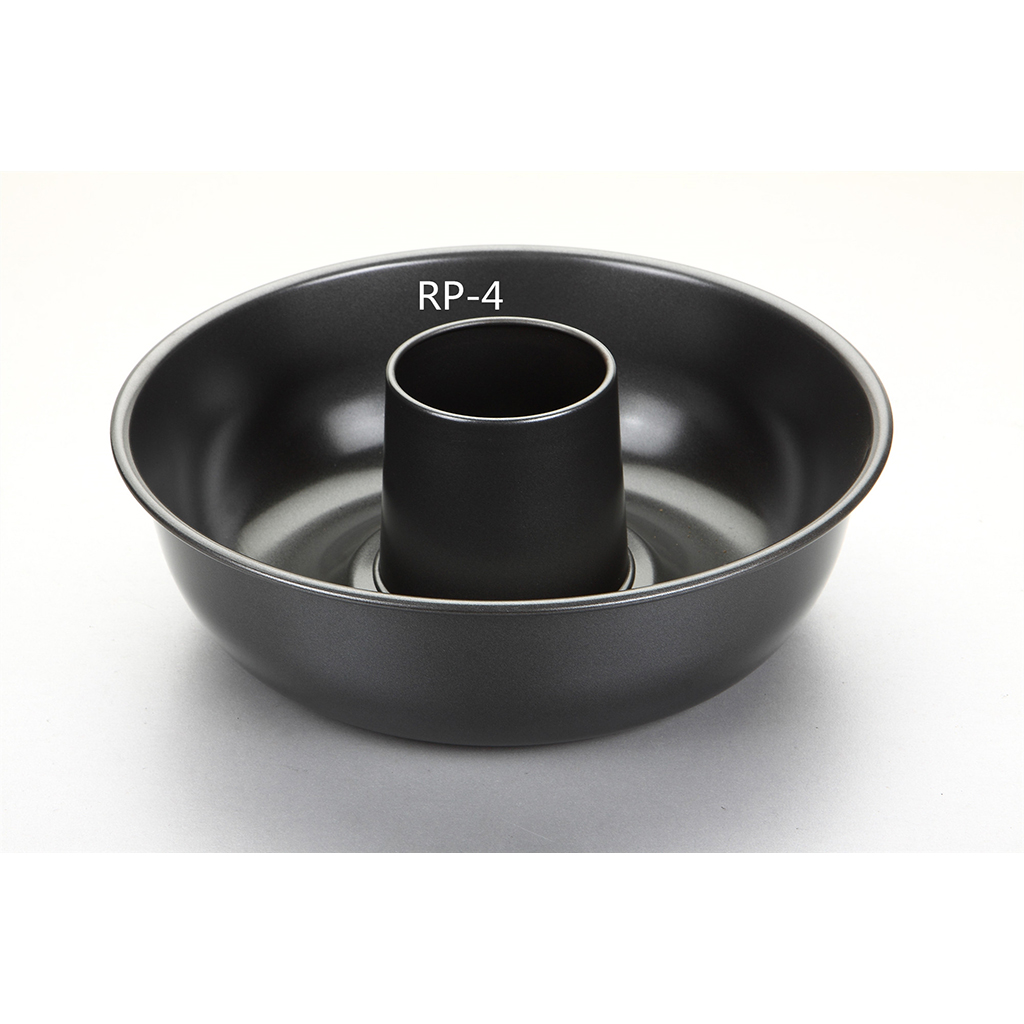
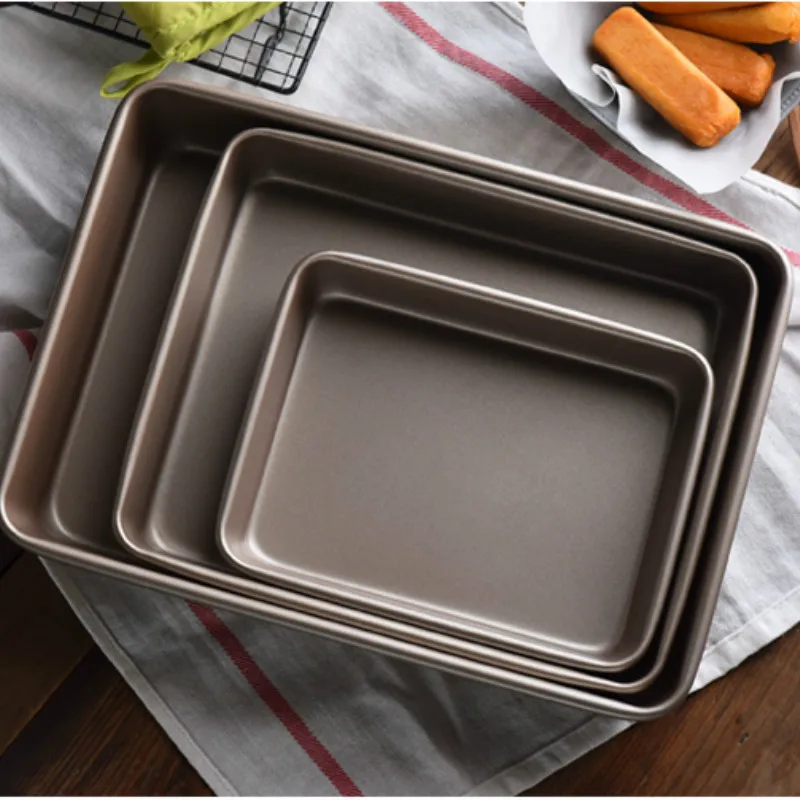
- Carbon steel (such as that used by Aolijue), on the other hand, combines high cost-effectiveness with characteristics of being lightweight, sturdy, and resistant to deformation. It’s an excellent all-rounder for general bundt pan usage at home.
- Silicone, meanwhile, boasts extreme flexibility that facilitates easy release; however, as an insulator, it does not promote browning as effectively as metal materials. It simplifies the process of how to use a bundt pan for beginners but may not deliver the classic crust.
Your choice here will slightly alter your preparation method, which is a key part of the overall answer to how do you use a bundt pan.
The Golden Rule: How to Prep Your Bundt Pan
This is the most critical phase. If you ask a pro, “how do you use a bundt pan,” the first word out of their mouth will be “grease.” Even if your pan is labeled “non-stick,” the intricate designs create thousands of tiny pockets where sugar and flour can bond to the metal. Proper pan prep is the non-negotiable first step in the process of using a bundt pan.
1. The Best Greasing Agents
- Baker’s Joy or Homemade Pan Release: Many professionals swear by a flour-based baking spray. You can make your own “cake goop” by mixing equal parts vegetable oil, shortening, and all-purpose flour. This mixture is a secret weapon for those learning how to use a bundt pan without sticking.
- Melted Shortening and Flour: Melted shortening reaches the nooks better than softened butter. Butter contains water and milk solids which can act like glue during the baking process.
- Cocoa Powder for Dark Cakes: If you are baking a chocolate cake, swap the flour for cocoa powder to avoid a white, chalky residue on your finished masterpiece.
2. The Application Process
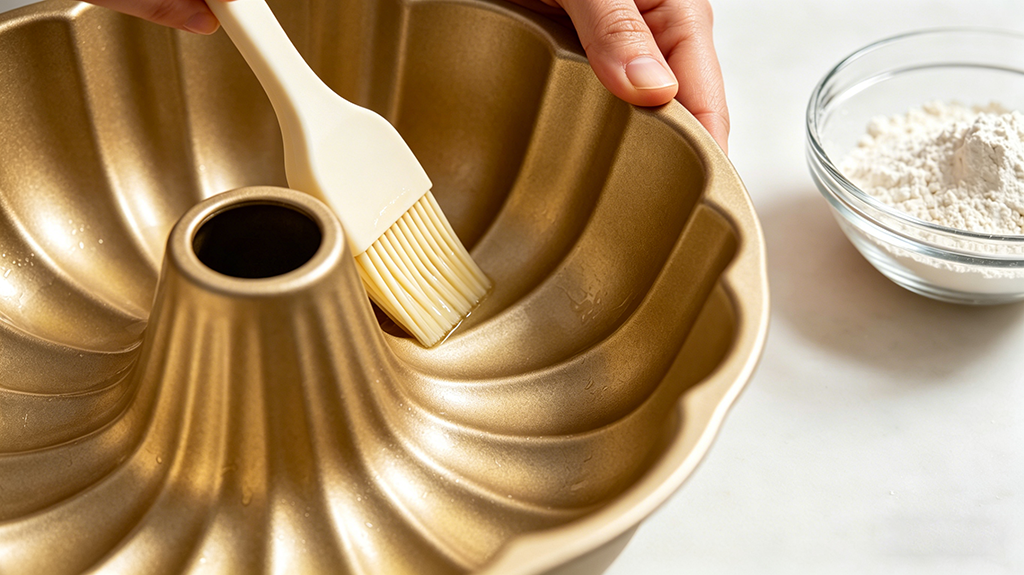
Don’t just spray and pray. When you use a bundt pan, thoroughness is everything. Use a pastry brush to ensure the grease is painted into every single crevice, especially around the central tube. After greasing, add a tablespoon of flour, rotate the pan to coat, and then—critically—tap out the excess. Excess flour can create a gummy paste that actually causes sticking.
“The secret to a perfect release isn’t just the grease; it’s the evenness of the application. A missed spot the size of a dime can ruin an entire cake. This is the most common mistake bakers make when figuring out how do you use a bundt pan.” — Senior Pastry Consultant
Choosing and Preparing the Right Batter
Not every cake recipe is suitable for a Bundt pan. Part of knowing how do you use a bundt pan successfully is selecting the right type of batter. Because of the pan’s depth and the way heat is distributed, you need a batter with enough structure to support its own weight.
Recommended Cake Types
- Pound Cakes: The gold standard for Bundt pans. Their dense crumb holds the shape perfectly.
- Sour Cream or Yogurt Cakes: The acidity and fat provide moisture and a sturdy structure.
- Fruit-Studded Cakes: Bundt pans handle inclusions like nuts and berries well, provided they are tossed in flour first so they don’t sink to the bottom (which becomes the top).
Avoid Delicate Sponges
Genoise, chiffon, or angel food cakes are generally too delicate for a traditional Bundt pan. They rely on “climbing” the walls of the pan to rise, and the greased surface of a Bundt pan will cause them to collapse. For those, a dedicated tube pan (which is ungreased) is required.Knowing which batters work best is a key aspect of how do you use a bundt pan wisely.
The Baking Process: Step-by-Step
Once your pan is prepped and your batter is mixed, follow these steps to ensure a perfect bake. This is where the theory of how do you use a bundt pan meets practice.
Filling the Pan
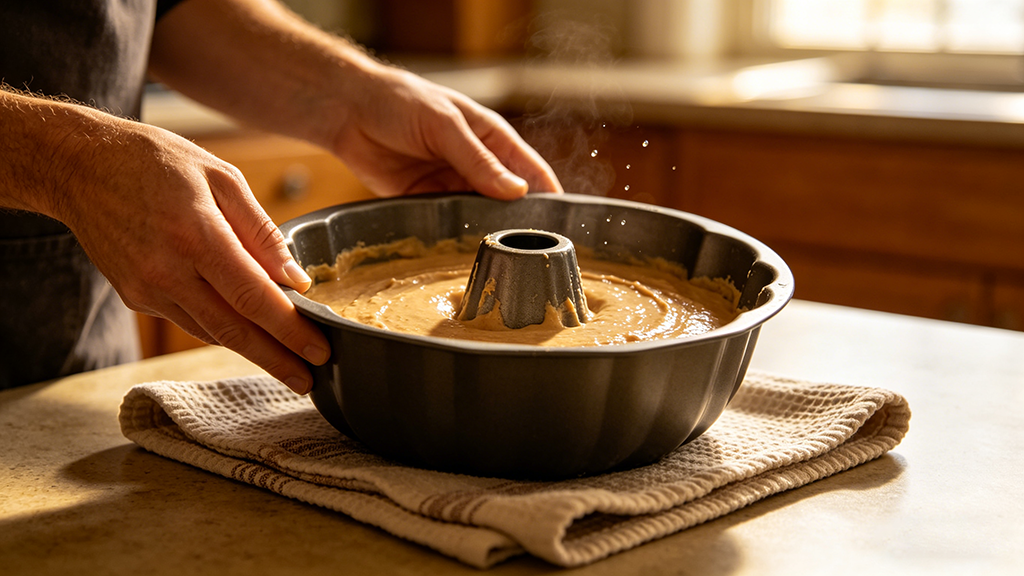
When pouring the batter, do so from one spot and let it flow naturally around the pan. This prevents air pockets from forming. Once filled, tap the pan firmly on a counter covered with a kitchen towel 3-4 times. This forces air bubbles to the surface and ensures the batter settles into the fine details of the mold.
How Much to Fill?
Never fill a Bundt pan more than 3/4 full. Overfilling leads to the batter “mush-rooming” over the edges, which creates a difficult-to-clean mess and can cause the cake to pull away from the sides prematurely, affecting the final shape. Proper filling volume is a simple but vital part of how do you use a bundt pan correctly.
The Low and Slow Method
Temperature control is another critical element in how do you use a bundt pan properly.Most Bundt cakes bake at 325°F or 350°F (160°C – 175°C). Because they are so large, they often take 50 to 70 minutes. Use a long wooden skewer to test for doneness. Insert it into the thickest part of the cake; it should come out clean or with just a few moist crumbs attached.
The Critical Moment: Cooling and Inverting
This is where most bakers go wrong. The timing of the “flip” is a science in itself and perhaps the most delicate part of the entire process of how do you use a bundt pan.
The 10-Minute Window
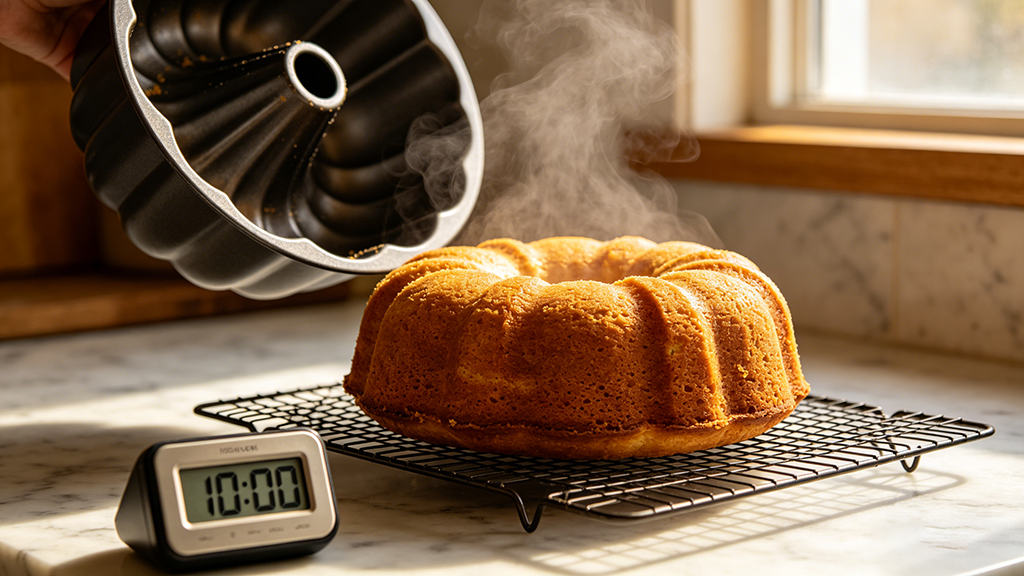
Set your timer for exactly 10 minutes once the pan comes out of the oven. During this time, the cake’s structure firms up as it begins to cool, but the steam is still present, keeping the exterior soft and preventing it from bonding to the metal.
If you flip too soon, the cake is too fragile and will break. If you wait too long, the sugar in the cake will cool and act like cement, locking the cake into the pan.This precise timing window exemplifies why patience matters when learning how do you use a bundt pan.
The “Loosening” Technique
Before flipping, gently jiggle the pan horizontally. You should see the edges of the cake pull away slightly from the sides. If a specific area looks stuck, use a thin silicone spatula (avoid metal to protect your pan) to very gently nudge the edge.
The Final Flip
Place a wire cooling rack over the top of the pan. Firmly grip both the pan and the rack (using oven mitts!), and in one confident motion, invert them. Set it down on the counter and wait. Sometimes the cake drops immediately; sometimes it takes a minute. If it doesn't drop, give the top of the pan a few sharp taps.This confident inversion technique completes the core steps of how do you use a bundt pan from start to finish.
Advanced Tips for Success
To truly master how do you use a bundt pan, consider these professional nuances that go beyond the basics:
Temperature Check
To truly master how do you use a bundt pan, consider these professional nuances that go beyond the basics:
- Temperature Check: Ensure all your ingredients (eggs, butter, milk) are at room temperature. This creates an emulsion that traps air properly, leading to a more uniform crumb that is less likely to crumble when sliced. This foundational baking practice supports successful bundt pan usage and answers the question of how do you use a bundt pan like a professional.
- The Freezer Trick: For intricate pans, after greasing and flouring, place the empty pan in the freezer for 10 minutes. This sets the fat coating, providing an extra layer of security against sticking.
Cleaning and Caring for Your Bundt Pan
Proper care extends the life of your pan and ensures consistent performance every time you go through the process of how to use a bundt pan. After unmolding, let the pan cool completely. Soak it in warm, soapy water to loosen any crumbs stuck in the crevices. Use a soft brush to gently clean the grooves. Avoid harsh abrasives or the dishwasher to maintain the pan’s surface. Proper maintenance is part of the long-term answer to how do you use a bundt pan effectively for years to come.
Frequently Asked Questions (FAQ)
Q: What is the most important thing to remember when learning how do you use a bundt pan?
A: The single most important thing is meticulous, thorough preparation of the pan using a grease-and-flour method (or a quality baking spray with flour). There is no substitute for this step in the process of using a bundt pan.
Q: Can I use a regular cake mix in a Bundt pan?
A: Yes, but you should “doctor” it. Add an extra egg, a small box of instant pudding mix, or swap the water for sour cream. This makes the batter denser and more suited to the Bundt shape.
Q: What if my cake sticks despite my best efforts?
A: If the cake is truly stuck, try placing the pan back in a warm oven for 3-5 minutes to soften the sugars, then try the flip again. If it breaks, don’t worry! You can “glue” pieces back on with frosting or turn the whole thing into a delicious trifle or cake pops.
Q: How long should I let the cake cool before removing it from the pan?
A: This is the critical timing element. Let it cool in the pan on a wire rack for exactly 10 minutes. This allows it to set and contract slightly from the pan’s sides, but not cool completely and re-stick. Mastering this timing is essential to how do you use a bundt pan successfully.
Q: How do I scale a recipe for different pan sizes?
A: Bundt pans are measured by volume (cups). To find your pan’s capacity, pour water into it cup by cup. A standard recipe usually requires a 10-12 cup pan. If your pan is smaller, fill it only 3/4 full and bake the remaining batter as cupcakes.
Common Mistakes to Avoid
Even experienced bakers sometimes wonder if they’re following how do you use a bundt pan best practices correctly. Steering clear of these errors will dramatically improve your results when applying the principles of how do you use a bundt pan:
- Using Butter to Grease: As mentioned, the milk solids can cause sticking. Use oil or shortening instead.
- Peeking in the Oven: Opening the door too often causes temperature fluctuations that can lead to a sunken cake.
- Neglecting the Center Tube: Many people forget to grease the chimney as thoroughly as the outer walls. This is the most common cause of “donut-shaped” disasters.
Conclusion
Mastering how do you use a bundt pan is a rite of passage for any serious home baker. It requires a blend of patience, precision, and the right technique. By choosing the right ingredients, meticulously preparing your pan with a flour-based release agent, and respecting the 10-minute cooling window, you can produce stunning, bakery-quality cakes that will be the talk of any gathering. The journey of learning how to use a bundt pan effectively is rewarding, transforming anxiety into confident mastery.
Don’t be discouraged by a few initial mishaps. Even the best bakers have had a cake stay behind in the pan once or twice. With the steps outlined in this guide, you are well on your way to Bundt perfection.
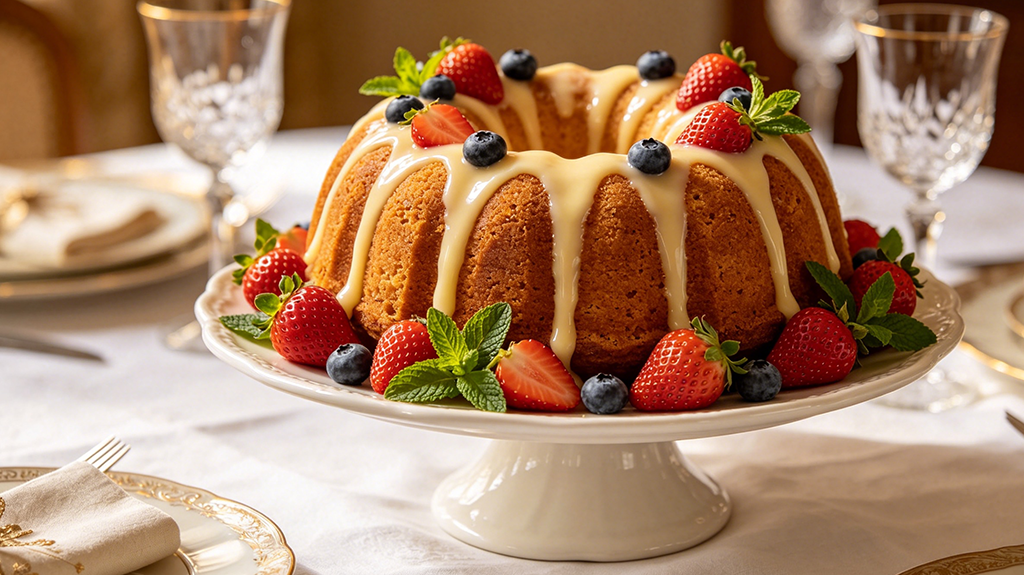
Ready to Bake Like a Professional?
Now that you know how do you use a bundt pan, it’s time to get the right tool. Discover the Aolijue difference. Our carbon steel bundt pans are designed for oven-safe precision and effortless release, making the process of using a bundt pan even more enjoyable. Available in multiple sizes with custom options to fit your unique baking needs.
Upgrade your ovenware collection today!
Happy baking!