Introduction: Why This Baking Tool Deserves a Place in Your Kitchen
Cheesecake is one of those desserts that feels special. Whether you are making it for a birthday, a holiday dinner, or simply because you want a creamy treat, the process can be rewarding. But anyone who has made cheesecake at home knows that removing it from a standard cake pan can be tricky.
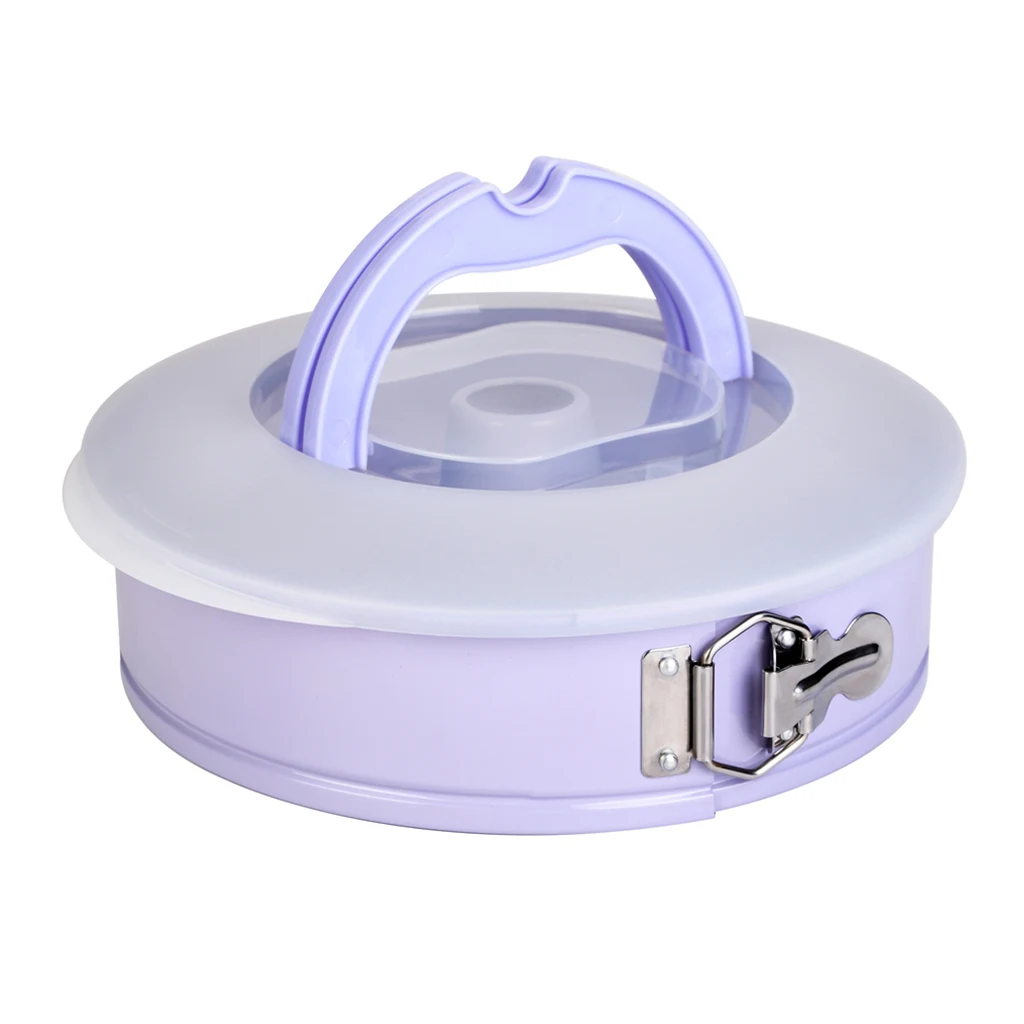
This is where a springform baking pan becomes helpful. Unlike regular pans, this design includes a removable bottom and a side ring that opens with a clamp. You do not need to flip the pan upside down or risk breaking the cheesecake. Instead, you release the sides and lift them away, leaving the dessert on the base.
In this guide, we will walk through 7 practical steps for using a springform baking pan to make cheesecake. You will learn how to choose a good pan, prepare it properly, bake the cheesecake with confidence, and remove it without cracks or sticking. By the end, you may find yourself reaching for this pan more often.
Step 1: Choose a Quality Pan
The first step is choosing a springform baking pan that works well for you. Not every pan performs the same way, so a little attention to detail here can make a difference.
Material Options
Most springform baking pans are made from metal. Common materials include:
Carbon steel: This material heats relatively evenly. A carbon steel baking pan tends to be durable and resists warping under normal use. Many bakers prefer this option.
Aluminum: Lightweight and a good heat conductor. An aluminum pan heats up quickly, though it may dent more easily than steel.
Non-stick coated: These pans release cheesecake more easily. However, the coating quality varies. A non-stick pan should be handled with care to avoid scratches.
Size Considerations
Springform baking pans come in various sizes. Common diameters include:
6-inch: Suitable for small cheesecakes or individual portions.
7-inch: A good choice for serving 4 to 6 people.
8-inch: A popular size for many cheesecake recipes.
9-inch: The most common size. Many standard cheesecake recipes are designed for a 9-inch pan.
10-inch: Better for larger gatherings or thinner cheesecakes.
For beginners, an 8-inch or 9-inch pan is often a practical choice.
Locking Mechanism
The latch on a springform pan should feel secure but not difficult to operate. Before buying, test the clamp if possible. A good springform baking pan will open and close smoothly without sticking.
What to Look For
When selecting a springform baking pan, consider:
A rim that fits snugly against the base
A latch that stays closed during baking
Smooth edges that won’t cut your hands
A base that sits flat without wobbling
A well-made pan can last for many years with proper care.
Step 2: Prepare the Pan Before Mixing Batter
Proper preparation helps prevent leaks and sticking. Cheesecake batter is thin and can seep through small gaps between the base and the side ring.
Greasing the Pan
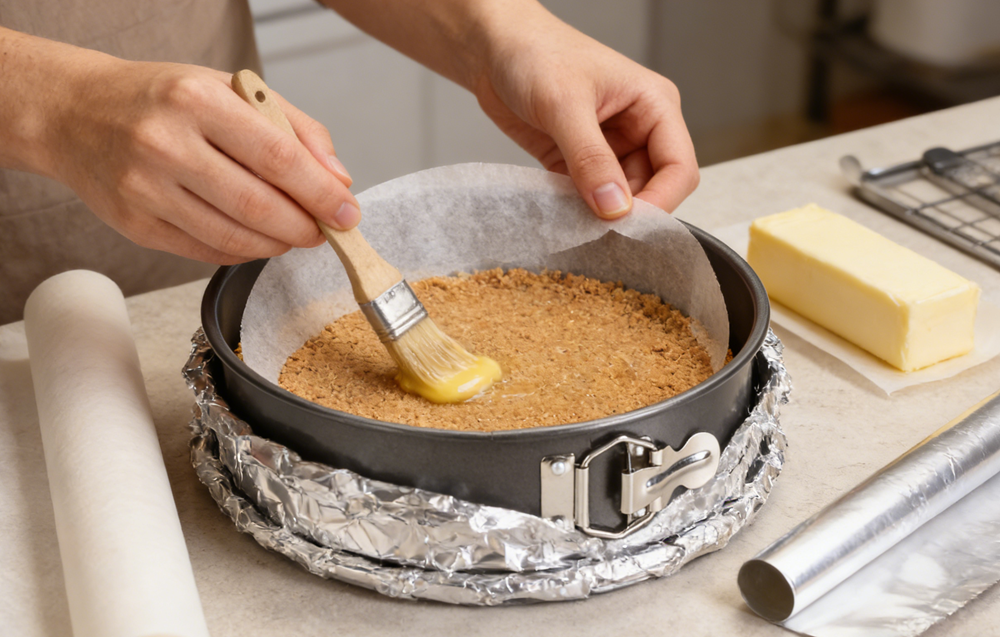
Even if your pan has a non-stick coating, a light layer of grease can be useful. Use butter, shortening, or a cooking spray. Apply it to the bottom and the sides of the pan. Pay extra attention to the seam where the base meets the ring.
Using Parchment Paper
Many bakers line the bottom of their pan with parchment paper. Here’s how:
Place the pan on a sheet of parchment paper.
Trace around the base with a pencil.
Cut out the circle just inside the line.
Place the paper circle inside the pan on top of the greased base.
Close the side ring over the paper.
The parchment paper helps you transfer the cheesecake to a serving plate later. It also makes cleanup of your springform pan easier.
Preventing Leaks
Cheesecake batter can drip through the gap in a springform cake pan. To reduce this risk:
Wrap the outside of your pan with aluminum foil. Use a large piece of heavy-duty foil and wrap it up the sides of the pan. This creates a barrier against leaks.
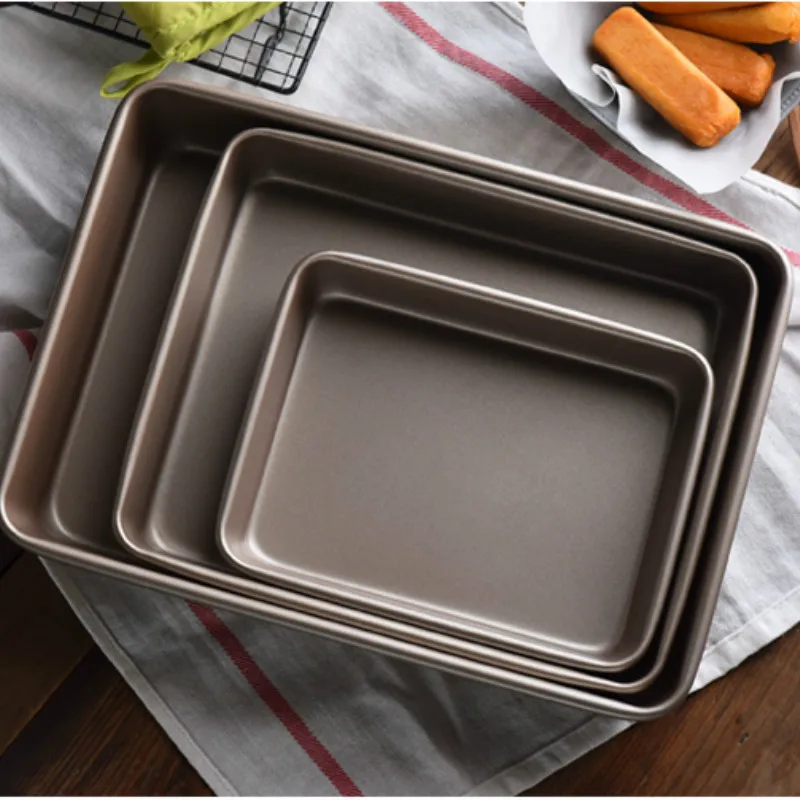
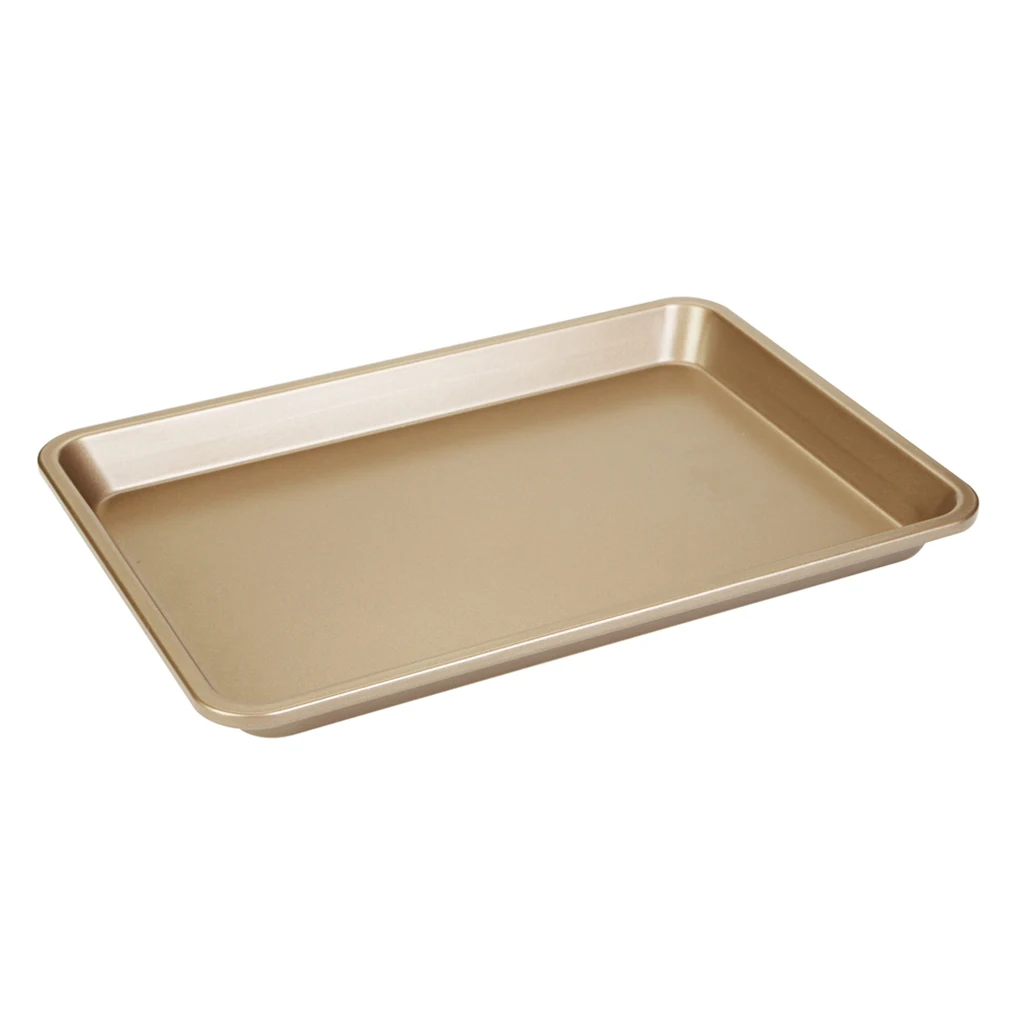
Place the wrapped pan on a baking sheet before putting it in the oven. The baking sheet catches any drips.
Some bakers skip the foil and simply place their pan on a baking sheet. This works for thicker batters, but foil provides extra security.
Crust Preparation
If your cheesecake recipe includes a crust, such as graham cracker or cookie crust, press the mixture into the bottom of the baking pan. Use the bottom of a measuring cup or a flat glass to press firmly. An even, compact crust helps seal the gap between the base and the ring, reducing the chance of leaks.
Step 3: Mix and Pour the Cheesecake Filling
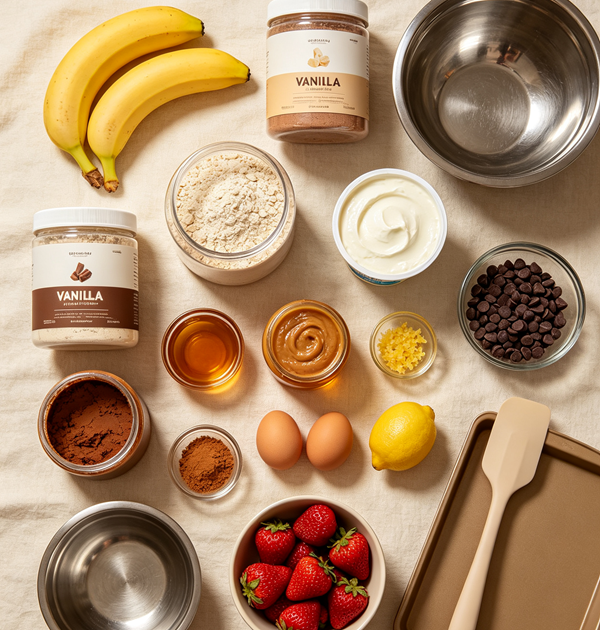
With your pan prepared, you can move on to the filling. Most cheesecake recipes include cream cheese, sugar, eggs, and sometimes sour cream or heavy cream.
Mixing Tips
For a smooth filling:
Bring ingredients to room temperature before mixing. Cold cream cheese can create lumps.
Mix on low speed. High speed introduces air bubbles, which may cause cracks during baking.
Scrape the sides of the bowl often to ensure even mixing.
Pouring
Pour the filling gently into your prepared baking pan. Start in the center and let the batter spread outward. This reduces air bubbles.
Fill the pan to about three-quarters full. Cheesecake rises slightly during baking but does not puff up like a cake. Leaving some space at the top helps prevent overflow.
After pouring, tap the pan gently on the counter a few times. This brings air bubbles to the surface, where they can pop before baking.
Step 4: Bake the Cheesecake
Baking cheesecake requires some attention. The dessert is sensitive to temperature changes and over-baking.
Water Bath (Bain-Marie)
Many cheesecake recipes recommend baking in a water bath. This method involves placing your baking pan inside a larger pan filled with hot water. The water bath provides gentle, even heat and helps prevent cracks.
To use a water bath with your baking pan:
Wrap the outside of your springform baking pan with two layers of heavy-duty aluminum foil. Make sure the foil comes up at least halfway on the sides.
Place the wrapped springform baking pan in a larger roasting pan or baking dish.
Put the assembly in the oven.
Pour hot water into the larger pan until it reaches about halfway up the sides of your springform baking pan.
Bake according to your recipe.
The foil prevents water from seeping into your springform baking pan.
Oven Temperature
Most cheesecakes bake at a moderate temperature, typically between 325°F and 350°F (about 160°C to 175°C). Higher temperatures can cause the cheesecake to puff up and crack.
If your pan has a dark coating, consider lowering the temperature by about 25°F (approximately 15°C).
Baking Time
Cheesecake baking times vary based on the size of your pan and the recipe. A 9-inch springform baking pan usually requires 45 to 60 minutes.
The cheesecake is likely done when the edges look set but the center still jiggles slightly when you gently shake the pan. A toothpick inserted near the center may come out with some moist crumbs.
Cooling
After baking, turn off the oven and crack the door open. Let the cheesecake cool in the springform baking pan inside the oven for about an hour. This gradual cooling reduces the risk of cracks.
Then remove the springform baking pan from the oven and place it on a wire rack. Cool completely at room temperature before refrigerating.
Step 5: Chill the Cheesecake Thoroughly
Patience is important when using a springform baking pan for cheesecake. The cheesecake needs time to firm up before you release the sides.
Refrigeration Time
After the cheesecake has cooled to room temperature, place the entire pan in the refrigerator. Chill for at least 4 hours, though overnight chilling often produces better results.
The cold temperature helps the cheesecake set firmly. A well-chilled cheesecake is less likely to stick to the sides of your pan or break when you remove the ring.
Why Chilling Matters
If you try to open your springform baking pan too soon, the cheesecake may:
Stick to the side ring
Crack around the edges
Collapse or lose its shape
Waiting until the cheesecake is fully chilled gives you a better chance of success with your springform pan.
Step 6: Remove the Cheesecake from the Pan
Removing the cheesecake from your baking pan is often the moment when bakers feel most nervous. With a few careful steps, the process can go smoothly.
Opening the Latch
First, locate the clamp or latch on your pan. Place the pan on a stable surface. Gently pull the latch open. You may hear a small click as the side ring releases.
Lifting the Side Ring
After opening the latch, the side ring of your springform baking pan should loosen. Carefully lift the ring straight up and away from the cheesecake. If the ring sticks, run a thin knife or offset spatula between the cheesecake and the ring before lifting.
Some springform baking pans have a slight taper that helps the ring release more easily.
Moving the Cheesecake
The cheesecake now sits on the base of your springform baking pan. To transfer it to a serving plate:
Slide a thin spatula between the crust and the pan base to loosen it.
If you used parchment paper, simply lift the paper edges to move the cheesecake.
Alternatively, serve the cheesecake directly on the springform baking pan base. Many bakers do this because the base is flat and attractive.
Cleaning the Springform Baking Pan
After removing the cheesecake, clean your springform baking pan promptly. Hand washing is usually recommended, especially for non-stick coatings. Dry the pan thoroughly before storing to prevent rust.
A well-maintained springform baking pan can be used for many cheesecakes over the years.
Step 7: Explore Other Uses for Your Pan
While cheesecake is a common use for a springform baking pan, this pan can do more. Once you are comfortable using your springform baking pan, consider trying other desserts.
Deep-Dish Pizzas
A springform pan works well for deep-dish pizza. Press dough into the bottom and up the sides. Add sauce, cheese, and toppings. After baking, release the side ring and slice the pizza.
Savory Pies and Quiches
Some savory pies and quiches benefit from this pan. The removable sides make serving easier, especially for delicate crusts that might break if you tried to flip them out of a regular pan.
Ice Cream Cakes
Layer ice cream, cookies, and sauce in the pan. Freeze until firm. Then release the sides and slice. The springform baking pan helps create neat layers.
No-Bake Desserts
Many no-bake cheesecakes and mousse cakes work well in a springform pan. The pan holds the dessert while it sets in the refrigerator. When the dessert is firm, you can remove the sides and serve.
Lasagna or Layered Casseroles
For a different approach, use your springform pan to make individual or small layered casseroles. The tall sides contain the layers, and the removable ring simplifies serving.
Troubleshooting Common Issues
Even with good preparation, you may encounter some challenges when using a springform baking pan. Here are a few common issues and possible solutions.
Leaking Batter
If batter leaks from the pan, try:
Wrapping the pan more carefully with foil
Using a thicker crust that seals the gap
Placing the pan on a baking sheet to catch drips
Sticking Sides
If the cheesecake sticks to the side ring of your pan:
Run a warm knife around the edge before opening the latch
Chill the cheesecake longer before attempting removal
Grease the sides more thoroughly next time
Cracked Cheesecake
Cracks can appear even when using a pan. To reduce cracks:
Avoid over-mixing the batter
Use a water bath during baking
Cool the cheesecake gradually in the oven
Chill completely before removing from the pan
Rust on the Pan
If your pan develops rust:
Dry the pan thoroughly after each wash
Avoid leaving the pan in water
Apply a very light layer of cooking oil to carbon steel pans before storing
Final Thoughts
Using a springform baking pan for cheesecake is a practical approach that many home bakers find helpful. The removable sides allow you to serve a delicate cheesecake without damaging its appearance.
The 7 steps covered in this guide include:
Choosing a quality pan
Preparing the pan before mixing batter
Mixing and pouring the filling
Baking with appropriate techniques
Chilling the cheesecake fully
Removing the cheesecake from the pan
Exploring other uses for your springform cake pan
A springform baking pan may take a little practice to use confidently. With each cheesecake you make, you will likely become more comfortable with the process. Whether you are baking for a holiday, a birthday, or simply because you enjoy cheesecake, your springform baking pan can be a useful tool in your kitchen.