Introduction
A bundt pan creates cakes with beautiful fluted sides and a hole in the center. If you have never baked with one, how to use a bundt pan might seem a little intimidating at first. The truth is that this pan is not difficult to work with once you learn a few basic techniques. This guide will show you how to use a bundt pan in 7 simple steps that anyone can follow.
What Is a Bundt Pan?
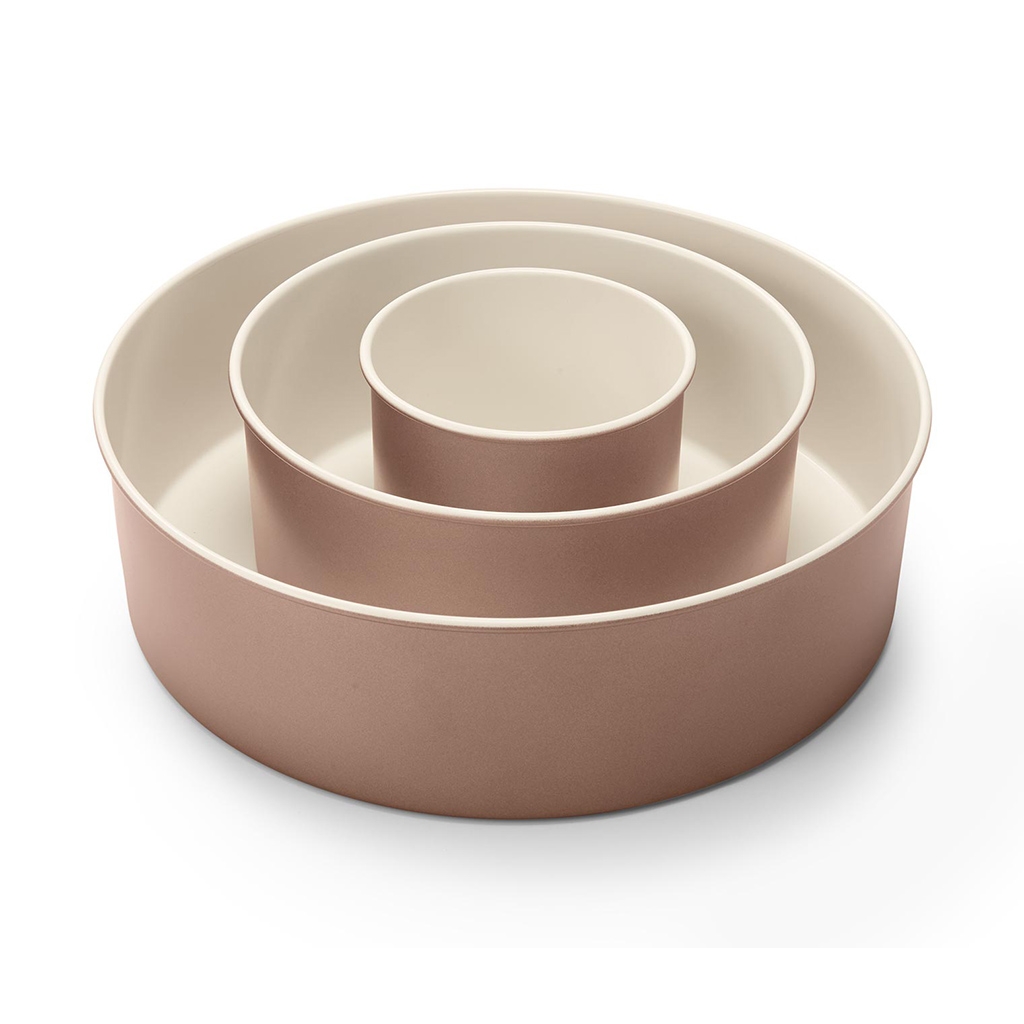
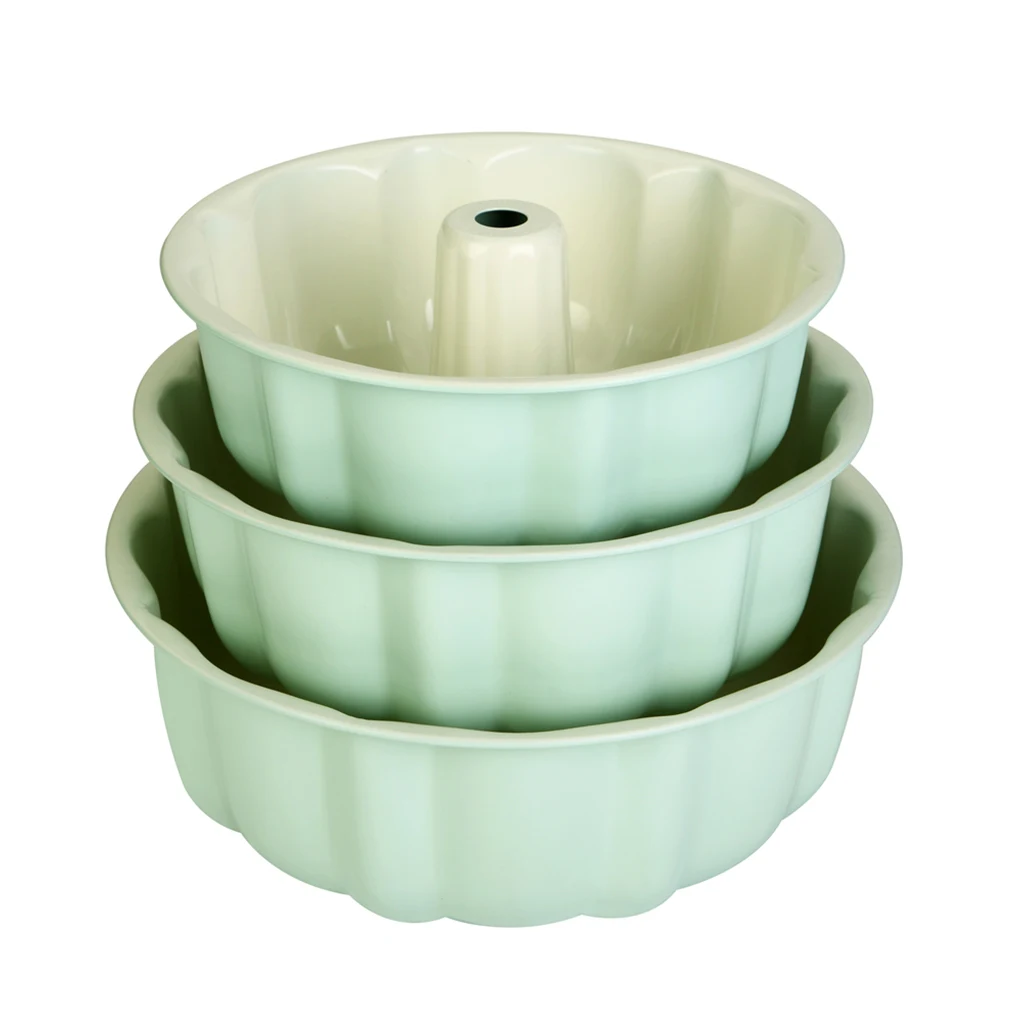
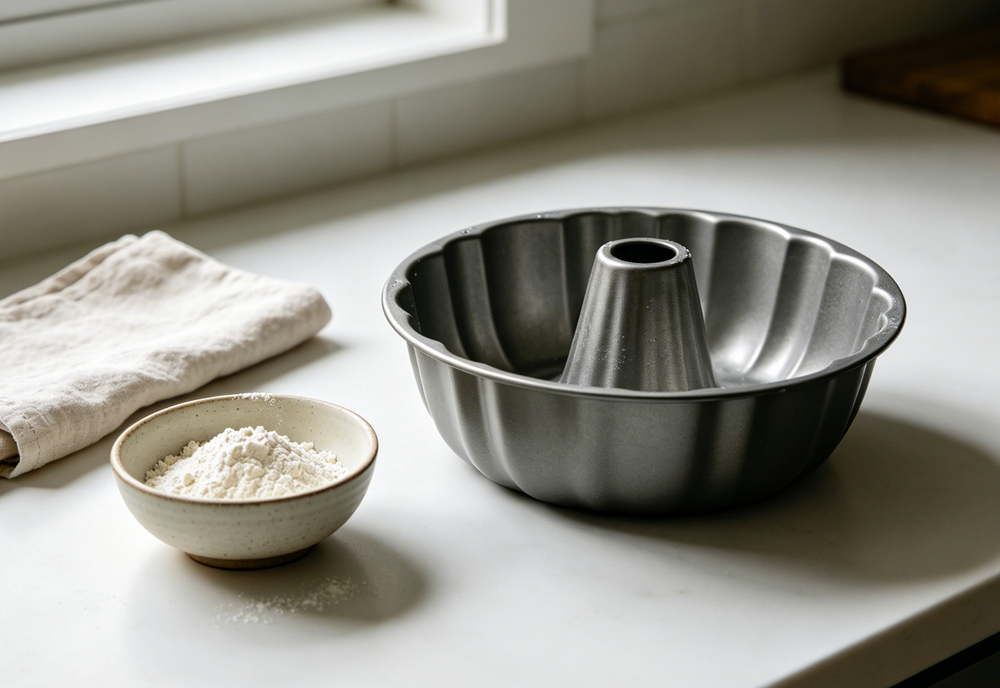
Before you start baking, it helps to understand what this pan looks like and how it works. A bundt pan is a round baking pan with a hollow tube in the middle. The sides are fluted and decorative. The tube helps heat reach the center of the cake so it bakes evenly. Learning how to use a bundt pan begins with knowing its basic design.
Bundt pans come in many sizes. The most common size holds 10 to 12 cups of batter. Some are smaller, holding 6 to 8 cups. Others are larger, holding up to 15 cups. Most are made of cast aluminum or carbon steel. Silicone versions also exist, though they work a little differently. No matter what material your pan is made of, the principles of how to use a bundt pan remain the same.
Step 1: Choose a Suitable Recipe
Not every cake recipe works well in this pan. Dense batters are the best choice for learning how to use a bundt pan. Pound cake, butter cake, and coffee cake all work nicely. These batters are thick enough to hold the decorative shape without losing definition during baking.
Light and airy batters, such as angel food cake, can be more challenging. They are delicate and may stick to the grooves of the pan. For your first few attempts, choose a sturdy recipe.
If you have a recipe written for a loaf pan or a round cake pan, you can often convert it. Look for recipes that make about 10 to 12 cups of batter. Keep the oven temperature the same, but expect a slightly longer baking time.
Step 2: Prepare the Pan Properly
This is the most important part of how to use a bundt pan. Because the pan has many grooves, you must prepare it well. A cake can easily stick if you rush through this step, so take your time.
Start with a clean, dry pan. Wash it with warm, soapy water and a soft sponge. Dry it completely with a clean towel. Any leftover residue can cause sticking and make the following steps much more difficult.
Next, choose your grease. Melted vegetable shortening works very well. Baking spray with flour is another good option. Avoid using butter alone, because the milk solids can act like glue. Using the right grease is a key detail in how to use a bundt pan.
Use a pastry brush to apply the grease. Make sure you reach every groove, ridge, and crevice. Pay special attention to the center tube. Be generous with the grease, but do not let it pool in the bottom. This careful application is essential for making cakes successfully.
After greasing, add a dusting of flour. For chocolate cakes, use cocoa powder instead. Add about one tablespoon of your dusting choice. Tilt and tap the pan so the dusting coats all the surfaces. Turn the pan upside down and tap out any excess. This dusting creates an extra barrier against sticking.
For extra insurance, place the prepared pan in the refrigerator for 10 to 15 minutes. The cold helps the grease and dusting set. This simple trick can make how to use a bundt pan much easier for beginners.
Step 3: Fill the Pan Correctly
Once your pan is prepared, you can add the batter. How you fill the pan affects how the cake bakes and releases. This step is another key part of how to use a bundt pan.
Do not overfill the pan. Fill it about two-thirds to three-quarters full. Most standard bundt pans hold 10 to 12 cups of batter, so you need about 7 to 9 cups. Overfilling can cause the batter to spill over the center tube or the sides. This creates a mess and makes how to use a bundt pan much harder.
Use a spatula to spread the batter evenly. Make sure it goes into all the grooves and reaches the center tube. Uneven distribution can lead to uneven baking, with some parts overdone and others underdone.
After filling, lift the pan a few inches above the counter and drop it gently. Repeat two or three times. This helps air bubbles rise to the surface and settles the batter into the crevices. Taking this extra moment improves how to use a bundt pan results significantly.
Step 4: Bake at the Right Temperature
Baking brings together your preparation and your oven. Set the temperature to 325°F to 350°F (165°C to 175°C). Dense batters like pound cake do well at a lower temperature, while lighter batters can handle the higher end.
If your pan is dark-colored, reduce the temperature by 25°F. Dark pans absorb more heat and can over-brown the crust. This adjustment is a helpful tip that many bakers overlook.
Place the pan on the middle rack of your oven. This allows heat to circulate evenly around the pan. If the pan is too close to the top or bottom, the cake may brown unevenly. Correct positioning supports even baking.
Bundt cakes typically take 45 to 60 minutes to bake. Start checking at 40 minutes. Insert a long skewer or toothpick into the thickest part of the cake, avoiding the center tube. The cake is likely done when the skewer comes out clean or with a few moist crumbs. Learning this doneness test is essential for how to use a bundt pan.
Step 5: Cool the Cake Before Flipping
After removing the pan from the oven, place it on a wire cooling rack. Let the cake cool in the pan for 10 to 15 minutes. This step is critical in how to use a bundt pan because it allows the cake to set.
Cooling allows the cake to set and begin pulling away from the sides of the pan. Do not let the cake cool completely in the pan, as a fully cooled cake is more likely to stick. Do not try to remove the cake while it is still very hot, as it may break.
Timing this step correctly is one of the trickier parts of how to use a bundt pan. With practice, you will learn to recognize the right moment. A timer can help you stay on track.
Step 6: Release the Cake from the Pan
This step can feel a little nerve-wracking. But with careful actions, releasing the cake can be straightforward and even satisfying.
First, run a thin, flexible spatula around the edges of the pan. Gently slide it between the cake and the pan. Also loosen around the center tube. Be careful not to cut into the cake itself. This gentle loosening helps the cake release more easily.
Next, place a wire cooling rack upside down on top of the pan. Make sure the rack is centered and stable. Hold the rack firmly against the pan with one hand.
With one hand on the rack and the other on the bottom of the pan, flip the pan over in one smooth motion. Lift the pan slowly. The cake should release onto the rack. This moment is the payoff for all your careful preparation.
If the cake does not release right away, do not force it. Place a hot, damp towel over the bottom of the inverted pan for a few minutes. The steam can help loosen the cake. You can also tap the pan gently on the counter. Patience is important when learning how to use a bundt pan.
Step 7: Clean and Care for Your Pan
After you have mastered how to use a bundt pan for baking, you need to care for the pan. Proper cleaning helps it last longer and perform better each time.
Hand wash your pan with warm, soapy water and a soft sponge. Most bundt pans are not dishwasher safe. The high heat and harsh detergents can damage the non-stick coating. This care routine is an often overlooked part of how to use a bundt pan.
Avoid using metal scrubbers or abrasive pads. These can scratch the surface. For stuck-on residue, let the pan soak for 15 minutes. Then scrub gently with a soft brush. Gentle cleaning preserves the pan for many years of use.
Dry the pan completely before storing. Moisture can cause rust on some metal pans. Use a soft towel to reach all the grooves. A dry pan is ready for your next baking project.
Store your pan in a dry place. If you stack other pans inside it, place a paper towel between them to prevent scratches. Proper storage is the final step in how to use a bundt pan for the long term.
Common Mistakes and How to Avoid Them
Even with good technique, problems can happen. Here are some common issues and solutions for how to use a bundt pan.
| Mistake | Likely Cause | Solution |
|---|---|---|
| Cake sticks to pan | Not enough grease or dusting | Use more shortening and flour next time |
| Cake breaks when flipping | Cooled too little or too long | Stick to 10-15 minutes of cooling |
| Cake has pale spots | Grease pooled in grooves | Spread grease more evenly |
| Cake overflows during baking | Pan overfilled | Fill only two-thirds to three-quarters full |
| Cake is dry | Overbaked | Check for doneness 5-10 minutes earlier |
Learning from these mistakes will improve your baking results and deepen your understanding of how to use a bundt pan.
Frequently Asked Questions
Do I need to grease a non-stick bundt pan?
Yes. Even non-stick pans need greasing. The intricate shape makes it easy for batter to cling to grooves. This question comes up often for new bakers.
Why does my cake always stick in the same spot?
The pan may have scratches or worn coating in that area. Inspect your pan. If the surface is damaged, consider replacing it. A damaged pan can make baking consistently difficult.
Can I use a regular cake recipe in a bundt pan?
Yes, but you may need to adjust the baking time. Most standard cake recipes work well. This flexibility is useful when trying new recipes.
What is the best pan material for a bundt cake?
Cast aluminum is a popular choice because it heats relatively evenly. Carbon steel also works well. The material affects how to use a bundt pan, so choose one that suits your baking style.
Conclusion
Now you know how to use a bundt pan. With the right recipe, proper preparation, and careful timing, you can create beautiful cakes that impress your family and friends.
The 7 steps covered in this guide are:
Choose a suitable recipe
Prepare the pan thoroughly with grease and dusting
Fill the pan two-thirds to three-quarters full
Bake at the right temperature
Cool for 10 to 15 minutes before flipping
Release the cake with a spatula and a smooth flip
Clean and care for your pan by hand
A bundt pan is a wonderful tool. It turns simple cake recipes into something special. With a little practice, you will feel confident using your pan for any occasion. Remember that how to use a bundt pan gets easier every time you bake.