You’ve greased your pan. Now what?
Flour. That dusty white coating that keeps your cake from becoming a permanent resident of your bakeware.
Sounds simple. Sprinkle some flour, shake it around, done. Right?
Not exactly. There’s a right way and a wrong way. And the difference shows up when you try to flip that cake out.
Why Flour Matters
Grease alone works for some things. But many batters need more.
Cakes. Quick breads. Rich doughs. These like to stick. The fat grabs them. Sugar caramelizes against the metal. You end up with chunks of cake welded to your pan.
Flour creates a barrier. A thin layer between the fat and the batter. The cake releases cleanly. Your edges stay sharp. No chunks left behind.
The Basic Method
Step 1: Grease first
Always. Flour sticks to grease. It won’t stick to a dry pan.
Use butter, shortening, or baking spray. Get into every corner. Don’t miss spots.
Step 2: Add flour
Scoop a small amount into the pan. A tablespoon or two is plenty. Tilt the pan and shake it gently. Let the flour move around.
Step 3: Coat everything
Tap and turn until every greased surface has a light dusting. Sides. Bottom. Corners. Crevices.
Step 4: Dump the excess
Turn the pan upside down over the sink or trash. Tap firmly. Extra flour should fall out. If it doesn’t move, tap harder.
Step 5: Check your work
Look for bare spots. If you see shiny grease showing through, add more flour to those areas.
Different Pans, Different Techniques
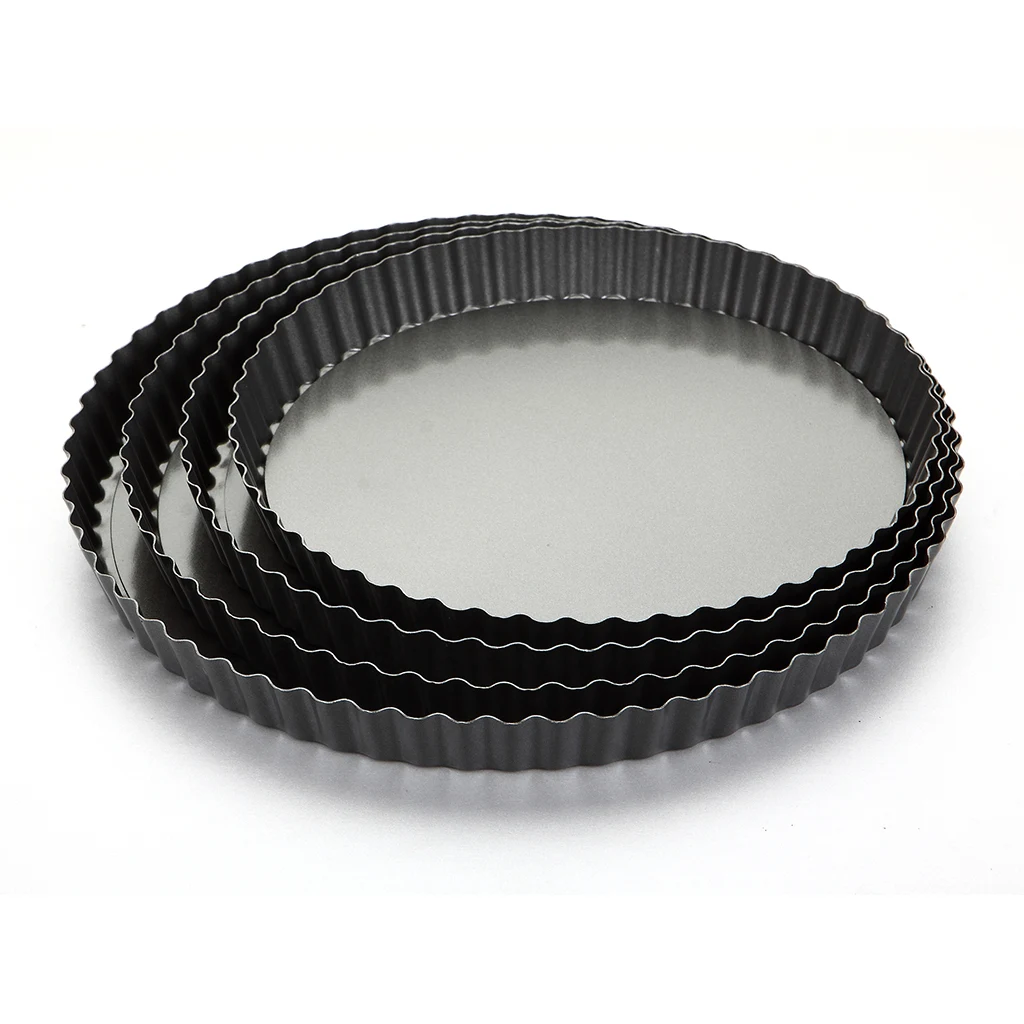
Round cake pans
Easy. Flour goes in. Swirl around. Tap out. Done.
But pay attention to the sides. Many people flour the bottom and forget the walls. Your cake rises against those sides. They need coating too.
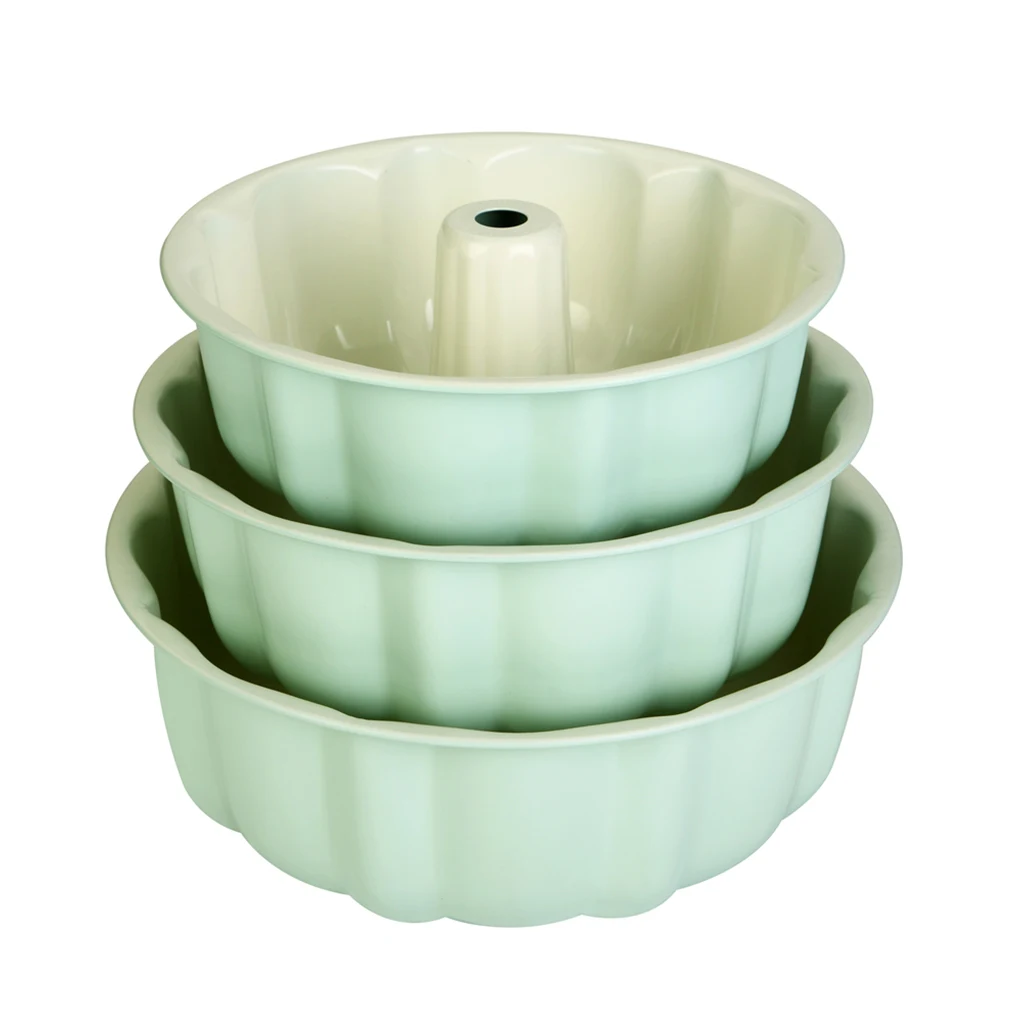
Bundt pans
These are trickier. All those ridges and curves trap flour. And trap cake.
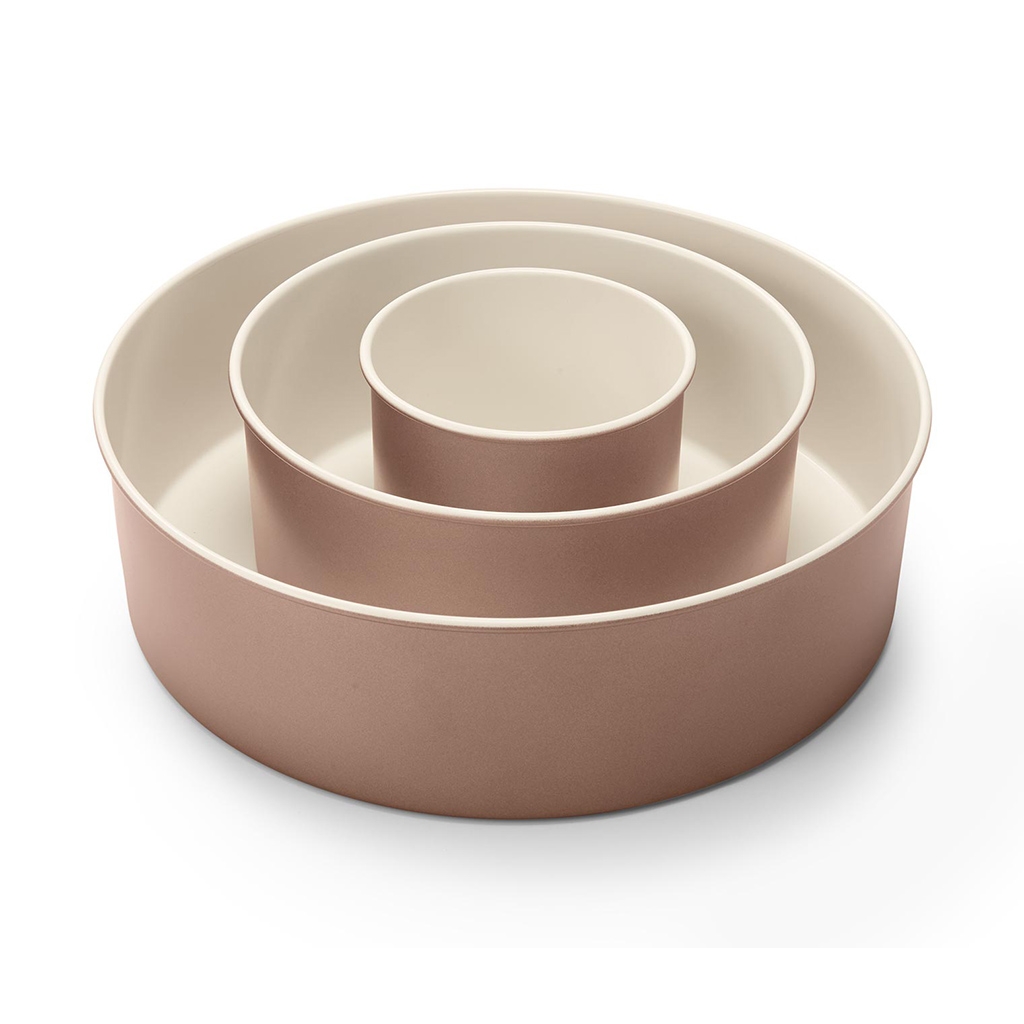
Go slow. Use a pastry brush to push flour into every crevice. Tap firmly. Check every groove before adding batter. A missed spot in a Bundt pan means a torn cake.
Loaf pans
Straightforward. But the corners matter. Flour collects in the bottom corners naturally. The top corners? Those need attention. Tip the pan and rotate so flour reaches all four top edges.
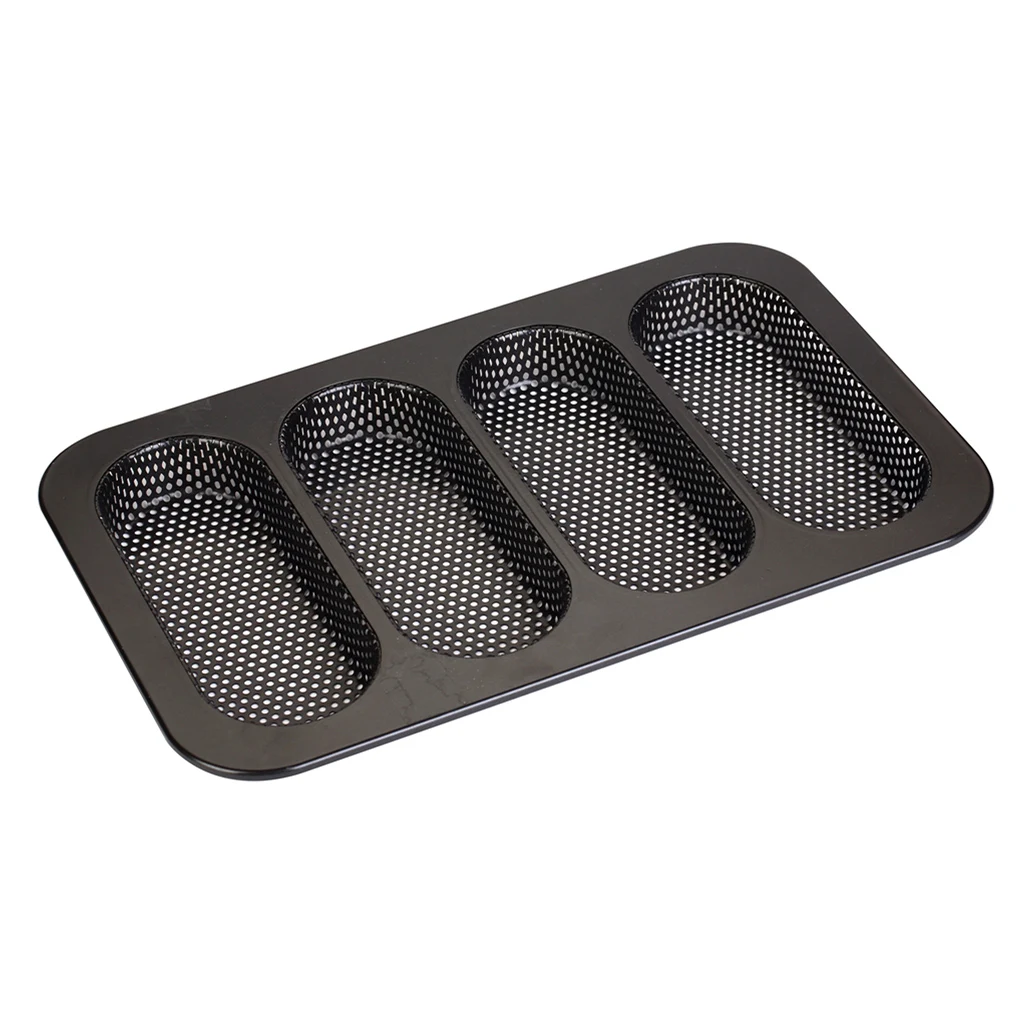
Baguette pans
Perforated baguette pans are different. The holes change things.
Flour can fall through. That’s fine. Lightly grease, then dust with flour. Let excess fall through the holes. What stays on the surface is enough. The perforations actually help with release since air circulates underneath.
Sheet pans
For cookies? Skip the flour. Parchment paper is better.
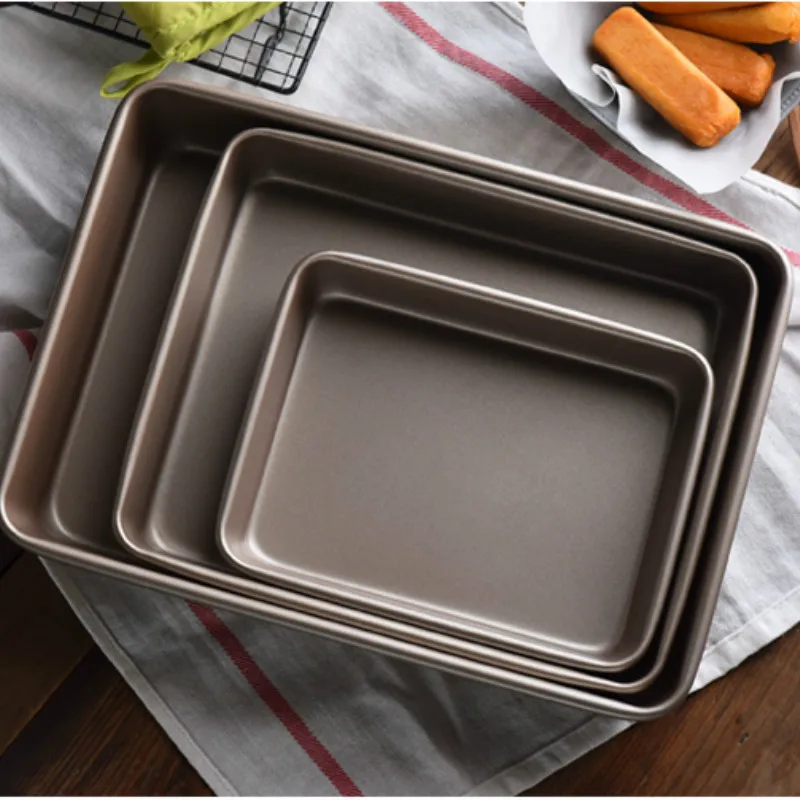
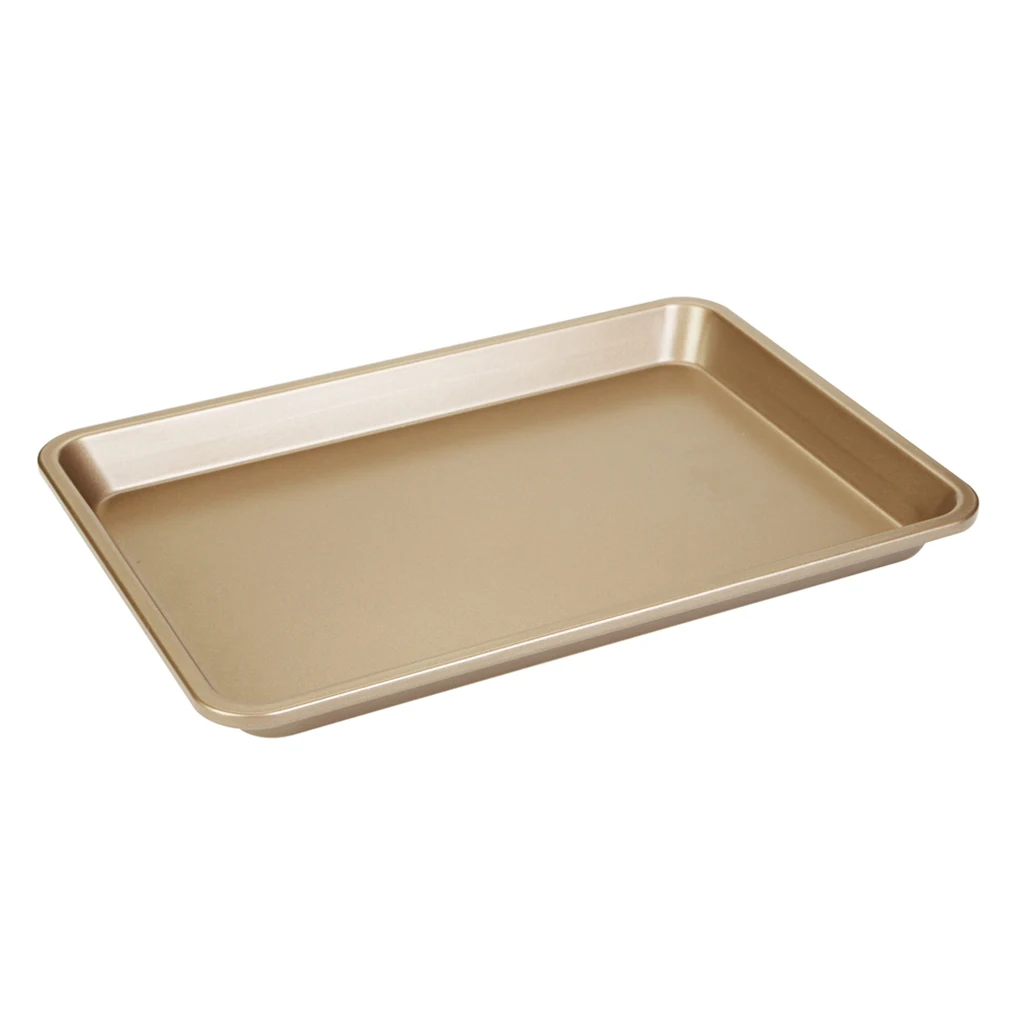
For sheet cakes? Yes, flour. Grease the whole pan, then dust. Pay attention to corners.
Muffin tins
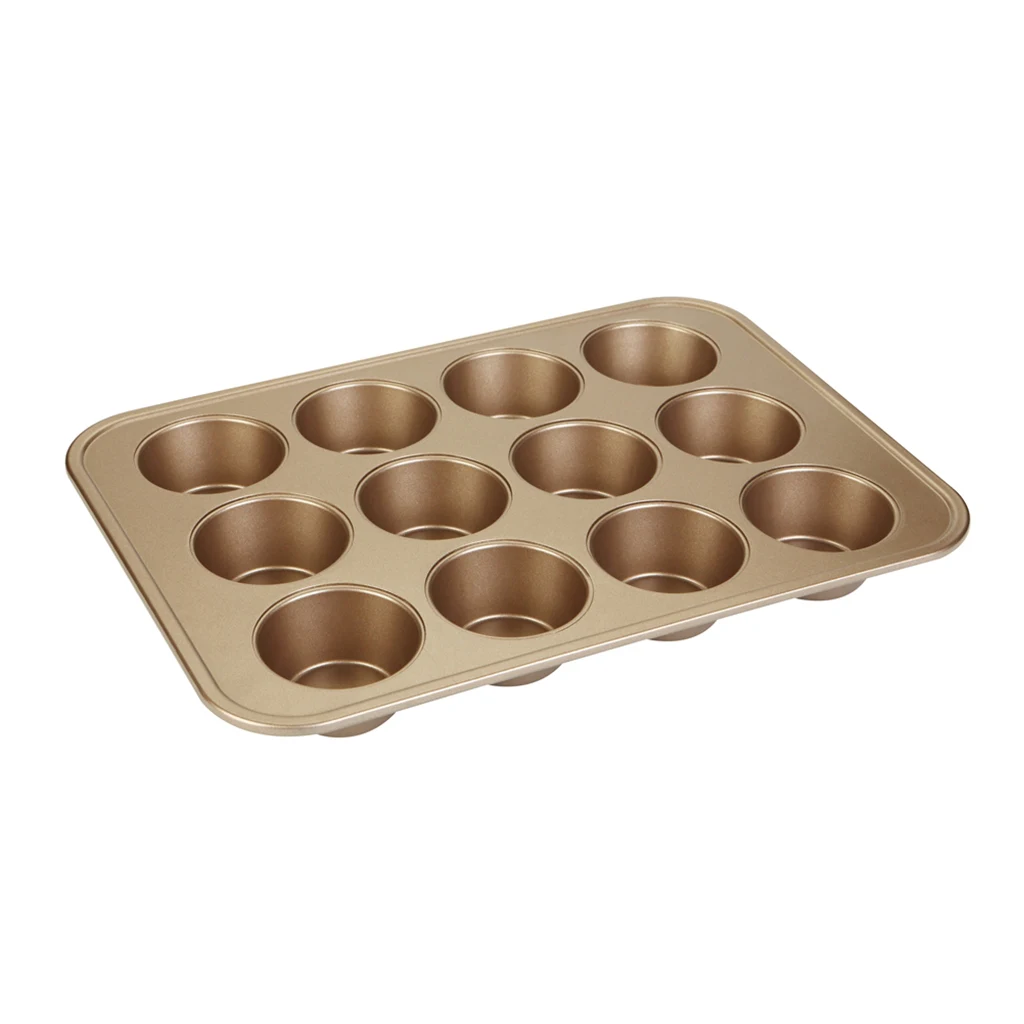
Flour works but paper liners are easier. If you go without liners, grease well and add a small pinch of flour to each cup. Swirl with your finger to coat.
Common Mistakes
Using too much flour
Thick flour patches don’t help. They bake into a pasty coating on your cake. You get white streaks on dark cake. Not good. Tap out all excess. A thin, even dusting is the goal.
Using the wrong flour
All-purpose works fine. But some bakers prefer specific types:
– Cake flour for delicate cakes. Lighter. Less noticeable.
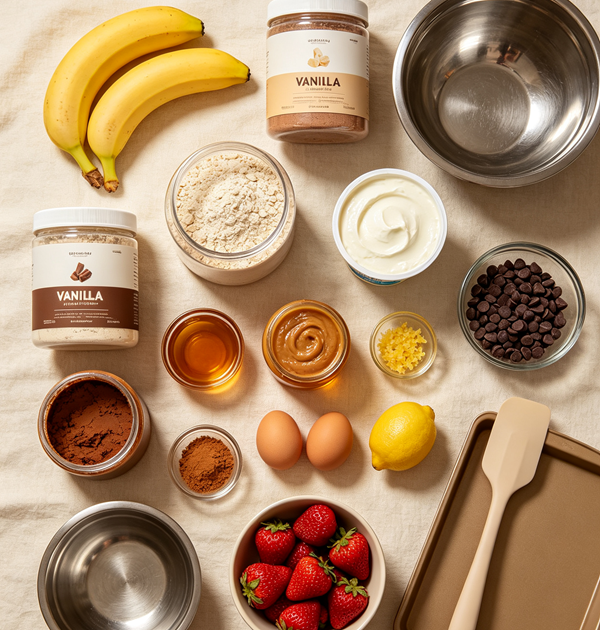
– Cocoa powder for chocolate cakes. No white streaks. Looks professional.
– Bread flour for heavy doughs. Holds up better.
Forgetting to tap out excess
This is the biggest mistake. You see flour in the pan. You add batter. The flour absorbs moisture and turns into paste. Your cake still releases fine, but the bottom looks patchy and pale.
Skipping corners
Angles trap batter. If those angles aren’t floured, they trap cake too. Rotate the pan and let flour find the edges.
Flouring without greasing first
Flour on bare metal does almost nothing. It doesn’t stick well. It doesn’t create a release layer. Grease first, then flour. Always.
Alternatives to Flour
Flour works. But sometimes you want something different.
Cocoa powder
Perfect for chocolate cakes. No white residue. Blends right in. Use the same method as flour.
Finely ground nuts
Works for certain recipes. Adds flavor. Use with delicate cakes.
Sugar
For sweet, tender cakes. Creates a light crust. Best for things that don’t need high heat.
Breadcrumbs
For savory breads or some European cakes. Gives texture. Not for delicate sweets.
Parchment paper plus grease
For delicate cakes where you want absolute insurance. Grease the pan, fit parchment in the bottom, grease the parchment, then flour the sides. Nothing sticks to this setup.
When You Don't Need Flour
Some pans don’t need flour treatment.
Non-stick pans
If the coating is in good condition, grease alone often works. Flour is extra insurance but not required.
Well-seasoned carbon steel
Carbon steel builds seasoning over time. A well-seasoned pan releases like non-stick. Grease may be enough. But for sugary cakes? Still flour.
Perforated pans
The holes help with release. Air gets underneath. For baguettes and bread, grease alone works fine. Flour is optional.
Silicone pans
Nothing sticks to silicone. No grease. No flour. Just wash and use.
The Carbon Steel Advantage
Carbon steel pans behave differently than aluminum.
They conduct heat efficiently.
They brown evenly. And over time, they develop natural seasoning that improves release.
But new carbon steel needs help. Seasoning takes time. Until then, grease and flour are your friends.
For our carbon steel pans:
– Baguette pans: Light grease is usually enough. Flour optional.
– Sheet pans: Grease and flour for cakes. Parchment for cookies.
– Deep loaf pans: Always grease and flour until well-seasoned.
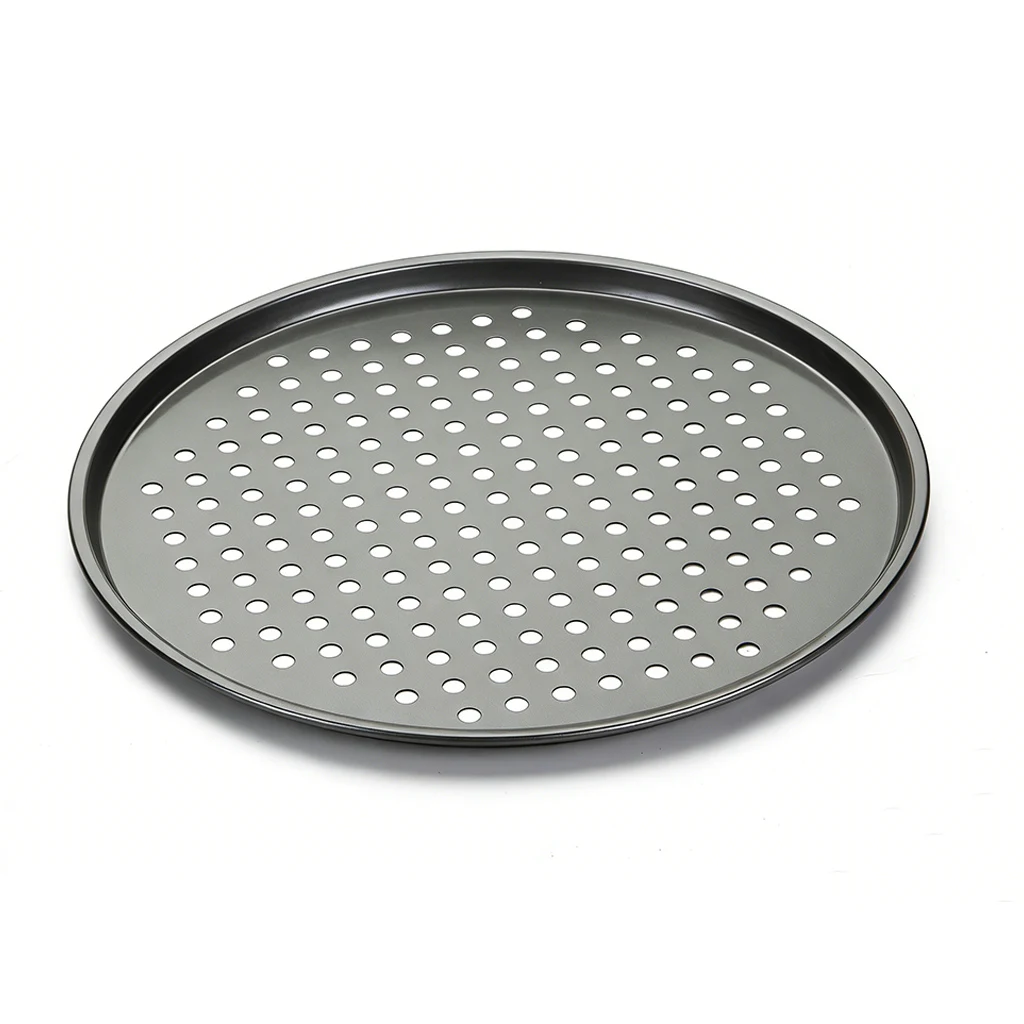
– Perforated pizza pans: Light grease works. Flour not needed.
The Bottom Line
Flouring a pan takes fifteen seconds. Fixing a stuck cake takes much longer.
Grease well. Flour evenly. Tap out excess. Check your work.
Your cakes will slide right out. Every time.