Introduction: A Different Way to Use Your Muffin Baking Pan
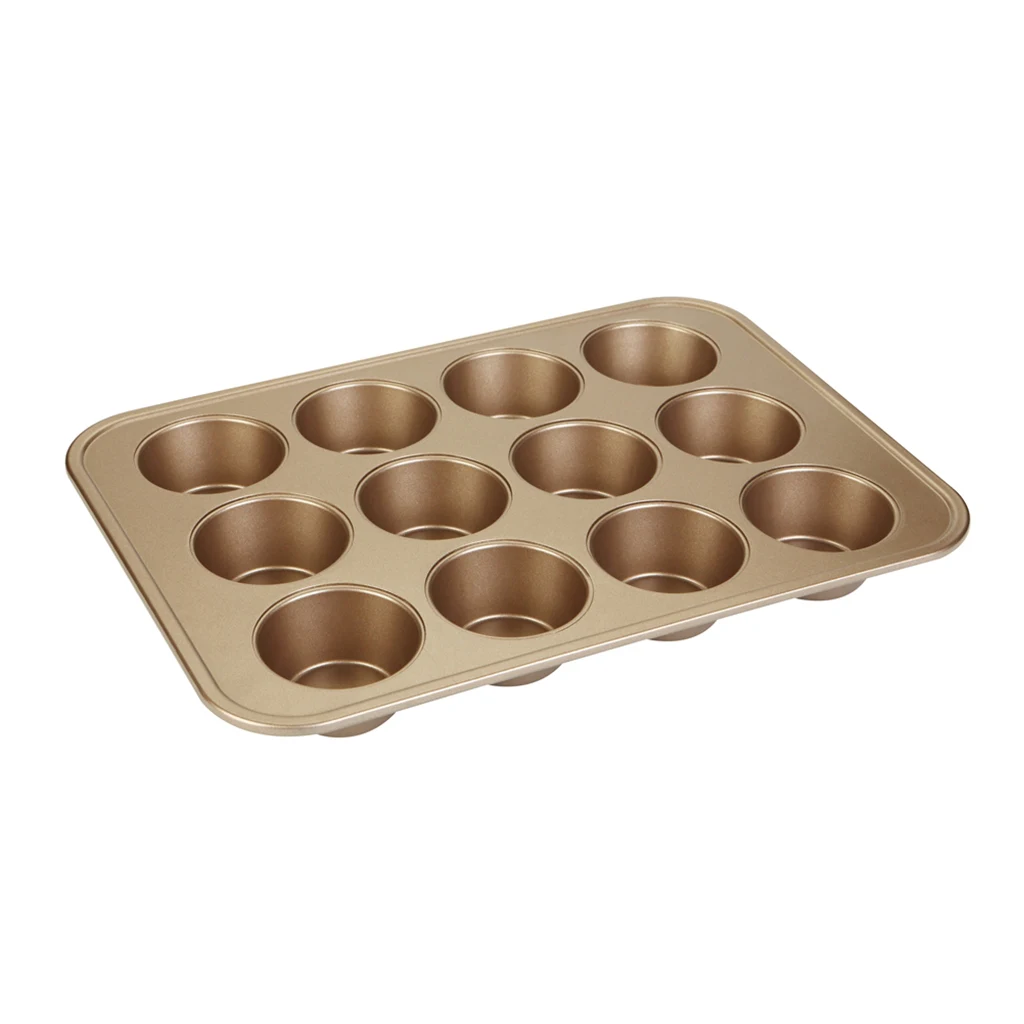
You may have a muffin baking pan in your kitchen that you typically use for muffins or cupcakes. That same muffin baking pan can also be used to make brownies. This approach offers some practical benefits, such as portion control, more edge pieces, and shorter baking times.
Brownies are a popular dessert. Many people enjoy their fudgy texture and rich chocolate flavor. When baked in a standard square or rectangular pan, brownies often have varying textures—edge pieces differ from center pieces. Some people prefer the chewier edges, while others like the softer centers.
Using a muffin baking pan creates individual brownie portions. Each brownie has its own outer surface, which means more of the chewy edges that some people enjoy. This method also makes serving easier, as you don’t need to cut the brownies after baking.
In this guide, we’ll share 7 helpful tips for making brownies in a muffin baking pan. You’ll learn how to prepare the pan, adjust baking times, and avoid common issues. By the end, your muffin baking pan may become a tool you reach for more often.
Tip 1: Know Why a Muffin Baking Pan Works for Brownies
There are several reasons why a muffin baking pan can be a good choice for baking brownies.
First, individual cups create more surface area. When brownie batter bakes in a muffin baking pan, each portion is exposed to heat on multiple sides. This tends to produce more of the slightly firmer outer texture that some bakers and eaters prefer.
Second, a muffin baking pan promotes fairly even heat distribution. The space between cups allows hot air to circulate around each brownie. This can lead to more consistent results compared to a large pan where the center may bake differently from the edges.
Third, portion control becomes simpler. Each cup of your muffin baking pan holds a similar amount of batter. This gives you uniformly sized brownies without needing to measure and cut after baking.
Fourth, cleanup may be easier. If you line the muffin baking pan with paper liners or grease it well, the brownies usually release without much effort.
That said, a muffin baking pan isn’t necessarily better than traditional pans—it’s simply a different option that suits certain situations.
Tip 2: Select a Suitable Muffin Baking Pan for Brownies
Not every muffin baking pan performs the same way. The material, size, and coating can affect your results.
Material Options
Carbon steel: This material heats relatively quickly and evenly. A carbon steel muffin baking pan can develop some natural non-stick properties over time. It tends to be durable and resists warping under normal use.
Aluminum: Lightweight and a good heat conductor. An aluminum muffin baking pan heats up fast, though it may warp at very high temperatures.
Non-stick coated: These pans release brownies easily. However, the coating quality varies. A non-stick muffin baking pan should be used with care to avoid scratching.
Silicone: Flexible and simple to clean. A silicone muffin baking pan doesn’t produce as much browning on the crust, which may be preferable if you like softer brownies.
Size Considerations
Most muffin baking pans come in two common sizes:
Regular (about 2.5 inches across): Each cup holds roughly 1/3 cup of batter. This size works well for standard brownie portions.
Mini (about 1.75 inches across): Each cup holds about 2 tablespoons of batter. These are suitable for bite-sized treats.
For most brownie recipes, a regular-sized muffin baking pan is a practical choice. The larger cups give brownies room to rise while still creating noticeable edges.
Coating Color
The color of your muffin baking pan influences baking. Dark-coated pans absorb more heat. If you use a dark muffin baking pan, you may need to lower your oven temperature by about 25°F (approximately 15°C) to avoid over-browning.
Tip 3: Prepare Your Muffin Baking Pan Properly
Good preparation helps prevent sticking. Here are some ways to prepare your muffin baking pan.
Greasing Methods
Butter or shortening: Apply a thin layer to each cup of your muffin baking pan. A pastry brush or paper towel can help reach all surfaces.
Cooking spray: This is a quick option. Choose a spray that includes flour for better release. Coat each cup of the muffin baking pan lightly.
Baking spray with lecithin: Many bakers find this effective. One quick spray per cup of your muffin baking pan is often enough.
Paper Liners
Paper liners can simplify cleanup and reduce the need for greasing. However, they affect texture. Brownies baked in liners have softer edges because the batter doesn’t contact the muffin baking pan directly.
If you prefer more edge texture, skip the liners and grease your muffin baking pan directly. If you like softer brownies or want easier cleanup, liners are a good choice.
When using liners, try parchment-based ones. Some cheaper paper liners may stick to moist brownie batter.
Dusting with Cocoa
For extra insurance, you can dust your greased muffin baking pan with cocoa powder instead of flour. Cocoa matches the brownie flavor and avoids white spots.
Sprinkle a small amount of cocoa into one cup of your muffin baking pan, tilt to coat evenly, then tap out the excess. Repeat for each cup.
Tip 4: Adjust Your Brownie Recipe for a Muffin Baking Pan
You don’t need a special recipe for this method. Most brownie recipes can be used with a muffin baking pan after a few adjustments.
Batter Quantity
A standard 12-cup muffin baking pan holds about 4 cups of batter total (roughly 1/3 cup per cup). Many 8×8 or 9×9 pan recipes yield approximately this amount.
If your recipe makes a 9×13 pan of brownies, you could halve the recipe or bake in two batches using your muffin baking pan.
Baking Time Adjustment
Brownies in a muffin baking pan typically bake faster than in a traditional pan. It’s a good idea to start checking earlier than your recipe suggests.
For example:
Original recipe: 30 minutes in an 8×8 pan
First check: around 18 minutes in a muffin baking pan
To test doneness, insert a toothpick into the center of a brownie. You’ll likely see moist crumbs rather than wet batter. Remember that brownies continue to set slightly as they cool.
Oven Temperature
You can usually keep the same oven temperature. However, if your muffin baking pan has a dark coating, consider reducing the temperature by about 25°F (approximately 15°C).
How Full to Fill
Fill each cup of your muffin baking pan about two-thirds to three-quarters full. This allows room for the batter to rise without overflowing.
Tip 5: Avoid Common Issues When Using a Muffin Baking Pan
Even with good preparation, some challenges can arise. Here are a few common issues and ways to address them.
Brownies Stick to the Pan
If your brownies stick to the muffin baking pan, try these adjustments next time:
Use more grease or try a different greasing method
Add paper liners
Let the brownies cool in the muffin baking pan for 5–10 minutes before removing
Brownies Are Too Dry
Over-baking is the main cause of dry brownies. Since a muffin baking pan speeds up baking, check for doneness a few minutes earlier than you think you need.
Also, consider using a recipe that produces fudgy rather than cakey brownies. Fudgy recipes tend to be more forgiving.
Uneven Baking
If some brownies bake faster than others, your muffin baking pan may have hot spots. Rotate the pan halfway through baking. Also, avoid overfilling cups, as too much batter can lead to uneven results.
Overflowing Batter
If batter spills over the cups of your muffin baking pan, you’ve filled them too full. Next time, reduce the amount of batter per cup. Placing the pan on a baking sheet can catch any drips.
Tip 6: Try Variations with Your Muffin Baking Pan
Once you’re comfortable with basic brownies in a muffin baking pan, you can experiment with variations.
Filled Brownies
After filling each cup of your muffin baking pan partway with batter, add a small amount of filling:
A piece of chocolate
A spoonful of peanut butter
A few raspberries
A caramel square
Then cover with more batter. The muffin baking pan helps keep each filled brownie separate.
Swirled Brownies
Drop small spoonfuls of cream cheese, peanut butter, or caramel sauce onto the batter in your muffin baking pan. Use a toothpick to swirl gently. The individual cups make swirling easier than in a large pan.
Toppings
Before baking, sprinkle toppings over the batter in your muffin baking pan:
Chopped nuts
Chocolate chips
Sea salt
Crushed cookies
The toppings stay on top of each brownie rather than sinking to the bottom of a large pan.
Layered Brownies
Add a layer of cookie dough, blondie batter, or cheesecake mixture to the bottom of each cup in your muffin baking pan. Then add brownie batter on top. The distinct layers bake together into a combined treat.
Tip 7: Store and Serve Brownies from Your Muffin Baking Pan
Proper storage keeps your brownies fresh. Serving from a muffin baking pan is straightforward.
Cooling First
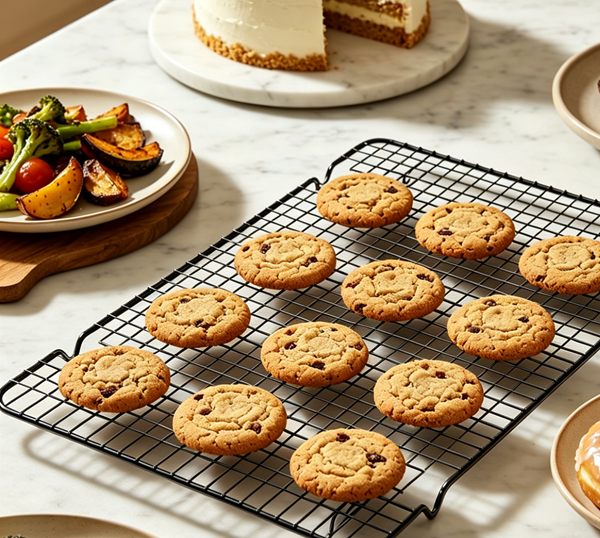
Let brownies cool in the muffin baking pan for about 5 to 10 minutes. Then transfer them to a wire rack to cool completely. If you used liners, simply lift them out. If you greased the muffin baking pan, run a thin knife around each brownie before removing.
Storage Methods
Room temperature: Store brownies in an airtight container for up to 3 days. Place parchment paper between layers if stacking.
Refrigerator: Brownies can last up to a week in the fridge. The texture may become firmer.
Freezer: Wrap individual brownies in plastic wrap, then place in a freezer bag. They can be frozen for up to 3 months.
Serving Suggestions
Brownies made in a muffin baking pan are already portioned, so serving is simple. You can:
Dust with powdered sugar
Drizzle with chocolate or caramel sauce
Serve with a scoop of ice cream
Add a dollop of whipped cream
Because each brownie has its own shape, they can be appealing for parties, bake sales, or gifts.
Final Thoughts
Using a muffin baking pan for brownies is a practical alternative to traditional pans. It offers portion control, more edge pieces, and shorter baking times. With the right preparation and a few adjustments, you can get consistent results.
The 7 tips covered in this guide include:
Understanding why a muffin baking pan works for brownies
Selecting a suitable pan
Preparing the pan properly
Adjusting your recipe
Avoiding common issues
Trying variations
Storing and serving
Your muffin baking pan may already be in your kitchen. If you haven’t tried it for brownies yet, this could be a good time to experiment. Small changes in baking methods often lead to new favorites.