

Introduction
Sourdough baking has experienced a remarkable resurgence in recent years. The global sourdough market is projected to grow from $3.45 billion in 2026 to $4.69 billion by 2031, reflecting a compound annual growth rate of 6.3%. This growth is driven by increasing consumer awareness of gut health and the rising preference for minimally processed foods.
But what makes sourdough so special? Unlike commercial yeast breads, sourdough baking relies on natural fermentation. Wild yeast and friendly bacteria work together to leaven the dough and create that distinctive tangy flavor. The fermentation process also offers potential health benefits, including improved digestibility and a lower glycemic index compared to conventional bread.
If you have ever felt intimidated by this craft, you are not alone. Sourdough requires more time and attention than baking with commercial yeast. But with the right guidance, sourdough baking becomes an approachable and deeply rewarding skill. This guide covers 7 steps to help you bake your first perfect loaf.
Whether you are a complete beginner or have tried before with mixed results, these steps will set you up for success. Let us get started with the most important element: your starter.
Step 1: Create and Maintain a Healthy Starter
A strong starter is the foundation of successful sourdough baking. It is essentially a living culture of wild yeast and bacteria that you feed with flour and water.
To create your starter, combine equal parts flour and water in a jar. Leave it at room temperature and feed it daily. Within about 5 to 7 days, it should become bubbly and develop a slightly tangy aroma.
How to know your starter is ready for baking:
It doubles in size within 4 to 6 hours after feeding
The surface is covered with bubbles
It has a pleasant, tangy smell
A healthy starter is the engine of your process. Without it, you cannot bake sourdough. Feed it regularly—ideally daily if kept at room temperature—to keep it active.
Step 2: Gather the Right Equipment
This craft does not require a lot of specialized equipment, but a few tools make the process much easier.
Essential tools for baking:
Mixing bowls – at least two sizes for mixing and fermenting
Digital kitchen scale – measuring by weight is more accurate than volume
Proofing basket (banneton) – supports the dough during its final rise
Bread lame or sharp knife – for scoring the dough before baking
Baking vessel – a Dutch oven, covered baking pan, or baking stone with a steam source
Parchment paper – for easy transfer to the oven
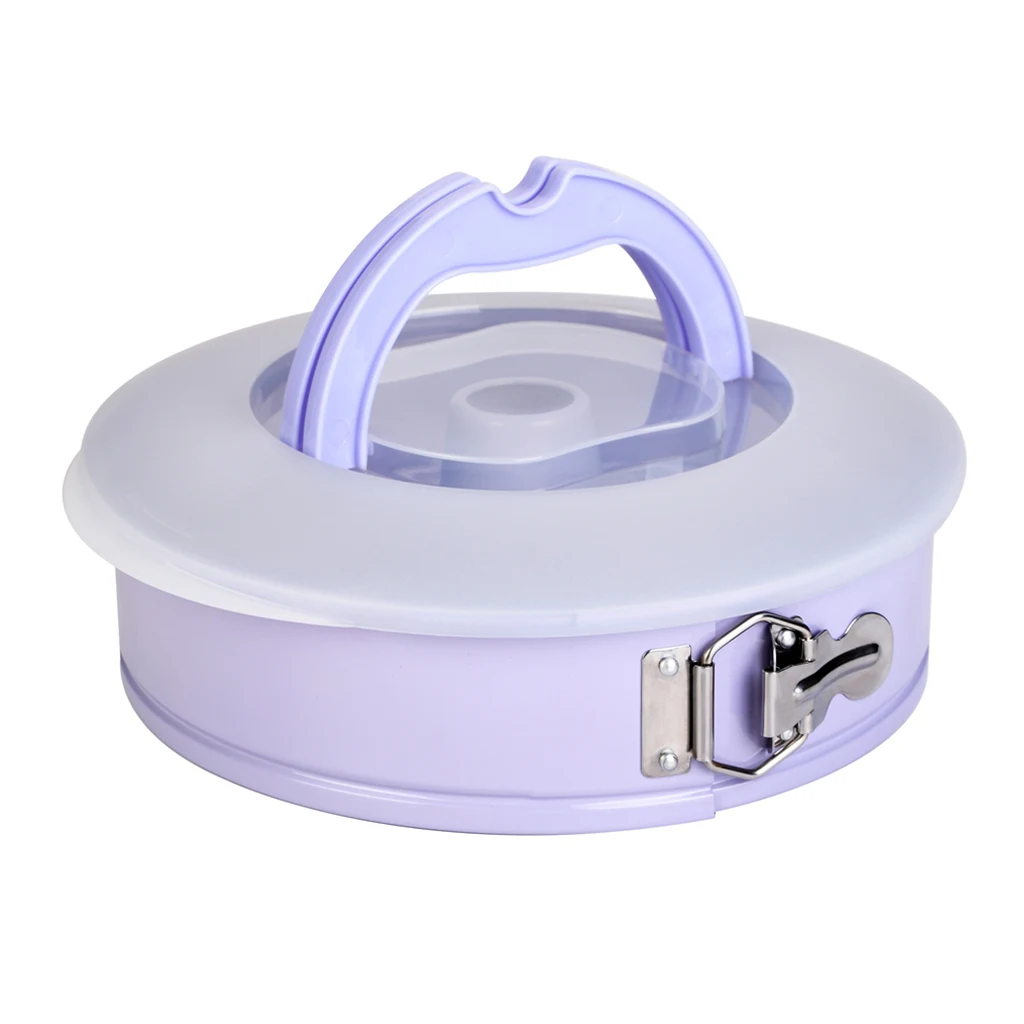
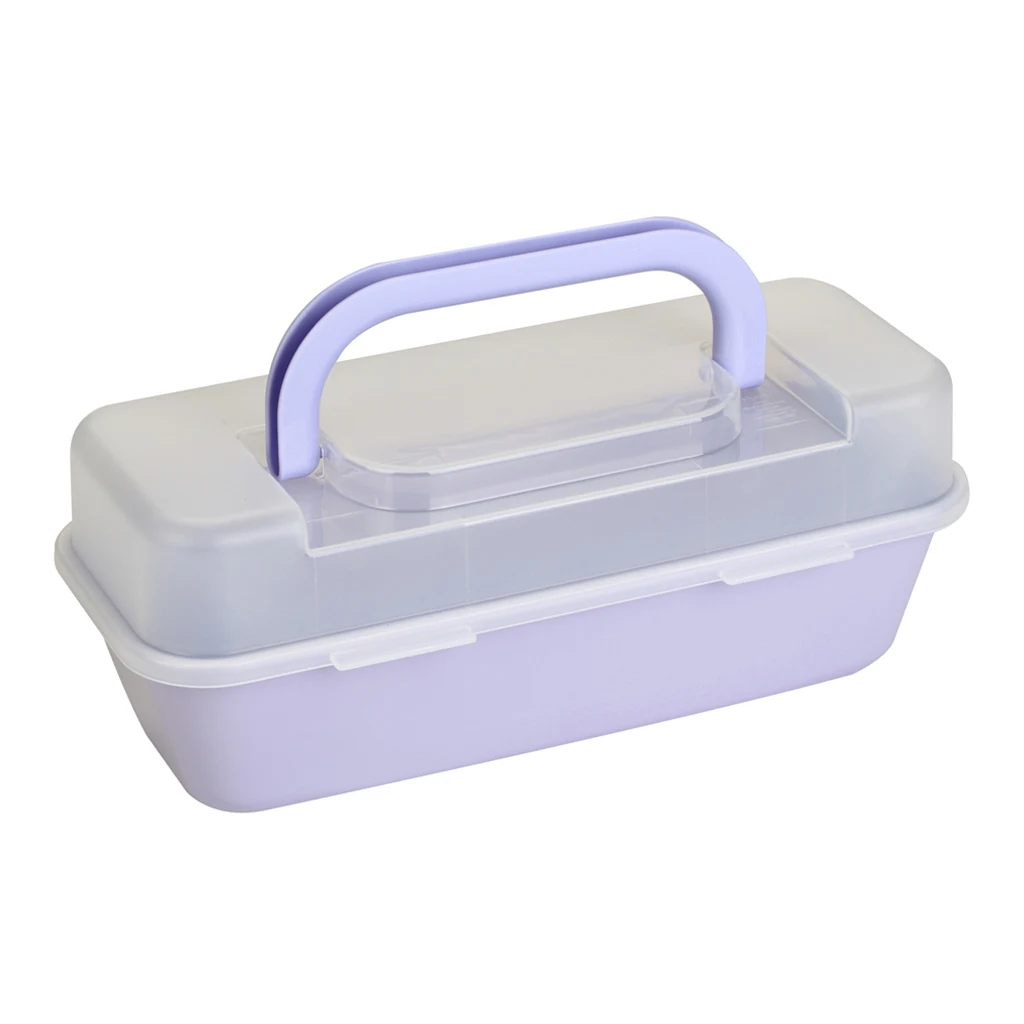
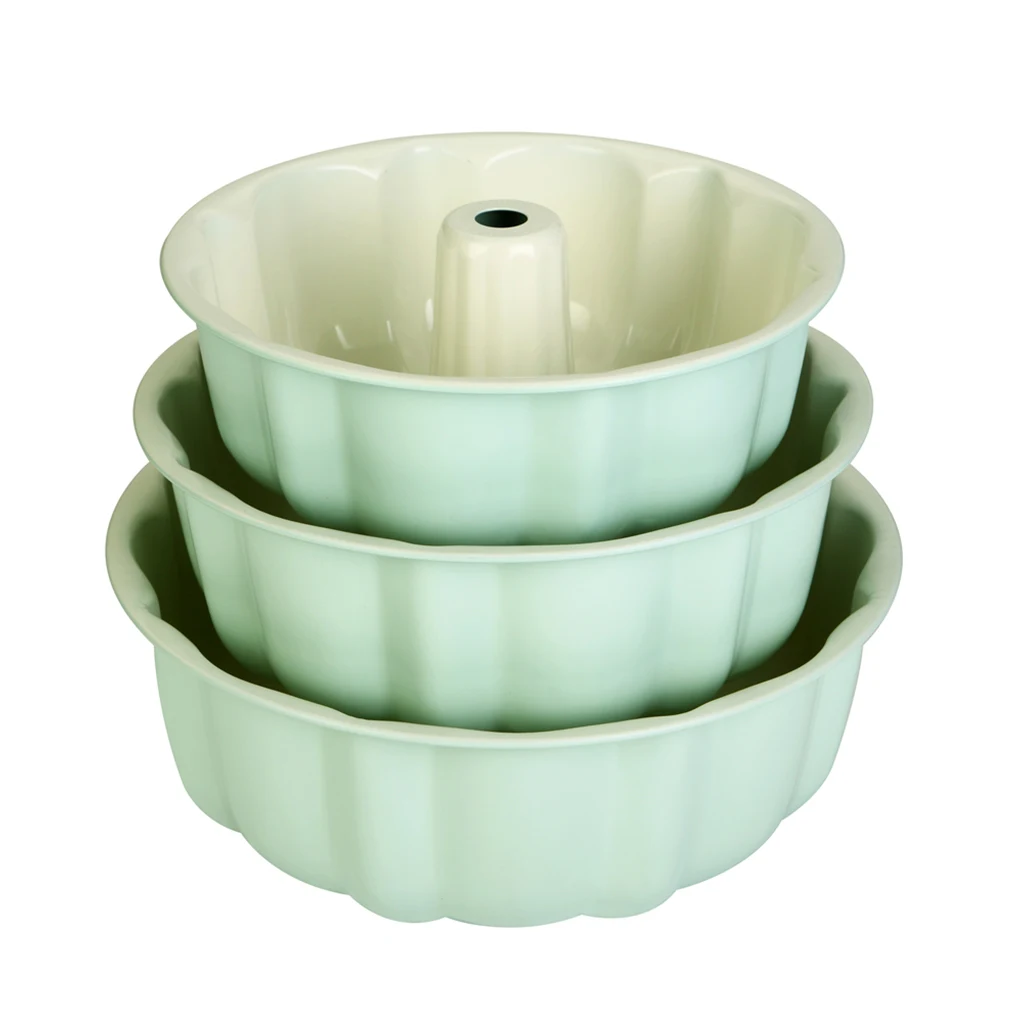
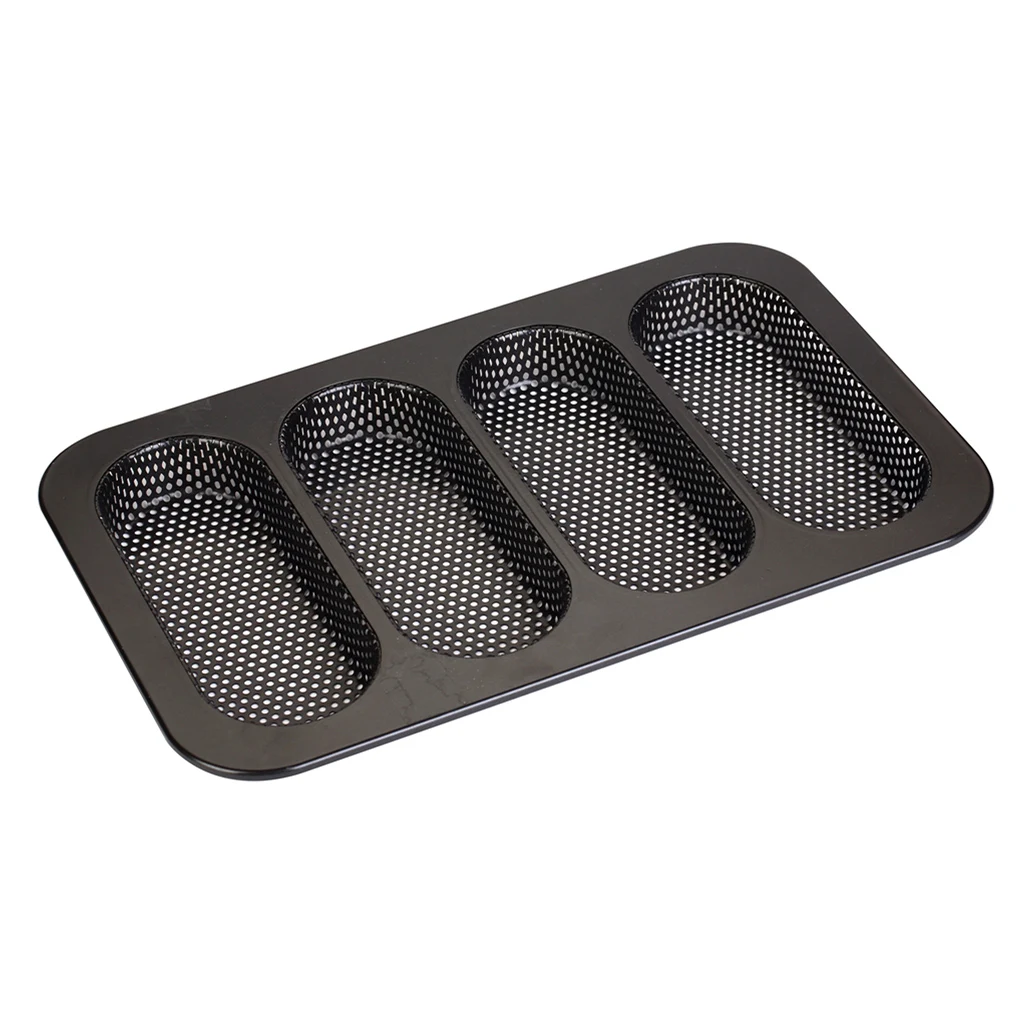
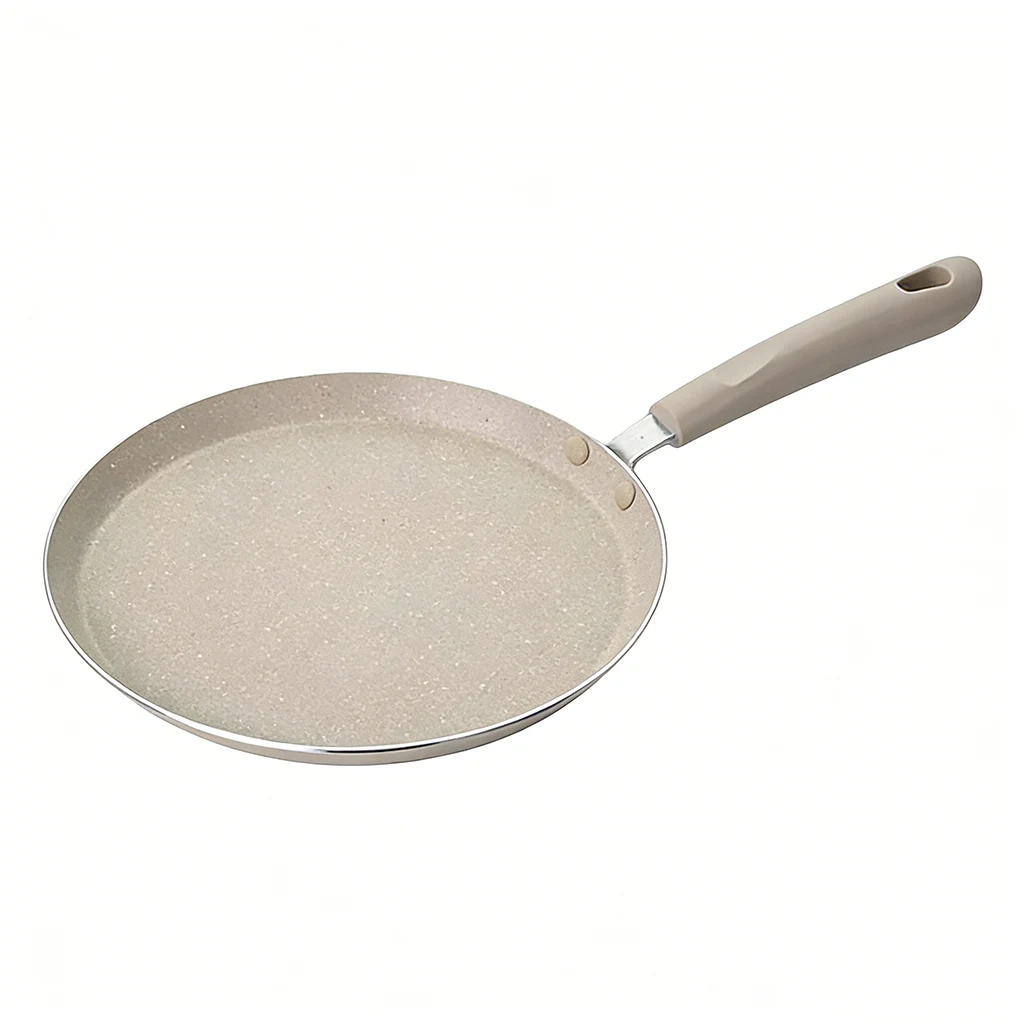
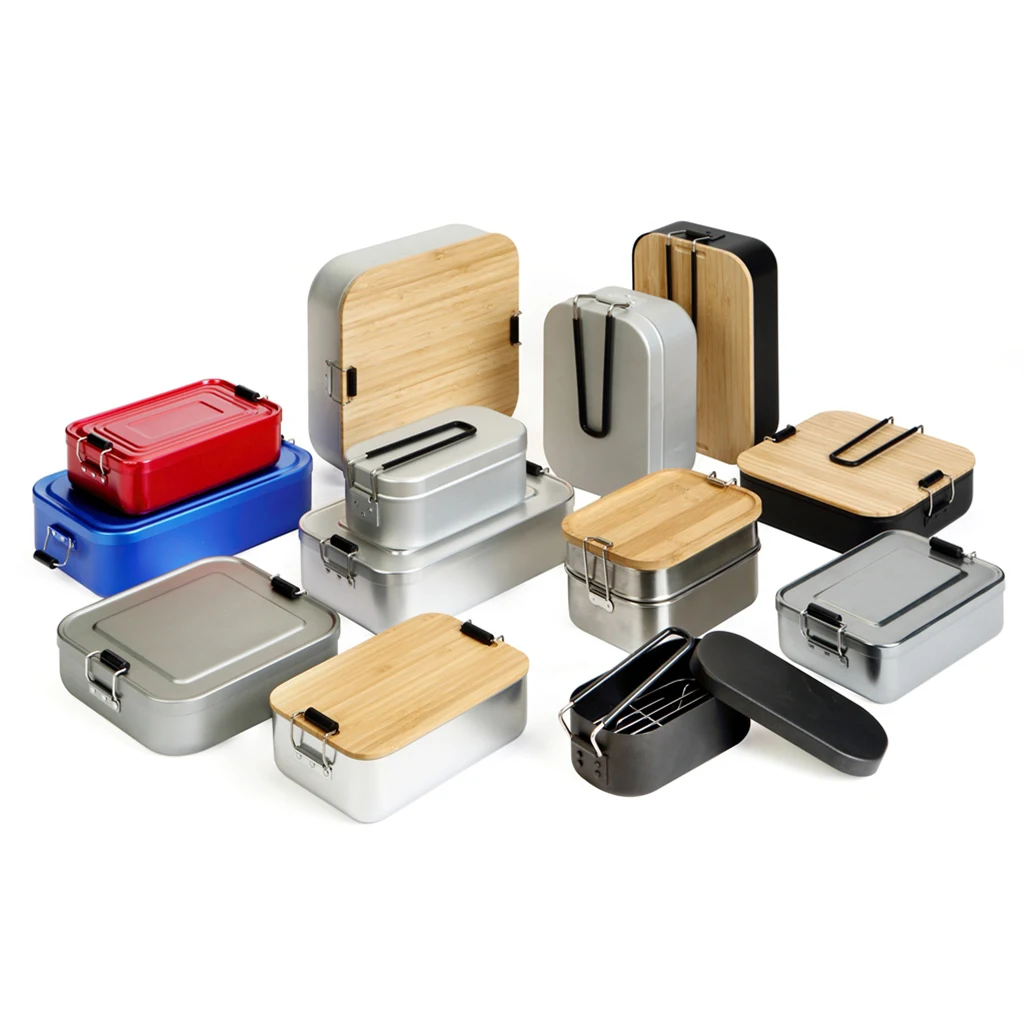
The right bakeware can significantly improve your sourdough baking results. Covered baking pans help trap steam, which keeps the crust soft during the first phase of baking and promotes maximum oven spring.
Step 3: Mix and Autolyse Your Dough
Once your starter is active, you can begin mixing your dough. For a basic sourdough loaf, you will need just four ingredients: flour, water, salt, and your ripe starter.
A simple beginner formula for baking:
100g active sourdough starter
200g water
300g bread flour
6g salt
The autolyse step is a secret weapon in sourdough baking. Simply mix the flour and water together and let it rest for 30 minutes before adding the starter and salt. This allows the flour to fully hydrate and begins gluten development, making the dough easier to handle.
Step 4: Bulk Fermentation
This is the most important stage of sourdough baking. Bulk fermentation is where the dough develops its flavor, structure, and airy crumb.
During the first 2 hours of bulk fermentation, you will perform a series of stretch-and-folds every 30 minutes. This technique replaces kneading in this craft. It gently builds gluten strength without deflating the dough.
How to perform a stretch-and-fold:
Pick up one edge of the dough and stretch it as far as it will go
Fold it back over itself
Turn the bowl 90 degrees and repeat until you have folded all four sides
After the final fold, leave the dough undisturbed for another 2 hours. In total, bulk fermentation typically takes 4 to 5 hours. Your dough is ready when it has increased in size by about 50 percent, feels airy, and jiggles slightly when you shake the bowl.
One common mistake in sourdough baking is under-fermenting or over-fermenting the dough. Under-fermented dough produces a dense loaf with poor rise. Over-fermented dough may deflate and bake flat. Watching the dough, not just the clock, is essential to mastering this craft.
Step 5: Shape and Proof the Dough
After bulk fermentation, it is time to shape your dough. Shaping builds surface tension, which helps the loaf hold its shape during baking.
Dust your proofing basket generously with flour. Rice flour is particularly good for this craft because it does not absorb into the dough like wheat flour, helping prevent sticking.
Turn your dough onto a lightly floured surface. Gently shape it into a round without pressing out the air bubbles. Place it seam-side up into your prepared basket.
Cover the basket and place it in the refrigerator overnight. This cold proofing step has several benefits in sourdough baking: it slows fermentation, develops flavor, and makes the dough easier to score.
Step 6: Score and Bake
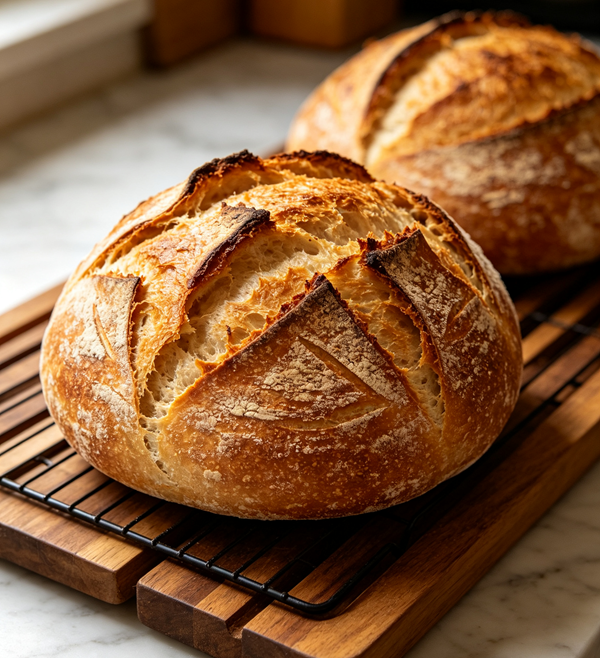
When you are ready to bake, remove the dough from the refrigerator. Turn it out onto a piece of parchment paper. Using a sharp blade or bread lame, score the top of the dough with a cut about ¼ inch deep.
Scoring is both functional and decorative in sourdough baking. It creates weak points where the dough can expand in the oven. Without scoring, the bread may burst in unpredictable places.
This craft requires a hot oven and steam for best results. Preheat your oven to 475°F (246°C) with your baking vessel inside. Slide the dough (on the parchment) into the hot vessel and cover with the lid.
Bake covered for 20 minutes. The lid traps steam, which keeps the crust soft during the first phase of sourdough baking and allows the loaf to fully expand. After 20 minutes, remove the lid, reduce the oven to 425°F (218°C), and bake for another 15 to 18 minutes until deep golden brown.
A pale crust is a common issue that many beginners face. If your crust is pale, it usually means there was not enough heat or steam. Leaving the lid off for the final portion of baking helps develop a beautiful golden brown color.
Step 7: Cool Before Slicing
This final step is one of the hardest parts—waiting. But it is essential. Cutting into a warm loaf too soon will result in a gummy, dense crumb because the bread continues to set as it cools.
Allow your loaf to cool on a wire rack for at least 2 hours before slicing. This patience will be rewarded with a light, airy crumb and a crisp, crackly crust that is the hallmark of successful sourdough baking.
Common Mistakes in Sourdough Baking
Even experienced bakers occasionally struggle with this craft. Here are the most common beginner pitfalls and how to avoid them.
Under-Fermenting the Dough
If your baked loaf looks flat and dense without classic air pockets, it was likely under-fermented. Give your dough more time to rise during bulk fermentation. Look for visual signs: small bubbles on the sides of the bowl and faint bubbles on top indicate proper fermentation.
Over-Fermenting the Dough
If your loaf has large air pockets at the top and fewer at the bottom, it may have been over-fermented. The dough collapsed in on itself during baking. Use the poke test before baking: if the dough does not spring back, it is likely over-proofed.
Pale Crust
A pale crust means not enough heat or steam. Bake covered for the first 20 minutes, then uncovered for the final portion. Adding a few ice cubes to the baking vessel before closing the lid can also create extra steam.
Dense or Gummy Crumb
This often results from under-fermentation, lack of gluten development, or slicing too early. Be patient with your sourdough baking process—properly stretch and fold your dough, bake long enough with the lid on, and allow the loaf to cool completely.
Why Sourdough Baking Is Worth the Effort
This craft may seem intimidating at first, but it offers rewards that commercial yeast breads cannot match. The global sourdough market continues to grow as consumers increasingly value authenticity, craftsmanship, and health-linked narratives in their baked goods.
In 2026, 58 percent of consumers believe sourdough makes bread healthier, and 70 percent say it enhances flavor. The slow-fermentation story connects to broader wellness and clean-label trends: easier digestion, longer shelf life without preservatives, and enhanced flavor complexity.
Beyond the statistics, sourdough baking is a craft. Each loaf teaches you something new about your starter, your flour, and your kitchen environment. With practice, your skills will grow, and you will create bread that is flavorful, nourishing, and uniquely your own.
Conclusion
The 7 steps covered in this guide will help you master sourdough baking:
Create and maintain a healthy starter
Gather the right equipment
Mix and autolyse your dough
Bulk fermentation with stretch-and-folds
Shape and proof the dough
Score and bake with steam
Cool before slicing
This craft is more than just a trend—it is a skill that connects us to centuries-old traditions while allowing for endless creativity. Every loaf you bake will teach you something new. With patience and practice, your sourdough baking will improve, and you will create bread that is beautifully flavorful and uniquely your own.